
Once an err was corrected, the motor placed, and the power steering rack lines connected, it was left to finishing.


I found 11 acorns in my radiator. Who does that? As I was installing the radiator, I heard something rustling around inside, flipped it over, and acorns fell out. Maybe this is what customs was so concerned with during their agricultural inspections?

After removing said acorns, I installed the radiator as shown.

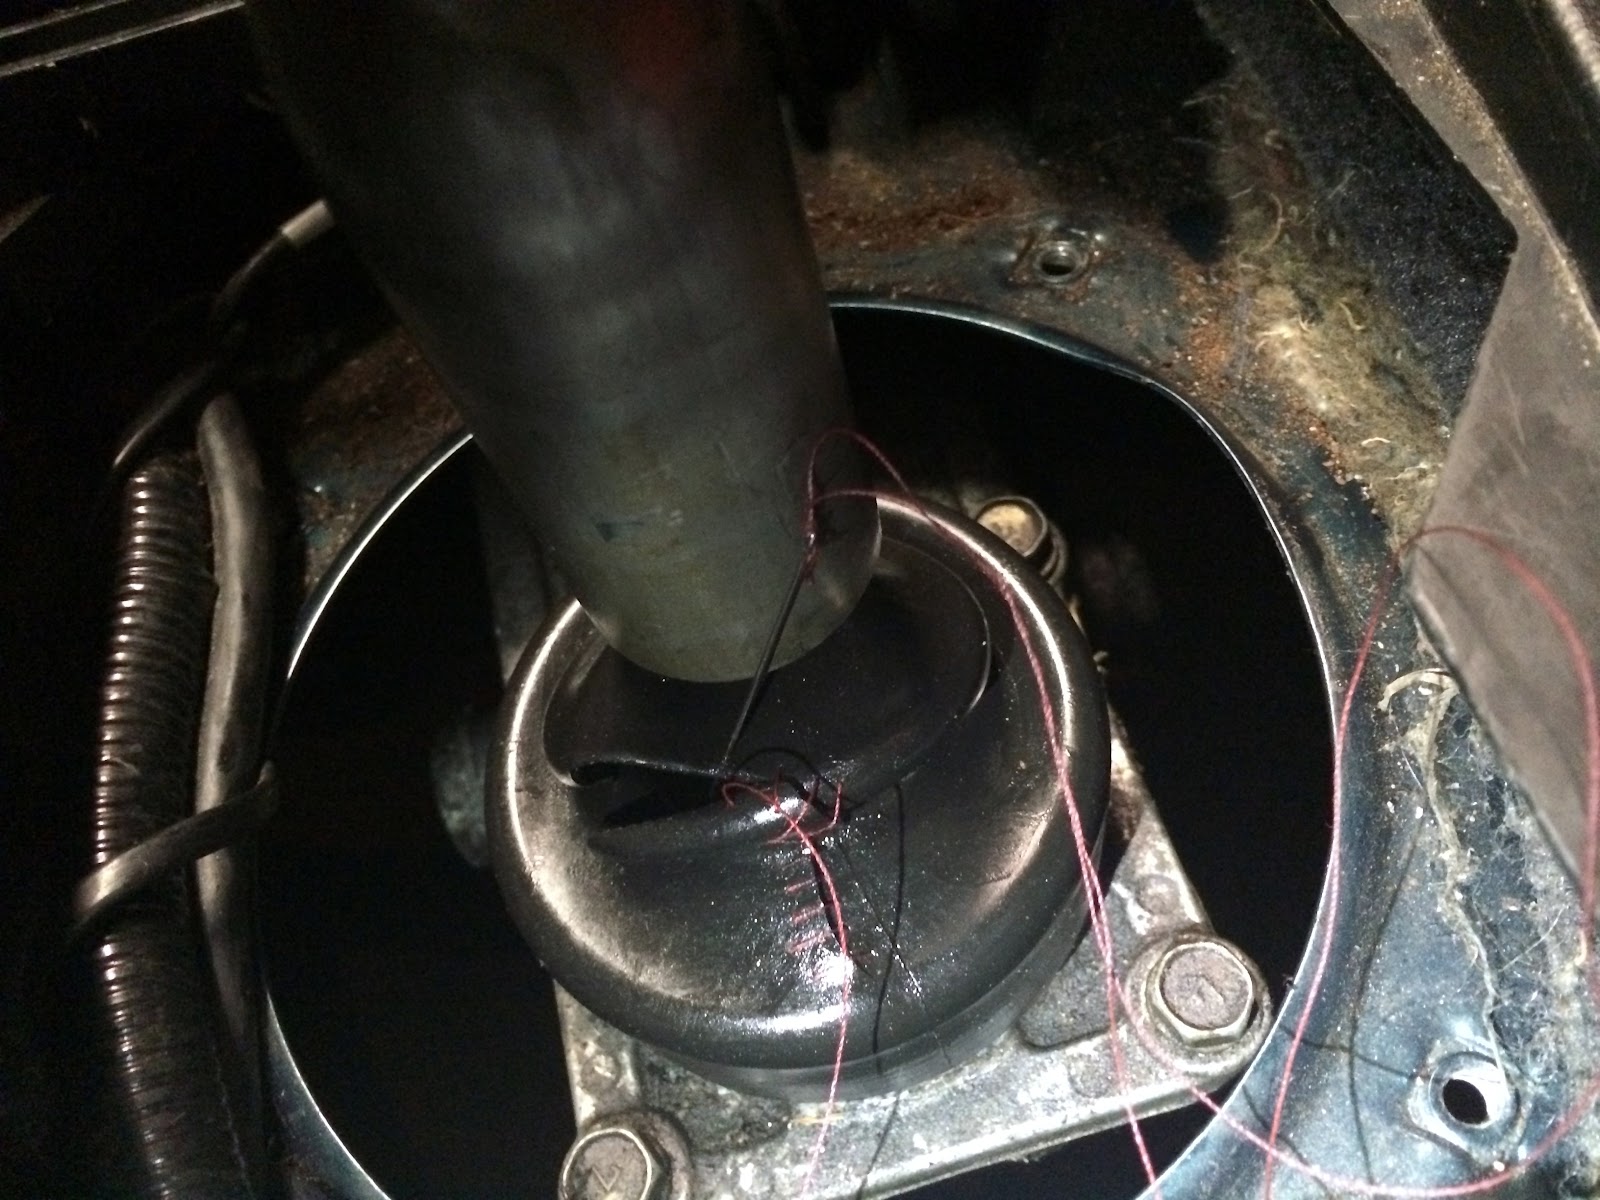
For some reason I got distracted with the shifter at this point and realized the transmission boot was torn.


KK sewed it brilliantly.


Cheers.
Currently the seats would stay as purchased, Bride and standard. I had the original driver seat sitting in the house which would be installed at a later date upon sale of the Bride. To be fair, I got tired of it in my daily prior to sale.

Back to the motor side of things, the front mount intercooler fins had seen better days.


I had no idea for the life of me where these two plugs connected.


As usual I resorted to my patriots in arms and quickly got an answer that saved time. Why waste 20 minutes this close to driving when someone already knows? Usually it's good for people to learn on their own, but it had been a long weekend. If I had looked harder or simply allowed myself to move to the next step of attaching the battery leads, I would like to have thought this would have resolved itself. No more excuses, BP does rock.

With that the radiator was set in, the intake pipes t-bolted, the wiring plugged, and the battery leads connected.

I then consulted wiki and an fsm <factory service manual for those unaware> and filled the motor oil, trans gear oil, power steering atf, and radiator fluid. I also verified on zilvia which fuel lines were which, which made me feel better.


Exhaust was also installed along the line, as well as any other number of items including the front valence, strut bar, air conditioning compressor, power steering pump, belts, heater hoses, headlights, HID ballasts, vacuum lines, boost control, windshield squirters, and remaining hardware. The boost control and squirters were surprisingly difficult to vacuum as the interior Gizmo boost controller line originated in the same relative place as that the fluid line ran across. Yes, they call it a Gizmo.


Once things were double checked, it was time for a joy ride. She needs to be cleaned.


I found 11 acorns in my radiator. Who does that? As I was installing the radiator, I heard something rustling around inside, flipped it over, and acorns fell out. Maybe this is what customs was so concerned with during their agricultural inspections?

After removing said acorns, I installed the radiator as shown.

For some reason I got distracted with the shifter at this point and realized the transmission boot was torn.
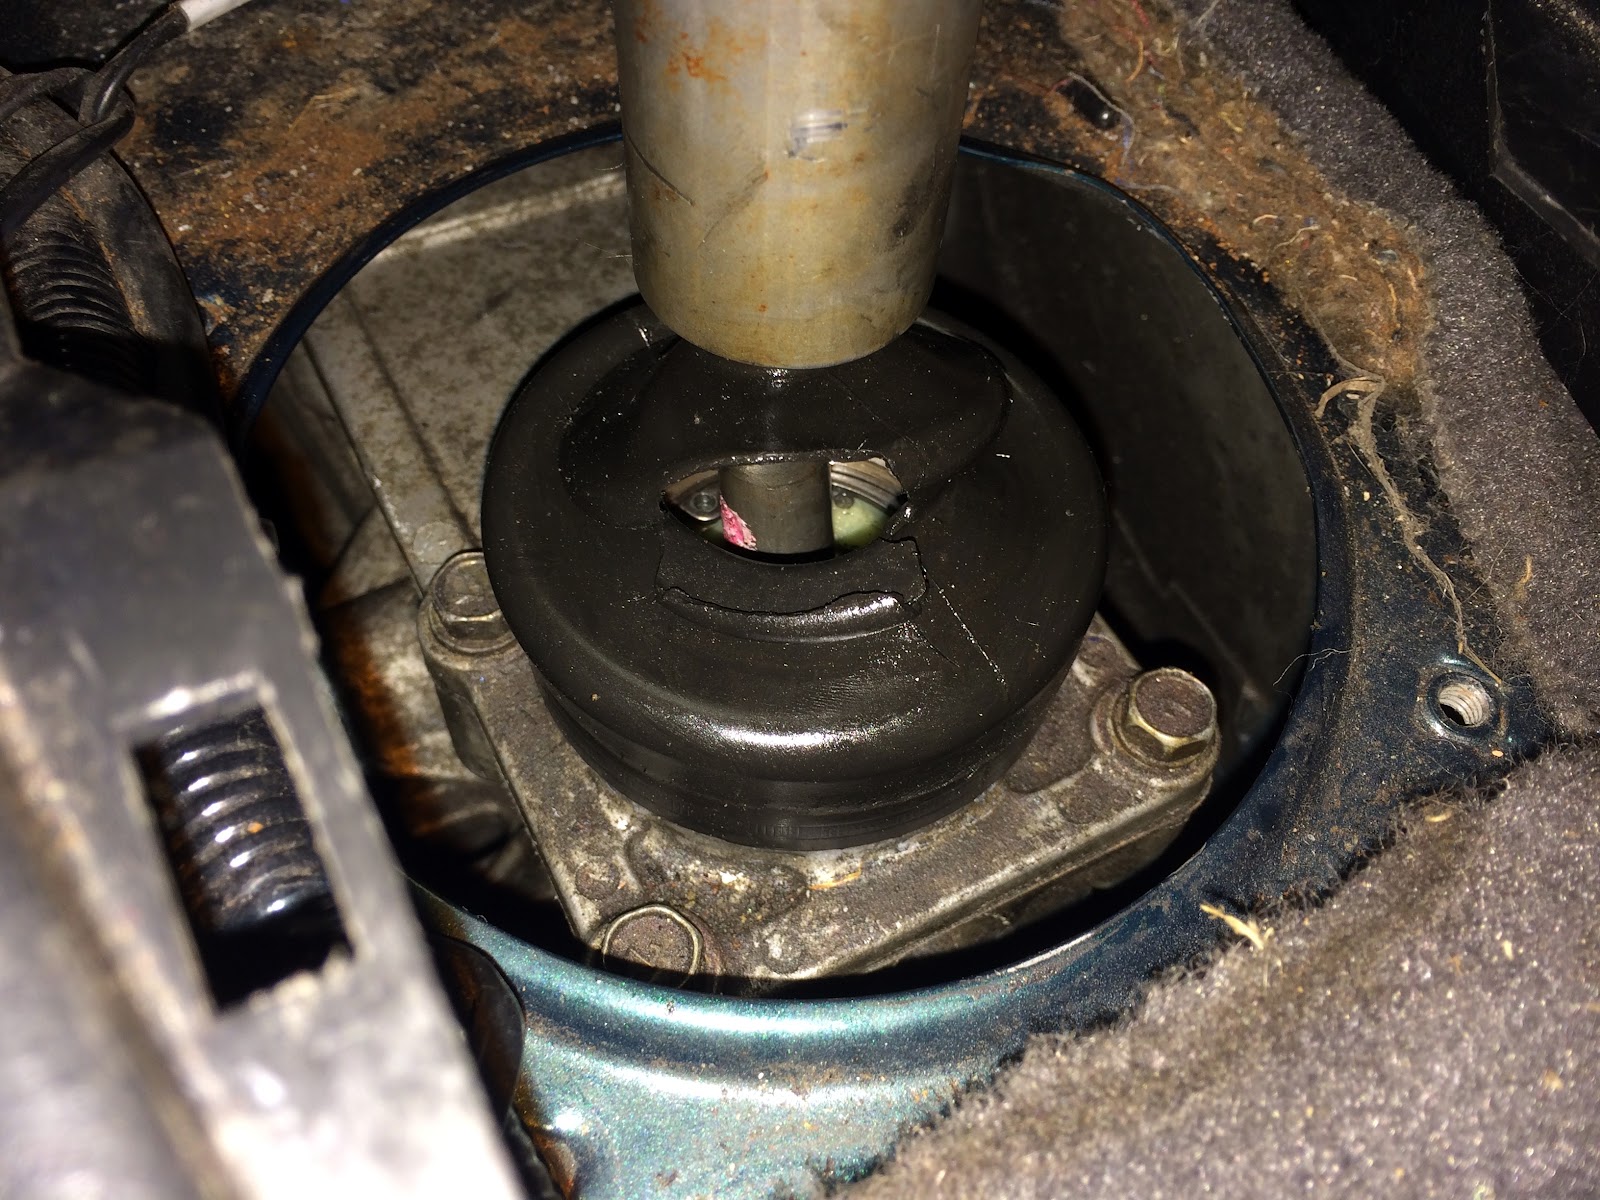


KK sewed it brilliantly.


Cheers.
Currently the seats would stay as purchased, Bride and standard. I had the original driver seat sitting in the house which would be installed at a later date upon sale of the Bride. To be fair, I got tired of it in my daily prior to sale.

Back to the motor side of things, the front mount intercooler fins had seen better days.


I then spent the better part of the afternoon straightening all of the fins by hand, or in reality, a needle nose pliers and razor blade.


After installing the intercooler and connecting the piping in the reverse order it was removed, things began to look a little more finished. I proceeded to wire the engine, which included resorting to Google photos to find how the wiring under the intake plenum best routed.

The oil filter that was on the car originally was an HKS item, of which I would order several more as replacements, but until they came in and until the motor had some time running under new oil, I decided to use old.


I had no idea for the life of me where these two plugs connected.


As usual I resorted to my patriots in arms and quickly got an answer that saved time. Why waste 20 minutes this close to driving when someone already knows? Usually it's good for people to learn on their own, but it had been a long weekend. If I had looked harder or simply allowed myself to move to the next step of attaching the battery leads, I would like to have thought this would have resolved itself. No more excuses, BP does rock.

With that the radiator was set in, the intake pipes t-bolted, the wiring plugged, and the battery leads connected.

I then consulted wiki and an fsm <factory service manual for those unaware> and filled the motor oil, trans gear oil, power steering atf, and radiator fluid. I also verified on zilvia which fuel lines were which, which made me feel better.


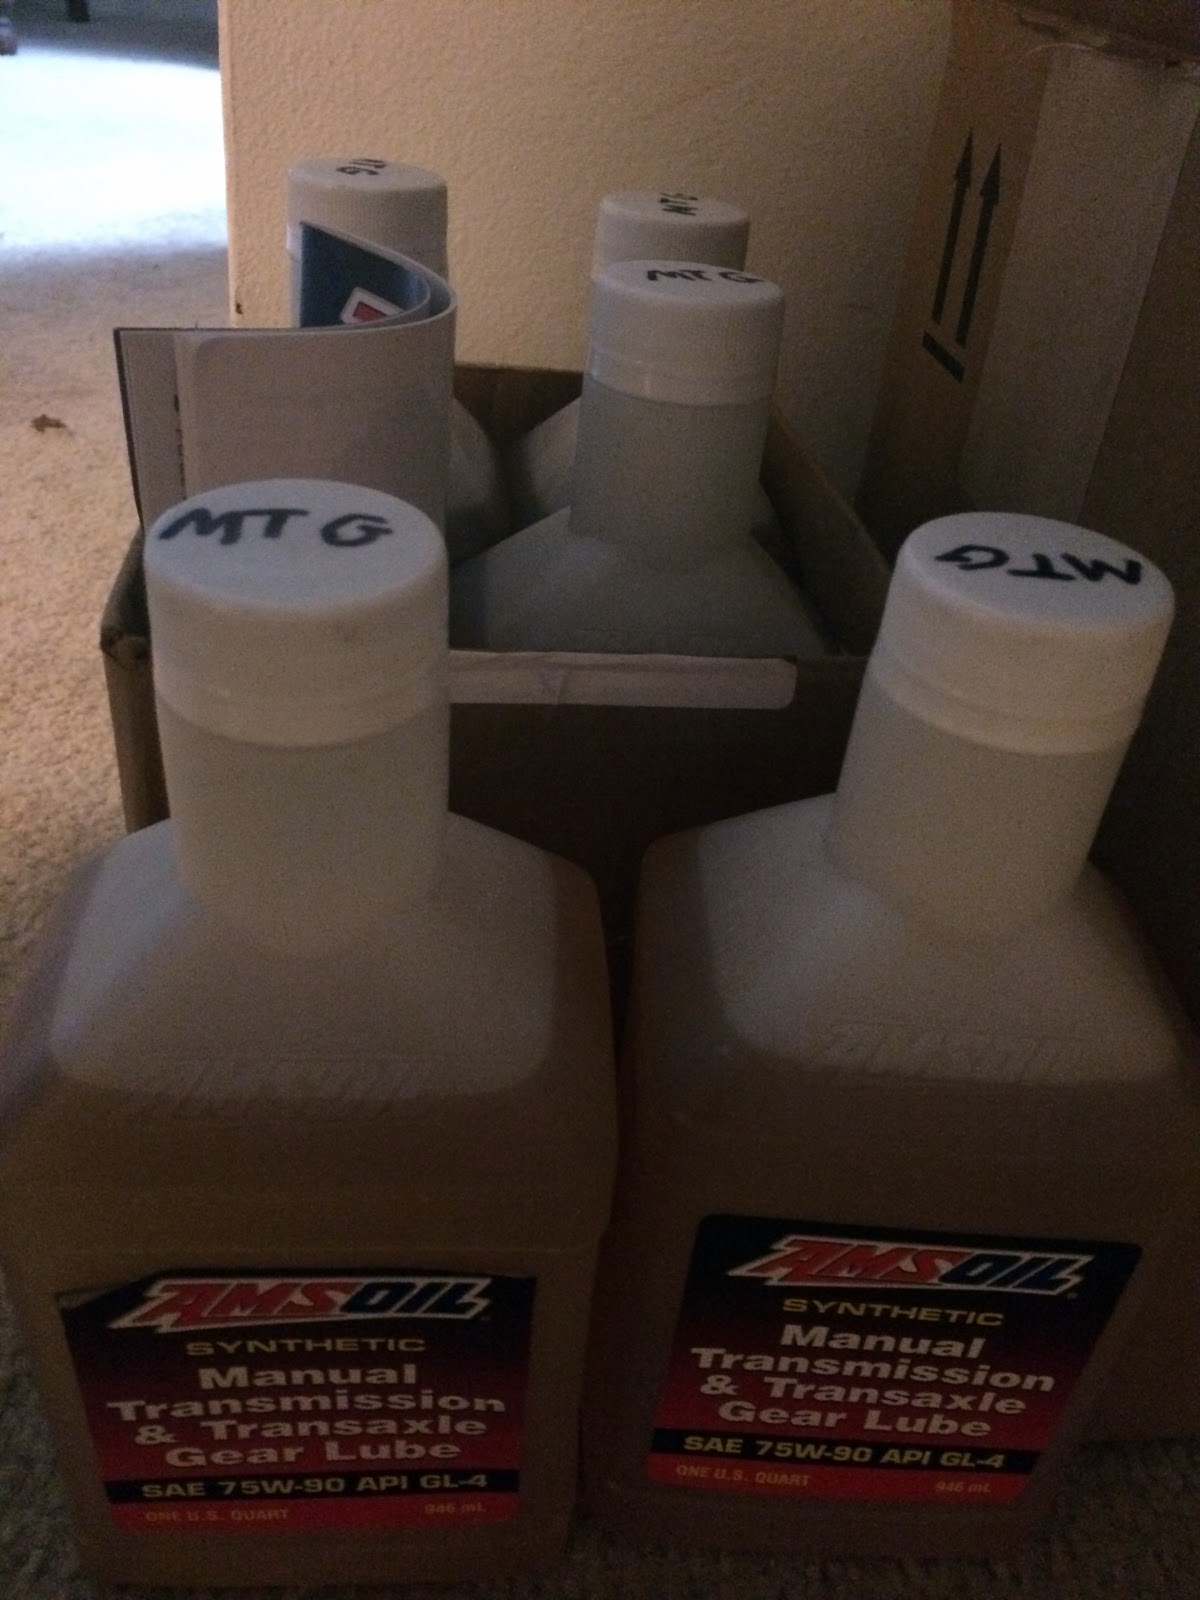
The gear oil took forever to drain through the funnel, down the line being held over the engine bay, and into the side of the transmission as it is very thick to begin with, but more importantly the only hose I had available without going to the store and delaying the culmination of this current stage was extremely small in diameter. I would highly recommend a large hose.
I purchased AMSOIL for the gear oil and atf. Since I was planning on changing the motor oil sooner rather than later I used Mobile One I already had. This not only got rid of it from my garage, but saved me some time to figure out which AMSOIL oil I wanted to burn all while keeping me from actually burning money during a shorter than normal oil change cycle.
Exhaust was also installed along the line, as well as any other number of items including the front valence, strut bar, air conditioning compressor, power steering pump, belts, heater hoses, headlights, HID ballasts, vacuum lines, boost control, windshield squirters, and remaining hardware. The boost control and squirters were surprisingly difficult to vacuum as the interior Gizmo boost controller line originated in the same relative place as that the fluid line ran across. Yes, they call it a Gizmo.


Once things were double checked, it was time for a joy ride. She needs to be cleaned.


Thank you Kellyn, Bryan, Haydn, and unknown people of the interwebs for quick advise and a hand when in need.
No comments:
Post a Comment