The spiders are hard at work.
As is the British weather. It doesn't stop.
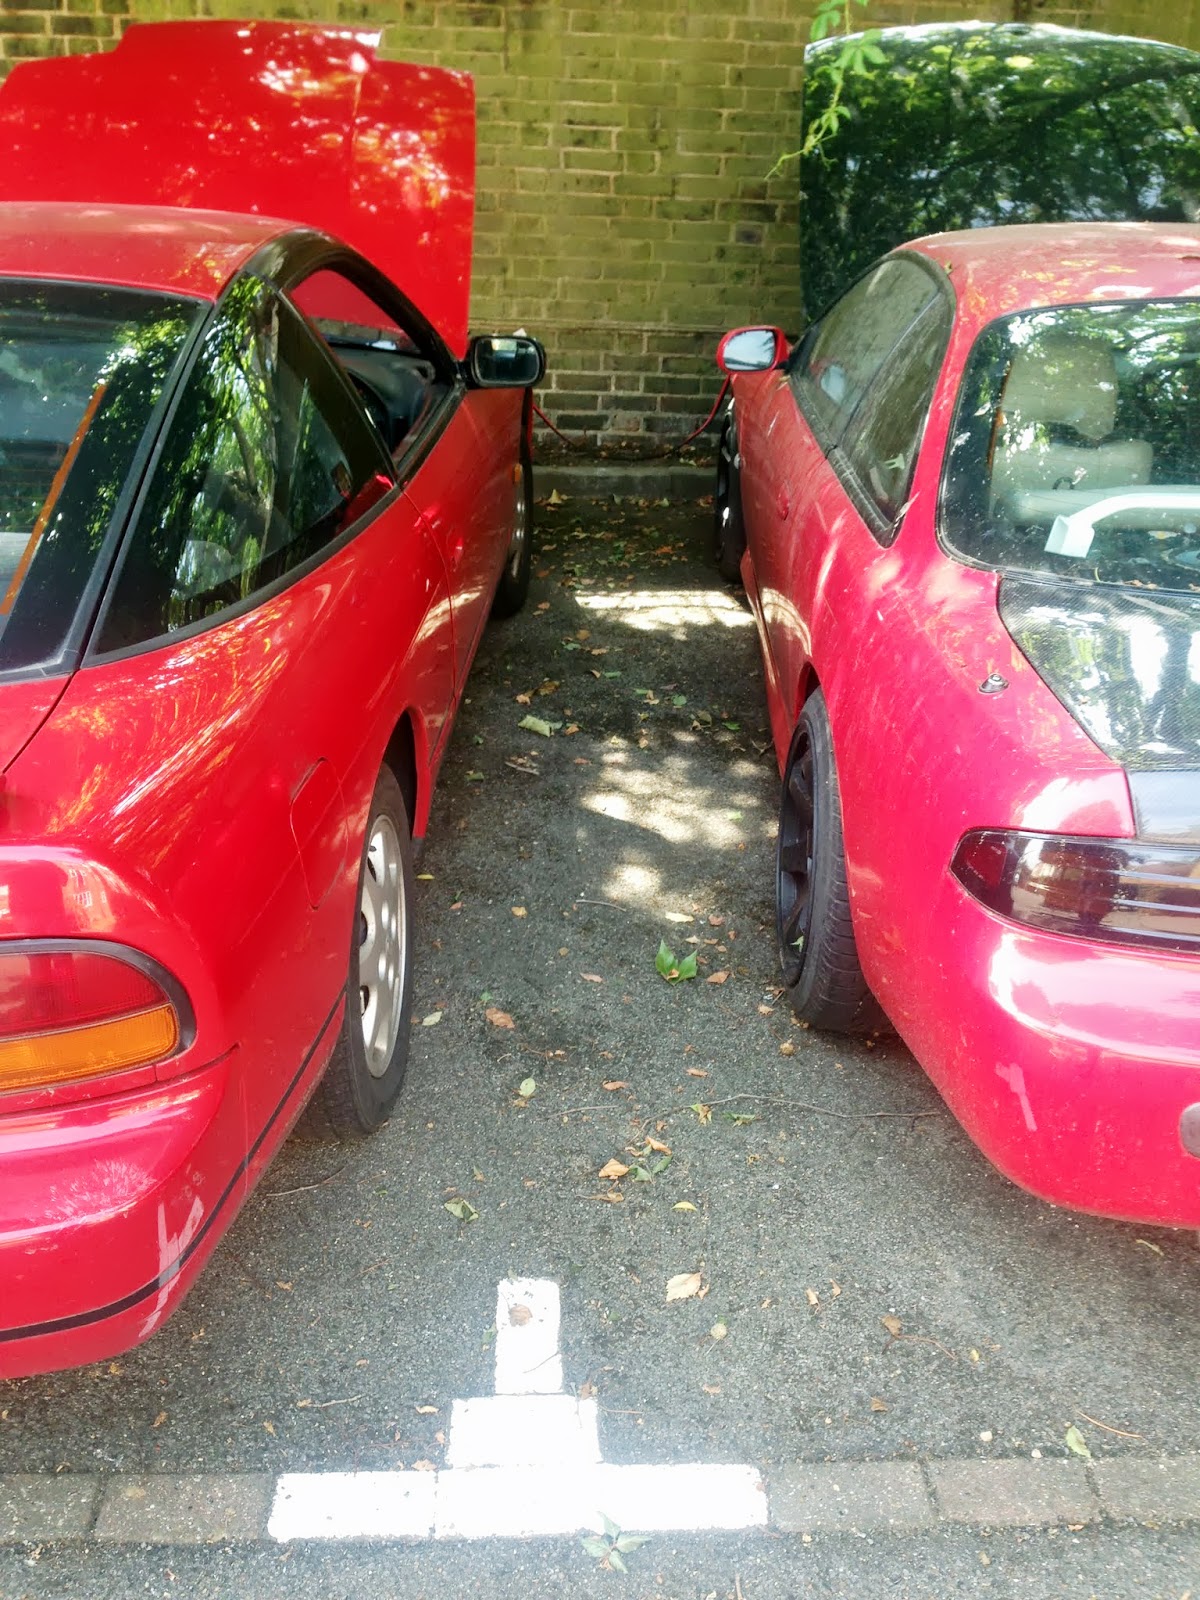
With my assortment of tools for compression testing still sitting inside, I began to finish the job. I unloaded, along with the plugs and bolts. I know at least one plug was only fair condition at best, but I didn't want to buy a new set just to rotate the car in her parking spot.
If it seems like I'm taking random photo's, it's probably because spider webs don't show up very well, yet I keep trying to capture the little guys at work.
For future reference, as well as spiders, there seems to be ample space between the engine and electric fan which should make things easier next weekend.
Stay on target.
Stay on target.
Pull the spark plug cover off, simples since it was just resting on the engine from when I did the compression test.
Pull out the spark plug boots, again, currently just resting in the spark plug well to prevent anything from dropping into the cylinders.
When installing plugs, remove the interior rubber grip inside the spark plug socket. As I would find out if you don't, when you pull the extension out after installing the plug, the socket will stay stuck on the plug.
Be careful lowering the plug into the deep well's of the sr2o without the grip as the plug will fall out if not supported. It works well if you put the plug into the socket, and support it against the side of the plug well as you lower it in.
As always, slowly hand tighten first to prevent any cross-threading.
Yet another plug broke as I learned the plug socket rubber was stronger than the extension to socket joint.
Someone remind me to buy new iridium's before driving this anywhere.
Install all the plugs. Because of the seemingly brittle nature of these HKS plugs, I barely turned them with the wench, not more than 1/16 of a turn after hand tight. Again, this is just to seal the chamber, not boost around on. I would rather run it on the current setup however, than with them as tight previously.
Place spark plug boots in plug holes around plugs. They seal very well around each hole's rim on the valve cover.
4 screws holding each boot in. This are also the coils, known as coil-on-plug. The rb25 is the same way, instead of having a mechanical distributor with a single coil, these operate electronically for each cylinder separately.
Use an appropriately sized Allen wrench to install the spark plug cover.
Remember to put the rubber spark plug grip back inside the spark plug socket for next time.
Plug in the cam angle sensor, cas.
Spiders!
Install the 15 amp fuel pump fuse into the interior fuse box of the drivers side right kick panel.
Attempt to start the car, and get absolutely no power, not even clicking or blinky lights.
Think about it for a minute...
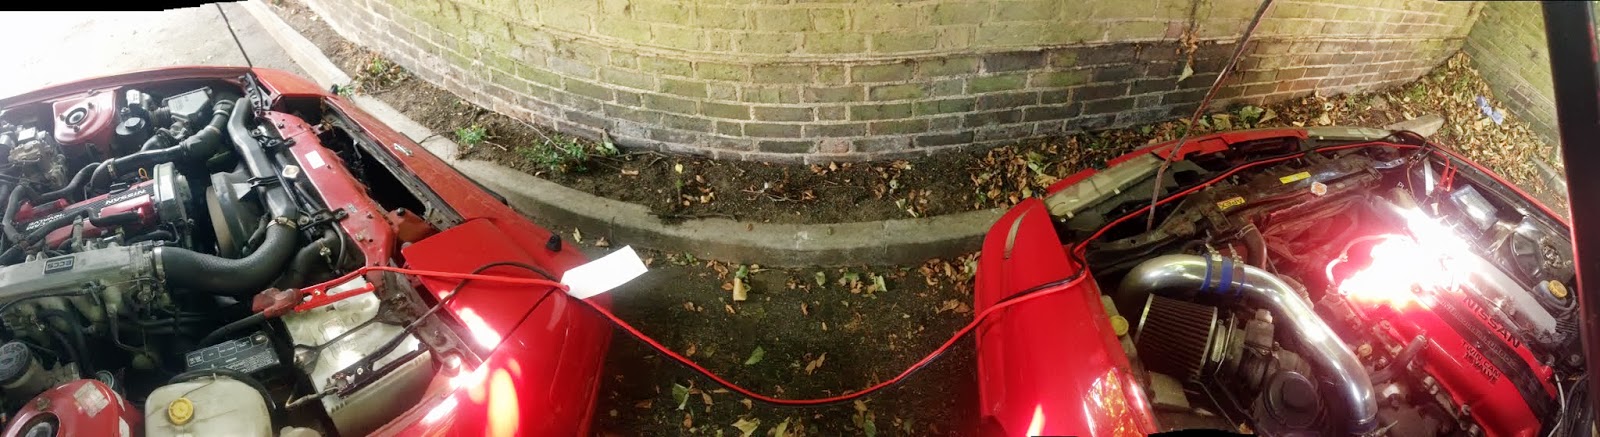
... and get the jumper cables.
Thanks kk, who supplied not only these, but all tools used above sans compression gauge, super long 3/8" extension, and 'merican pocket knife courtesy of general electric, halfords, and my x-mas stocking respectively.
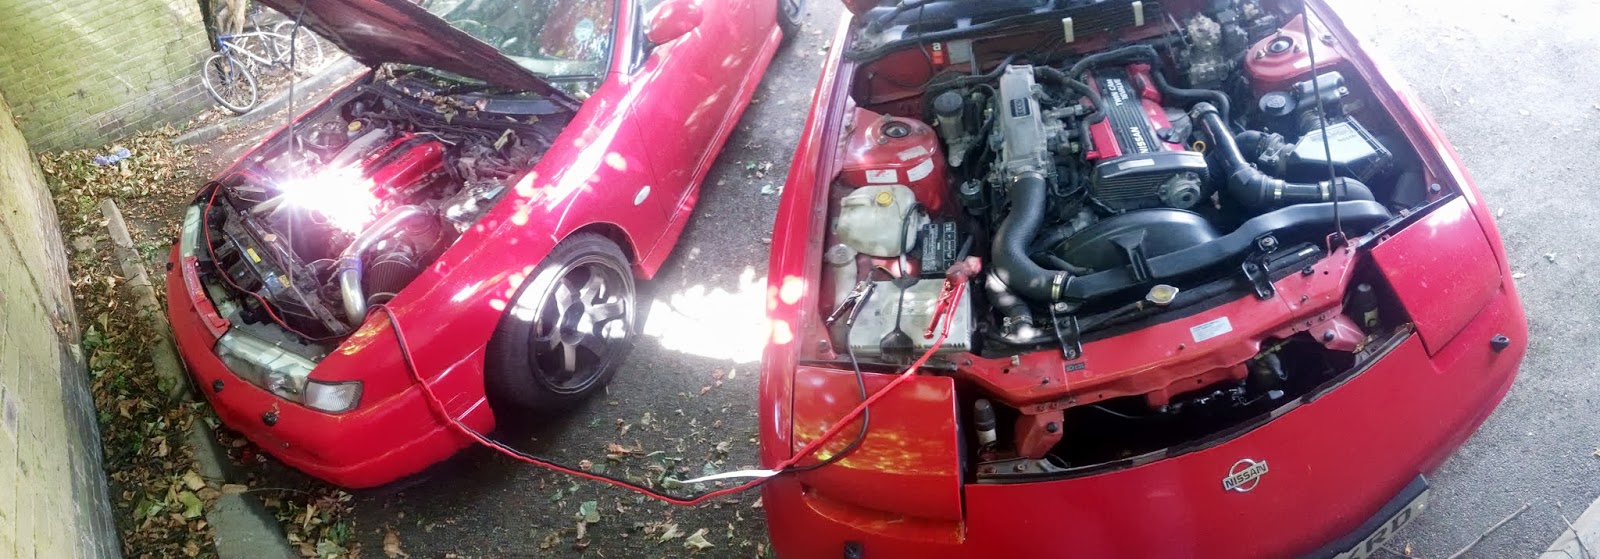
Bring over the s13 and jump.
Try and get new ziptiedz cover shot while chasing spider webs.
The s14a started up right away btw, and I turned her around in the spot.