
There was no cut & patch or weld & grind on the underside of the repairs. Well, to be fair there was a little grind, but it was nothing compared to the top. Usually if you seal something from one side, that implies it's sealed from the other side.


To finish the repair completely, however, and to be utterly sure the cabin was sealed even though it had already been weld, ground, weld, ground, etc, and then epoxy, sand, paint on the inside, I performed a similar process on the outside.


After taking an excessive amount of photos trying to catch details that will again never be able to be captured, I ground down any excess to the forward repair. This would later be covered with several layers so it was not critical how it looked, probably less so than the inside. If it wasn't apparent already, I will still always opt for doing the correct process, otherwise it won't come out how you want and you will be left wanting and wish you did more.


I then hit the rear of the transmission tunnel where the cuts and tears were.


Repeating what I did on the inside, I bought more epoxy and bonded it to the body. I also filled the mid bearing mount location. You can see clearly when the drive shaft ripped from the car, the mid bearing came with it, including the captured nuts inside the chassis mounts. Even if I were to get some new nuts and weld them back into the mount, they would have to be perfectly aligned with themselves and the chassis for the shaft not to vibrate and turn on an axis relatively inline with that of the transmission and differential. In the current circumstances I did not think this was a likely outcome, and since I needed a new prop shaft anyways, I would opt for a single piece, not requiring a mid bearing.


Once the entire surface was covered with epoxy, I began the electric sanding process with the mouse and velcro pads, then moved on to hand sanding.


The mid bearing mounts came out very smooth just from the epoxy coverage for some reason, and now it was time for the final step to move on from this stage of my life.


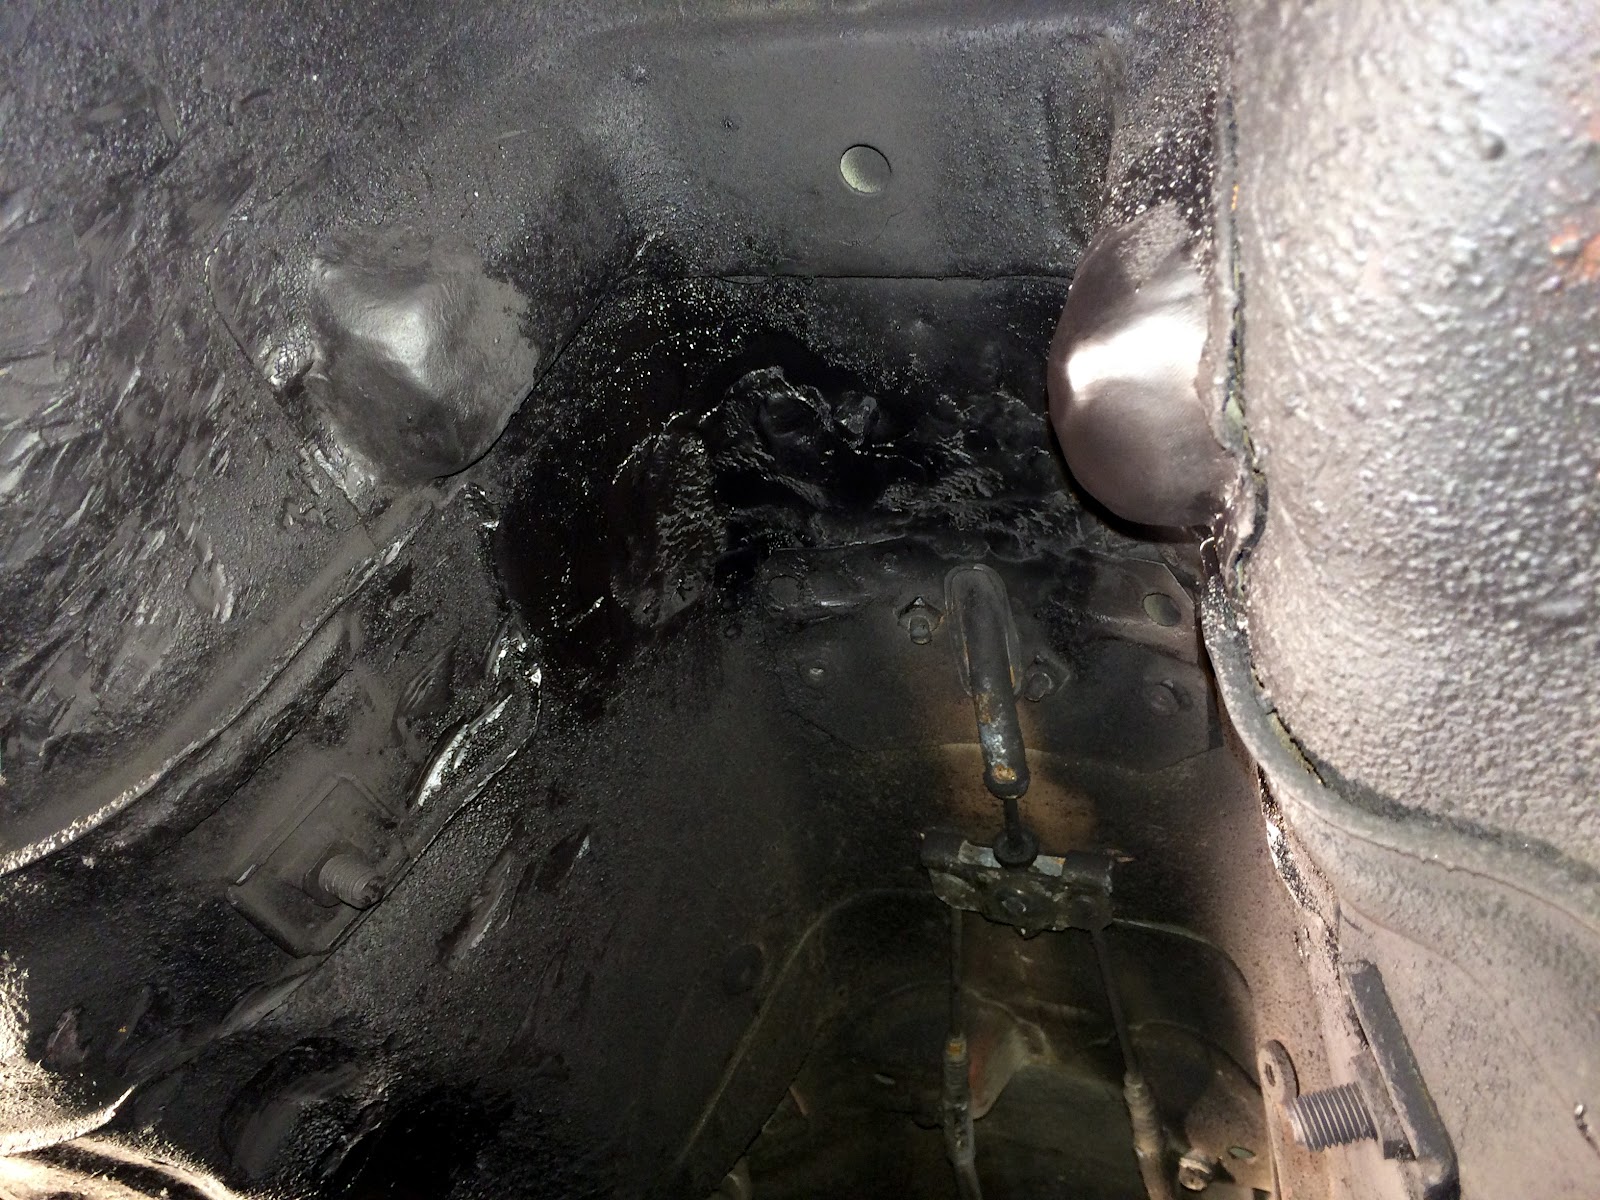


I went back with a few layers of thicker underbody paint to make things match. The flash highlights everything so you can see the differences in body, but in normal light, even when touching it, it looks amazing. It looks like an underside of a car.


Before getting out from under the car, I took a few shots of the empty engine bay and the old mounts, which would soon be replaced with driftfreaq mounts. These are similar to the mounts I made for my Datsun. The molds are better, they're not semi-solid, there's a heat shield for the exhaust side, and more importantly, I did not have to make them.
