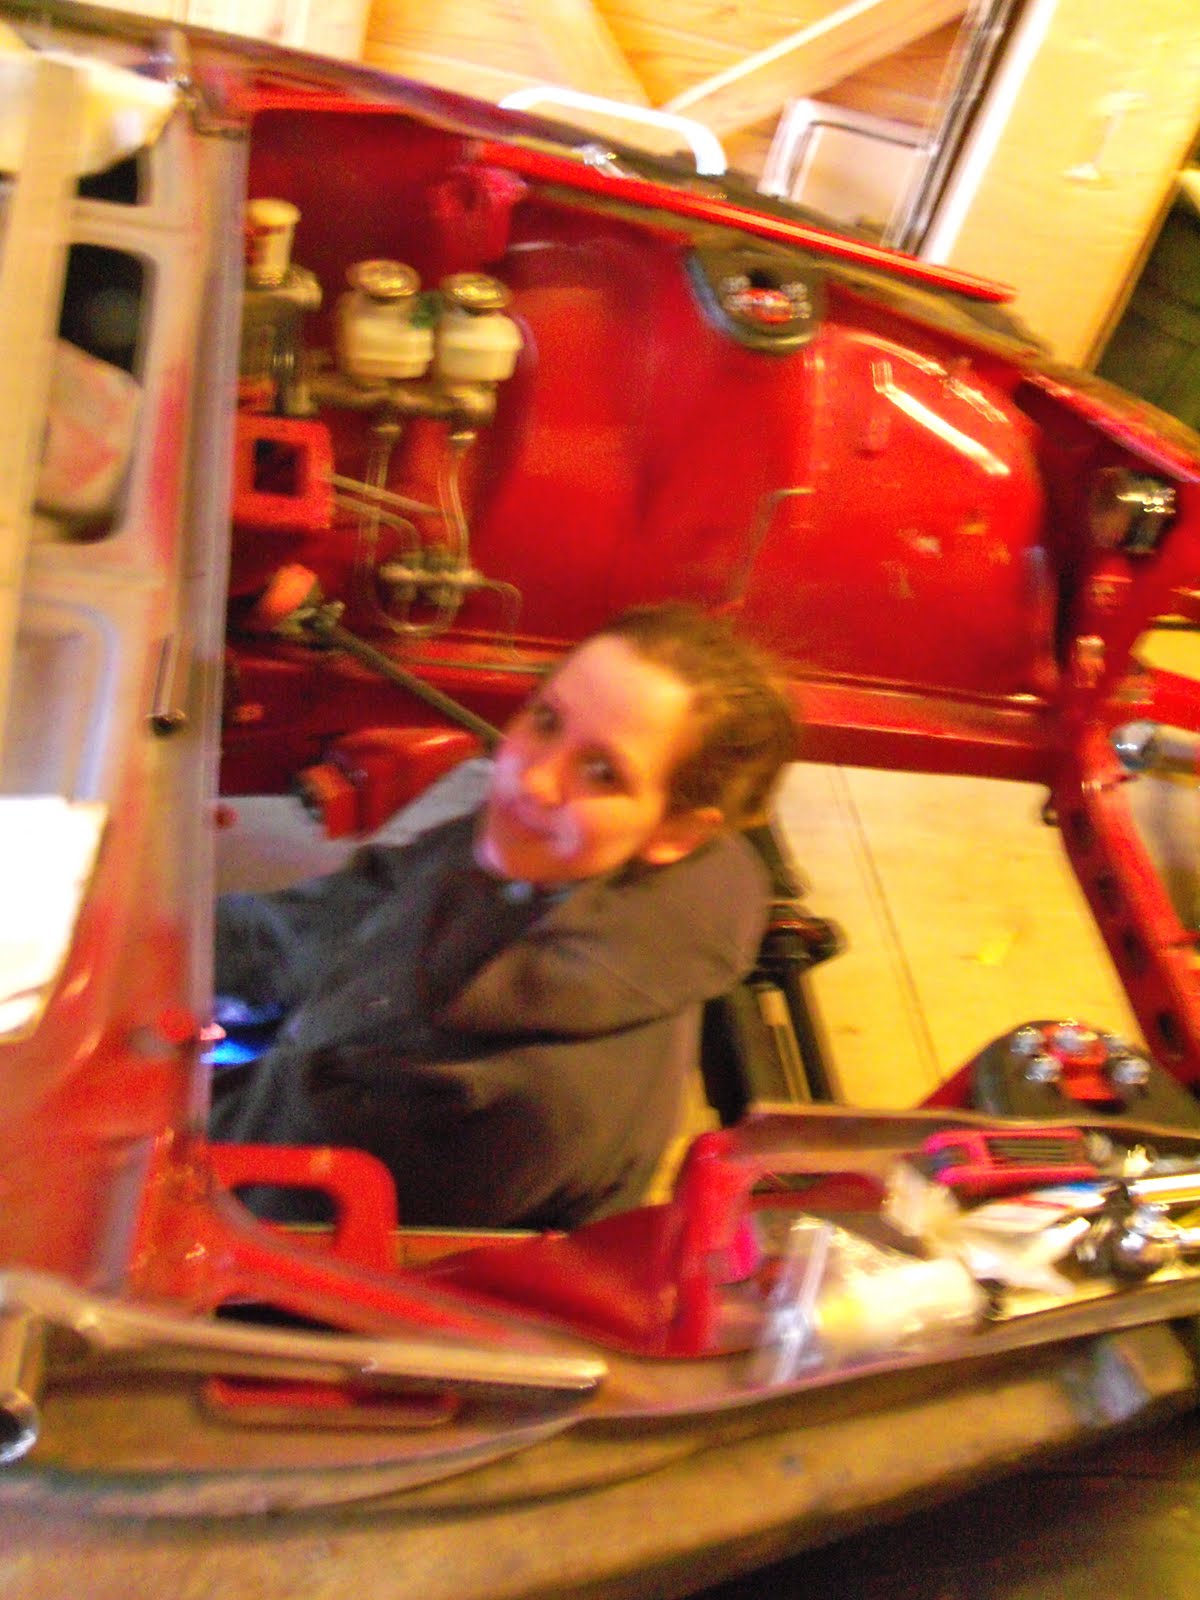
Yet another thing to do while the engine was out - modify the car side transmission mounts.
In the 28o z I didn't care much about preserving the shell, as most if it was replaced anyways. The engine was further forward and with it and the transmission installed there was more room in the transmission tunnel at any given distance from the front of the car. I had to replace the clutch at one point, however, and it was very difficult to re-install the transmission from under the car with the engine still installed. I removed the passenger side transmission mount entirely with the aid of an angle grinder. My transmission mount was entirely custom, attaching to it's own tang's welded to re-enforced sections of the transmission tunnel reward of the stock car side transmission mounts.


It was a big deal for me to modify the chassis, but after careful consideration based on the modification, location, and reason, I felt OK with this. Many iterations of ways to relieve the stress on parts that were trying to take up the same space at the same time without compromising structural integrity were thrown out and this is the result.


With careful cutting I was able to remove the material out of the outlined area exactly without going over. I used a dremel and 3-4 reinforced cutoff wheels. I was very pleased with the outcome.


As shown in this picture, the window needs to be moved lower over it's left half (the forward portion) by 1/2", the distance it is above the base. I'll get to this final modification in another post.


I removed the tape and spray painted clear coat inside the mounts. They were 1oo % clean of rust and looked fresh off the factory floor inside the cavity that had been sealed for 4o years. I wanted to keep it that way followed the spray painting by spray painting just to make sure.
In the 28o z I didn't care much about preserving the shell, as most if it was replaced anyways. The engine was further forward and with it and the transmission installed there was more room in the transmission tunnel at any given distance from the front of the car. I had to replace the clutch at one point, however, and it was very difficult to re-install the transmission from under the car with the engine still installed. I removed the passenger side transmission mount entirely with the aid of an angle grinder. My transmission mount was entirely custom, attaching to it's own tang's welded to re-enforced sections of the transmission tunnel reward of the stock car side transmission mounts.


In the 24o z on the other hand, the engine is much further back and I don't think I could even take out the transmission without the engine even if I wanted to. There is much less room between the installed transmission and the car side tunnel at any given point. The profile of both surfaces seem to mirror each other and it barely clears. It's so far back in fact that the transmission actually hits the tunnel on both of the car side mounts.
The speedo sensor hits on the passenger side, and (2) molded buttons on part of the casing hit the driver side. On the passenger side, the speedo sensor is positioned entirely passed the front face of the mount. It is good that it's back far enough that I dont have to compromise the integrity of the mount by modifying (2) of the (3) vertical faces and losing the rigidity of the corner, or having to rebuild that section entirely to gain it back.


It was a big deal for me to modify the chassis, but after careful consideration based on the modification, location, and reason, I felt OK with this. Many iterations of ways to relieve the stress on parts that were trying to take up the same space at the same time without compromising structural integrity were thrown out and this is the result.
I marked off a 2"x1" section, centered forward/aft, 1/2" above the base of the inner facing surface of the passenger transmission tunnel mount. It's length of the section began and ended before the transition points of the radius connecting the adjacent surface and it was high enough from the base to keep most of the supporting structure intact, as I am indeed using the oem mounts in the 24o z to hold the transmission. It was very difficult to measure the exact location when the engine was installed, but I believed creating a window into the mount by removing material in this area would allow enough of a relief for the touching parts. I would find out later that I was incorrect.


Make sure to use your safety goggles and let the sparks fly!


With careful cutting I was able to remove the material out of the outlined area exactly without going over. I used a dremel and 3-4 reinforced cutoff wheels. I was very pleased with the outcome.


As shown in this picture, the window needs to be moved lower over it's left half (the forward portion) by 1/2", the distance it is above the base. I'll get to this final modification in another post.
I'll also get more into this later, but as it turns out, making a relief on one side the transmission relieved the other side enough to clear. In theory it would have been good enough to stop here and not cut the identical window into the driver side mount. Eventually I will box out the window, creating a concave surface, which will bring back all of it's structural integrity and seal it. This will require some materials, more cutting, and a TIG welder. I had none of these at the time of cutting, but at this point it will also require another engine removal.
And so begins the to-do-during-paint-prep list.


I removed the tape and spray painted clear coat inside the mounts. They were 1oo % clean of rust and looked fresh off the factory floor inside the cavity that had been sealed for 4o years. I wanted to keep it that way followed the spray painting by spray painting just to make sure.