
Since this portion of the car was not going to be exposed or displayed under a white inspection light in a raw state, I decided it was a good application for the MIG setting on my newly acquired welder. Also, the patch panel was not perfect, so TIG would have been a bit difficult.

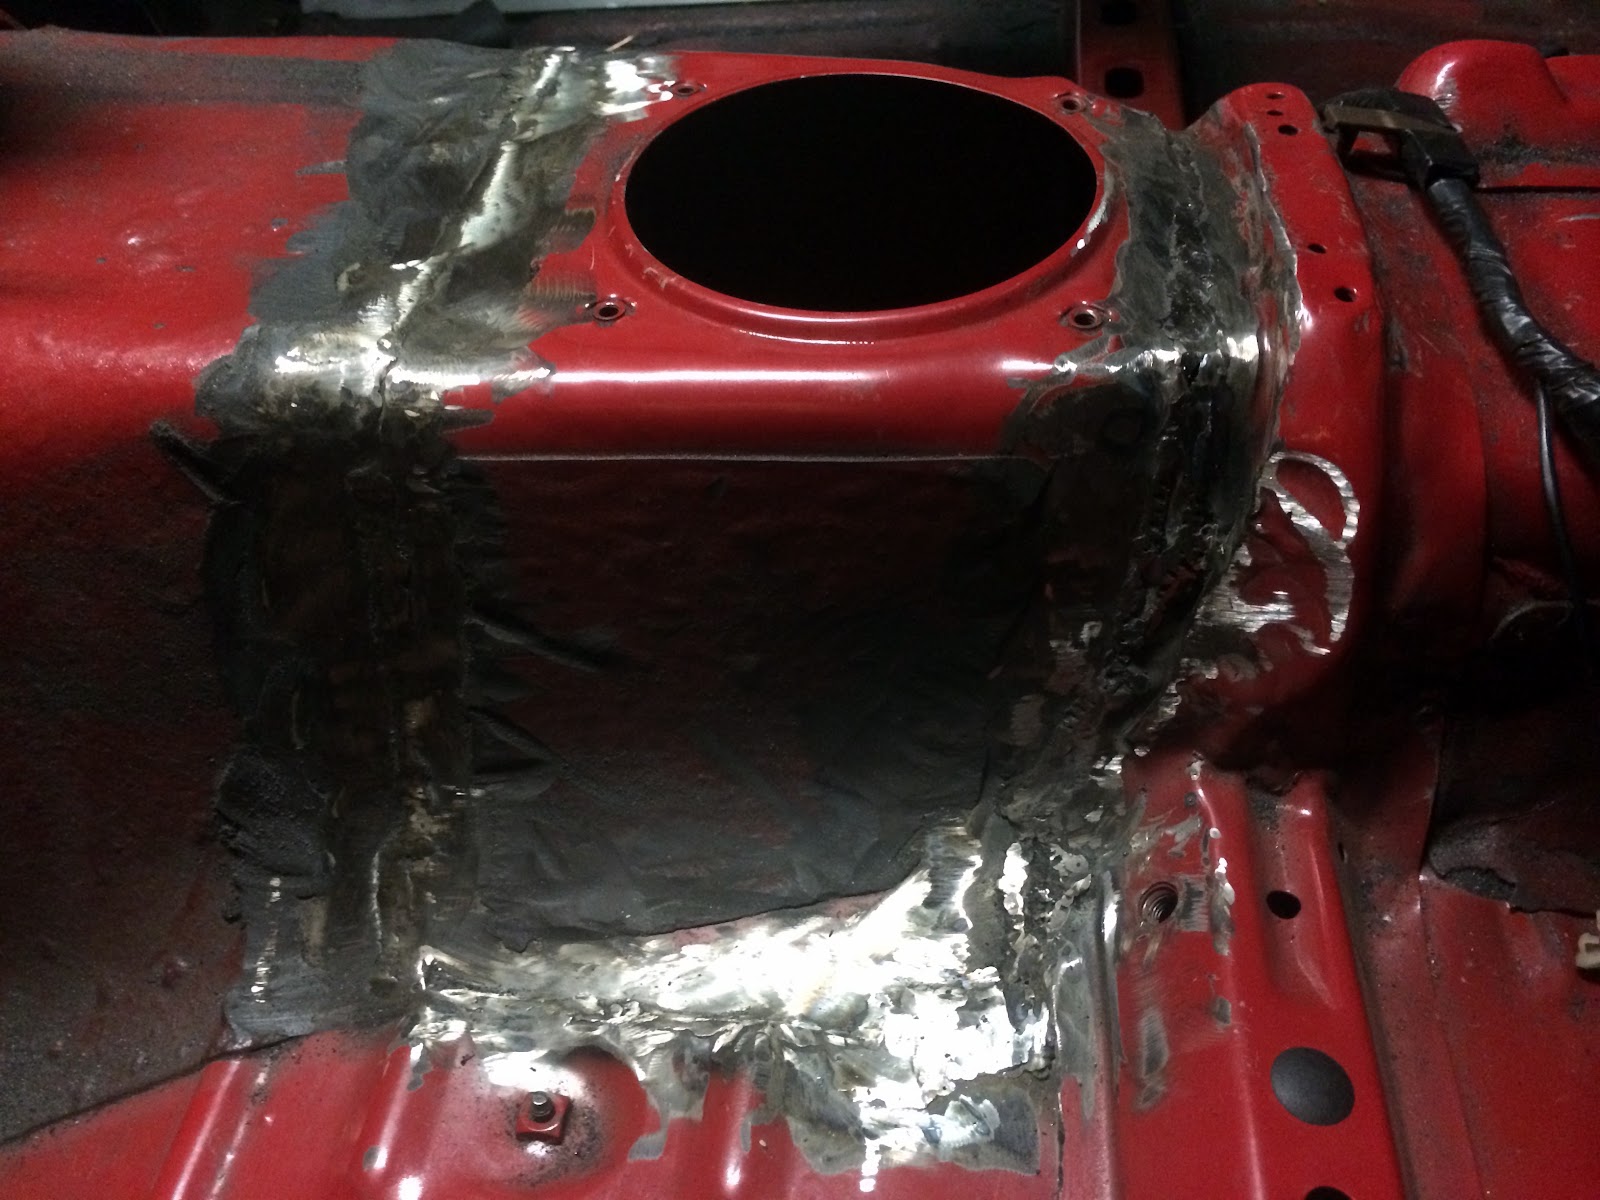
Once the patch panel was as good as it was going to get, I seam welded all the areas that were in complete contact. I then gradually sealed the remainder building upon the start. It was actually easier than I expected, but my temp and feed were turned down as low as possible on the strong welder so not to simply blow holes in the sheet metal.


Once the entire repair area of the shifter hole was welded, I ground the welds flush. Flush is a relative term in this instance, really I was simply cleaning up the seams with rough machining before epoxy and paint.


This was also an iterative process. In certain locations, namely on the driver side where the prop shaft had torn under the seat rail, I had to weld, grind, and repeat until the body was completely sealed.
I then took a break upon locating this special spider...


...After relocating him safely, I got back to work.


Make sure when grinding to cover things that molten metal shards could damage, like glass.


I'm going to apologize ahead of time for this entry, but there is an excessive amount of photos of relatively the same views. This is mostly because I was trying to best capture the damage and repair of said damage as the subsequent steps would render photos of this stage impossible. It is also because I'm too lazy to sort through them and it is much easier to just post the entire directory.


Some areas are hard to capture and look better, and sometimes worse, on film. I'm hoping the plethora of shots accurate display the situation at hand.


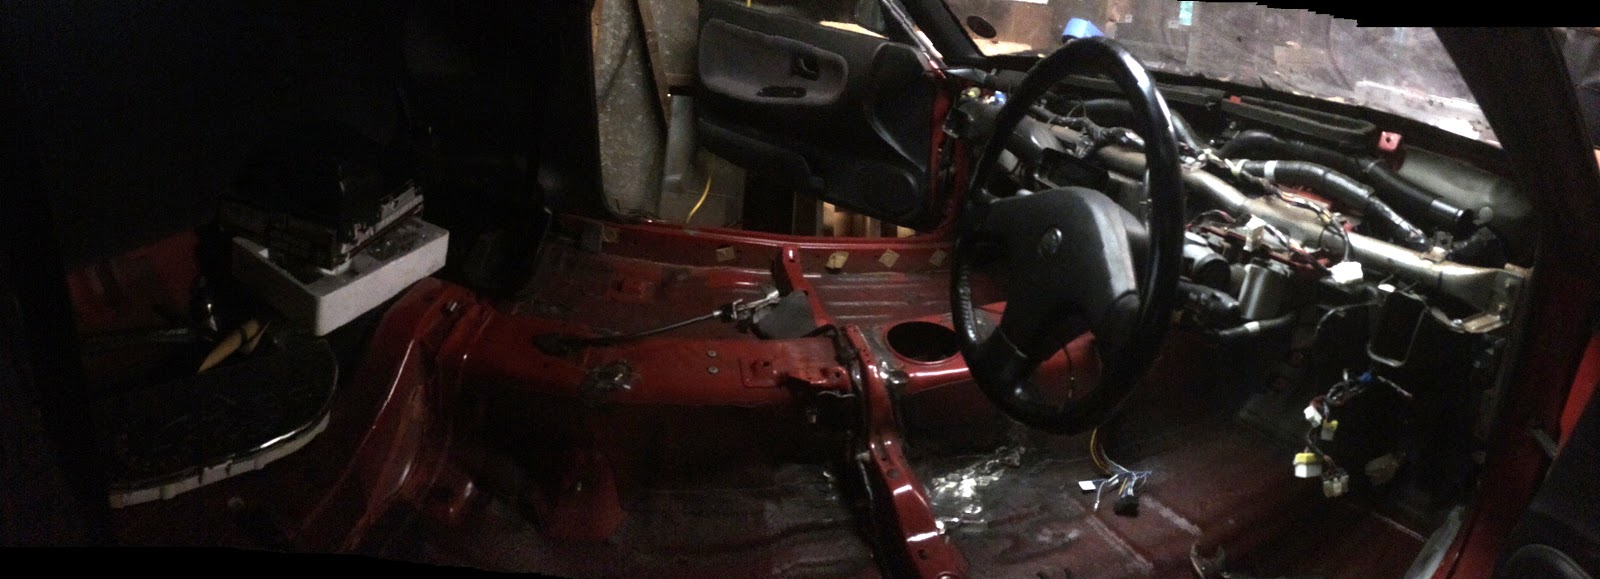
From a wide angle, the car was already 100% better.


Once I was satisfied with the front half of the transmission tunnel, I turned my efforts to the rear. This is where the prop shaft had ripped the bearing tearing into the tunnel. Another theory I have is that maybe these cuts were made during removal of the shaft after failure, as it is unlikely it buckled causing this type of damage in this location.

It was fairly straight forward to weld these together. Using body hammers and anvils these were able to close on their own as they were cuts, not gaping holes.


As with the forward section, after welding the aft tears I ground them down.


At this point all the welding and grinding was complete on the interior of the car. This was a major accomplishment. The interior cabin was just that. It was now sealed once again from the elements.


No comments:
Post a Comment