
I realize the naming convention of these recent entries may not be up to par, I've been busy and havent had time to deal with it. I'll try harder.
To pickup from fuel lines ones, I went to the hardware store with Giffin. While we were inside it decided to rain, significantly. Like most afternoon storms, it cleared up quickly and we were on our way.

Back at the house I sanded down all the loose paint from the tank and painted a few layers of clear coat to seal it in my usual fashion.


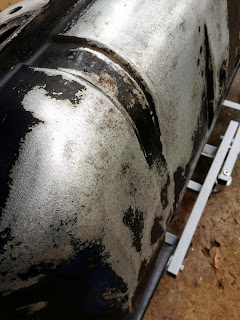


Looks perfect to me.
Halfway through our wet trip to Home Depot, which smelt amazing as hardware stores do, a light bulb or two went off and I realized exactly what I was going to use for the new fuel pickup design. Previously I had simply attached a submergable -8an hose to the bulkhead fitting. Normally pickup's like this simply dangle in the aftermarket tanks and are cut to length just above the base. Since I was reusing my oem tank, however, I had a horizontal run over a bulkhead and idealy needed to secure the line inside the tank from moving where it was originally intended to be placed. It was very difficult to cut to length while test fitting and get it to sit where I wanted it, let alone stay there with no way of ... securing it. Based on how easily it moved around looking at it this time, I am hard pressed to believe that it got past the last install without completely shifting off kilter, let alone while actually driving, cornering, or the simple act of filling her with fuel.
I was imagining some sort of hard tube, and purchased a straight copper tube, 1/2. This of course needed to be bent in some fashion, so that it would clear the inner tank bulkhead. If this first bend went ok then maybe a second bend could be added to bring the end of the pickup more towards the rear of the tank.
It wasn't. Wasn't ok that was. Sorry, don't have any photo's of this demoralizing attempt. It instantly kinked. I tried several times with the same insufficent result each time. The epiphany I had, however, while wondering the isles of the good smelling hardware store waiting for the skys to shut down was brilliant. I still had the 1/2" hard aluminum tubing that is going to be used later to plum the hard lines for the rest of the new full -an system in the 24o. When I bought it it was rolled up in a flat spiral, the arch of which I thought would be perfect.
It was.


Just as the -8an hose was tight enough to use on the fitting sans additional clamps, it fit VERY snuggly over the 1/2" tube and would work very well to secure it. After a few test fits (more photo's to follow) and some fine tuning of the lenth and curve, she was done.


With the welcomed break over, which I won by the way, and a few hours of sleep later, the tank was completely dry and ready for final installation.

The final product with all pieces mocked.

I purchased aluminum washers to help seal the bulkhead fittings. This is another failed attempt. I ordered them based on line diameter, obviously the fittings are a different size than the lines.
Duely noted.

Good thing I also purchased nylon sealing washers, in the correct -8an fitting size.

I'm not going to rehash the entire install process, but if you're really compelled, go back and find the previous entry covering the fuel tank mods. And yes, it's still just as much of a pain.

I gooped the threads and face flanges and sealing washers with ample amounts of rtv. I was doing everything I could this time around to prevent leaks. Looking back I'm suprised it didn't leak more than it did.


With both fittings installed, I went back over them with even more rtv. You can never be too sure.
This is where the fuel pickup sits now, just above the bottom center of the tank, about three quarters of the way back. The curve and length was such that it cleared the bulkhead and angled down, placing the end exactly where I wanted it. There is nothing to move or shift, nothing that needs to be secured to stay in place, nothing that rubs or touches anything so no possibility of wear, and installation was a breaze with the short, cut to length, hard line pickup.


When I removed the tank from the car I simply cut the rubber fuel line connections as this was much <much> easier than attempting to extract them from the barb fittings or even unbolt the fittings and deal with twisting the lines in place.
This process took longer than expected, but most things do when it's in the middle of the night. The rain was still going outside, which was nice with the open garage.


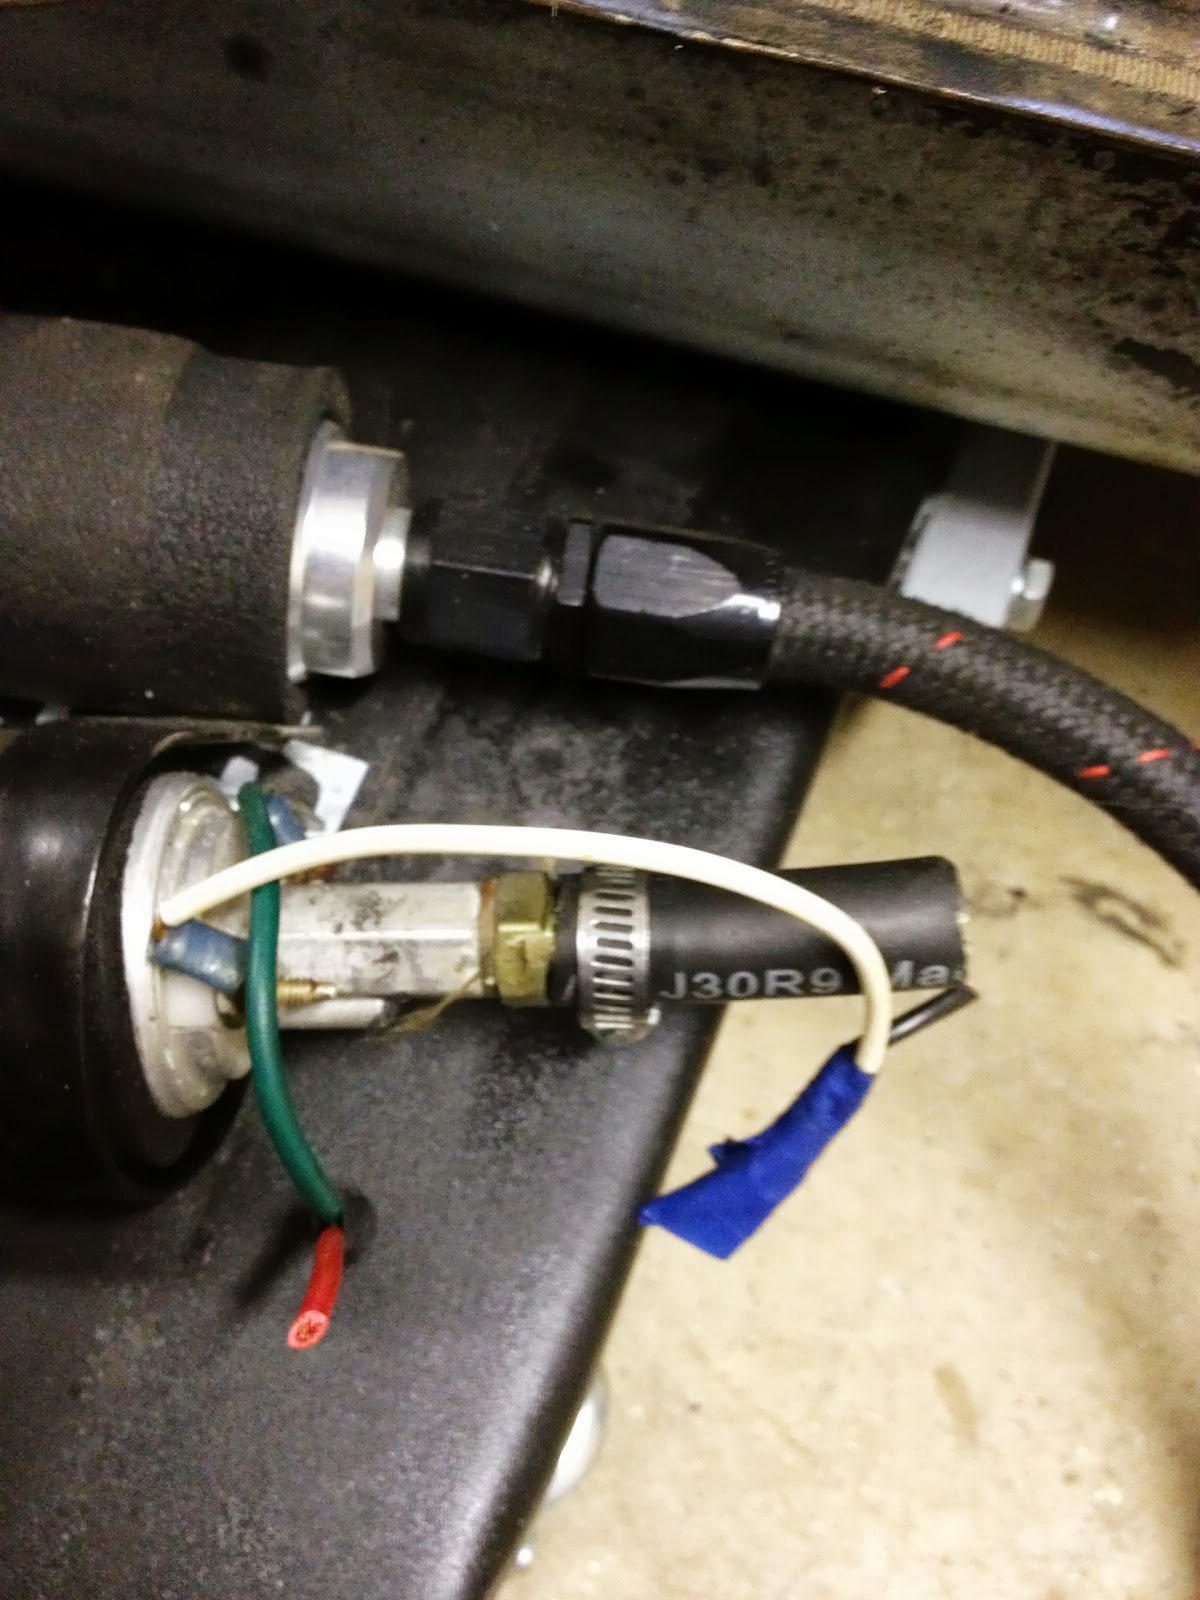
With the barb fittings cleaned, it was time to move on to the fuel sender. Note, that a future project is to replace all the soft lines with hard lines and -an fittings. This will be the first major project once I'm residing in the same country as my car again.
I coated the fuel sender unit with a healthy amount of rtv to be sure. Again, this was tank was getting sealed one way or another. Installed the rubber gasket, installed the sending unit in the correct orientation, locking it in place, and filled in the installed connection with more rtv.


Finished, sealed, tank.


Prepared for installation, and BAM, she's in there. Again, if you wish to read a step by step process of this, look back at the first tank install entry. It is all in there in excruciating detail, I promise.
Note the frayed sections of the filter -> pump -an line. I taped and secured the damaged sections and tucked it behind the inner wheel well fender this time during installation so that it would not risk rubbing against the wheel during operation. This line will probably be replaced when the rest of the fuel system lines are created and plumed, but for not it's very much intact and viable.

And I got distracted. It happens. Enjoy the mm brakes, hoosiers, coilover, shocks, RLCAs, mustache bar, finned cover lsd, techno toy tuning suspension shots. There's a nice homemade exhaust against some clean oem floor pans and rails in there somewhere too.


Back on task, the tank leaked when filled.
I was initially very disappointed, but as usual I jumped the gun and quickly realized it was the tank drain that was actually leaking, not the fittings.


Torqued and leak mitigated.


Back to taking pictures of suspension and fuel prons.


because racecar?


To pickup from fuel lines ones, I went to the hardware store with Giffin. While we were inside it decided to rain, significantly. Like most afternoon storms, it cleared up quickly and we were on our way.

Back at the house I sanded down all the loose paint from the tank and painted a few layers of clear coat to seal it in my usual fashion.


Looks perfect to me.
Halfway through our wet trip to Home Depot, which smelt amazing as hardware stores do, a light bulb or two went off and I realized exactly what I was going to use for the new fuel pickup design. Previously I had simply attached a submergable -8an hose to the bulkhead fitting. Normally pickup's like this simply dangle in the aftermarket tanks and are cut to length just above the base. Since I was reusing my oem tank, however, I had a horizontal run over a bulkhead and idealy needed to secure the line inside the tank from moving where it was originally intended to be placed. It was very difficult to cut to length while test fitting and get it to sit where I wanted it, let alone stay there with no way of ... securing it. Based on how easily it moved around looking at it this time, I am hard pressed to believe that it got past the last install without completely shifting off kilter, let alone while actually driving, cornering, or the simple act of filling her with fuel.
I was imagining some sort of hard tube, and purchased a straight copper tube, 1/2. This of course needed to be bent in some fashion, so that it would clear the inner tank bulkhead. If this first bend went ok then maybe a second bend could be added to bring the end of the pickup more towards the rear of the tank.
It wasn't. Wasn't ok that was. Sorry, don't have any photo's of this demoralizing attempt. It instantly kinked. I tried several times with the same insufficent result each time. The epiphany I had, however, while wondering the isles of the good smelling hardware store waiting for the skys to shut down was brilliant. I still had the 1/2" hard aluminum tubing that is going to be used later to plum the hard lines for the rest of the new full -an system in the 24o. When I bought it it was rolled up in a flat spiral, the arch of which I thought would be perfect.
It was.


Just as the -8an hose was tight enough to use on the fitting sans additional clamps, it fit VERY snuggly over the 1/2" tube and would work very well to secure it. After a few test fits (more photo's to follow) and some fine tuning of the lenth and curve, she was done.


With the welcomed break over, which I won by the way, and a few hours of sleep later, the tank was completely dry and ready for final installation.

The final product with all pieces mocked.

I purchased aluminum washers to help seal the bulkhead fittings. This is another failed attempt. I ordered them based on line diameter, obviously the fittings are a different size than the lines.
Duely noted.

Good thing I also purchased nylon sealing washers, in the correct -8an fitting size.

I'm not going to rehash the entire install process, but if you're really compelled, go back and find the previous entry covering the fuel tank mods. And yes, it's still just as much of a pain.

I gooped the threads and face flanges and sealing washers with ample amounts of rtv. I was doing everything I could this time around to prevent leaks. Looking back I'm suprised it didn't leak more than it did.


With both fittings installed, I went back over them with even more rtv. You can never be too sure.
This is where the fuel pickup sits now, just above the bottom center of the tank, about three quarters of the way back. The curve and length was such that it cleared the bulkhead and angled down, placing the end exactly where I wanted it. There is nothing to move or shift, nothing that needs to be secured to stay in place, nothing that rubs or touches anything so no possibility of wear, and installation was a breaze with the short, cut to length, hard line pickup.


When I removed the tank from the car I simply cut the rubber fuel line connections as this was much <much> easier than attempting to extract them from the barb fittings or even unbolt the fittings and deal with twisting the lines in place.
This process took longer than expected, but most things do when it's in the middle of the night. The rain was still going outside, which was nice with the open garage.


With the barb fittings cleaned, it was time to move on to the fuel sender. Note, that a future project is to replace all the soft lines with hard lines and -an fittings. This will be the first major project once I'm residing in the same country as my car again.
I coated the fuel sender unit with a healthy amount of rtv to be sure. Again, this was tank was getting sealed one way or another. Installed the rubber gasket, installed the sending unit in the correct orientation, locking it in place, and filled in the installed connection with more rtv.


Finished, sealed, tank.


Prepared for installation, and BAM, she's in there. Again, if you wish to read a step by step process of this, look back at the first tank install entry. It is all in there in excruciating detail, I promise.
Note the frayed sections of the filter -> pump -an line. I taped and secured the damaged sections and tucked it behind the inner wheel well fender this time during installation so that it would not risk rubbing against the wheel during operation. This line will probably be replaced when the rest of the fuel system lines are created and plumed, but for not it's very much intact and viable.

And I got distracted. It happens. Enjoy the mm brakes, hoosiers, coilover, shocks, RLCAs, mustache bar, finned cover lsd, techno toy tuning suspension shots. There's a nice homemade exhaust against some clean oem floor pans and rails in there somewhere too.


Back on task, the tank leaked when filled.
I was initially very disappointed, but as usual I jumped the gun and quickly realized it was the tank drain that was actually leaking, not the fittings.


Torqued and leak mitigated.


Back to taking pictures of suspension and fuel prons.


because racecar?


No comments:
Post a Comment