
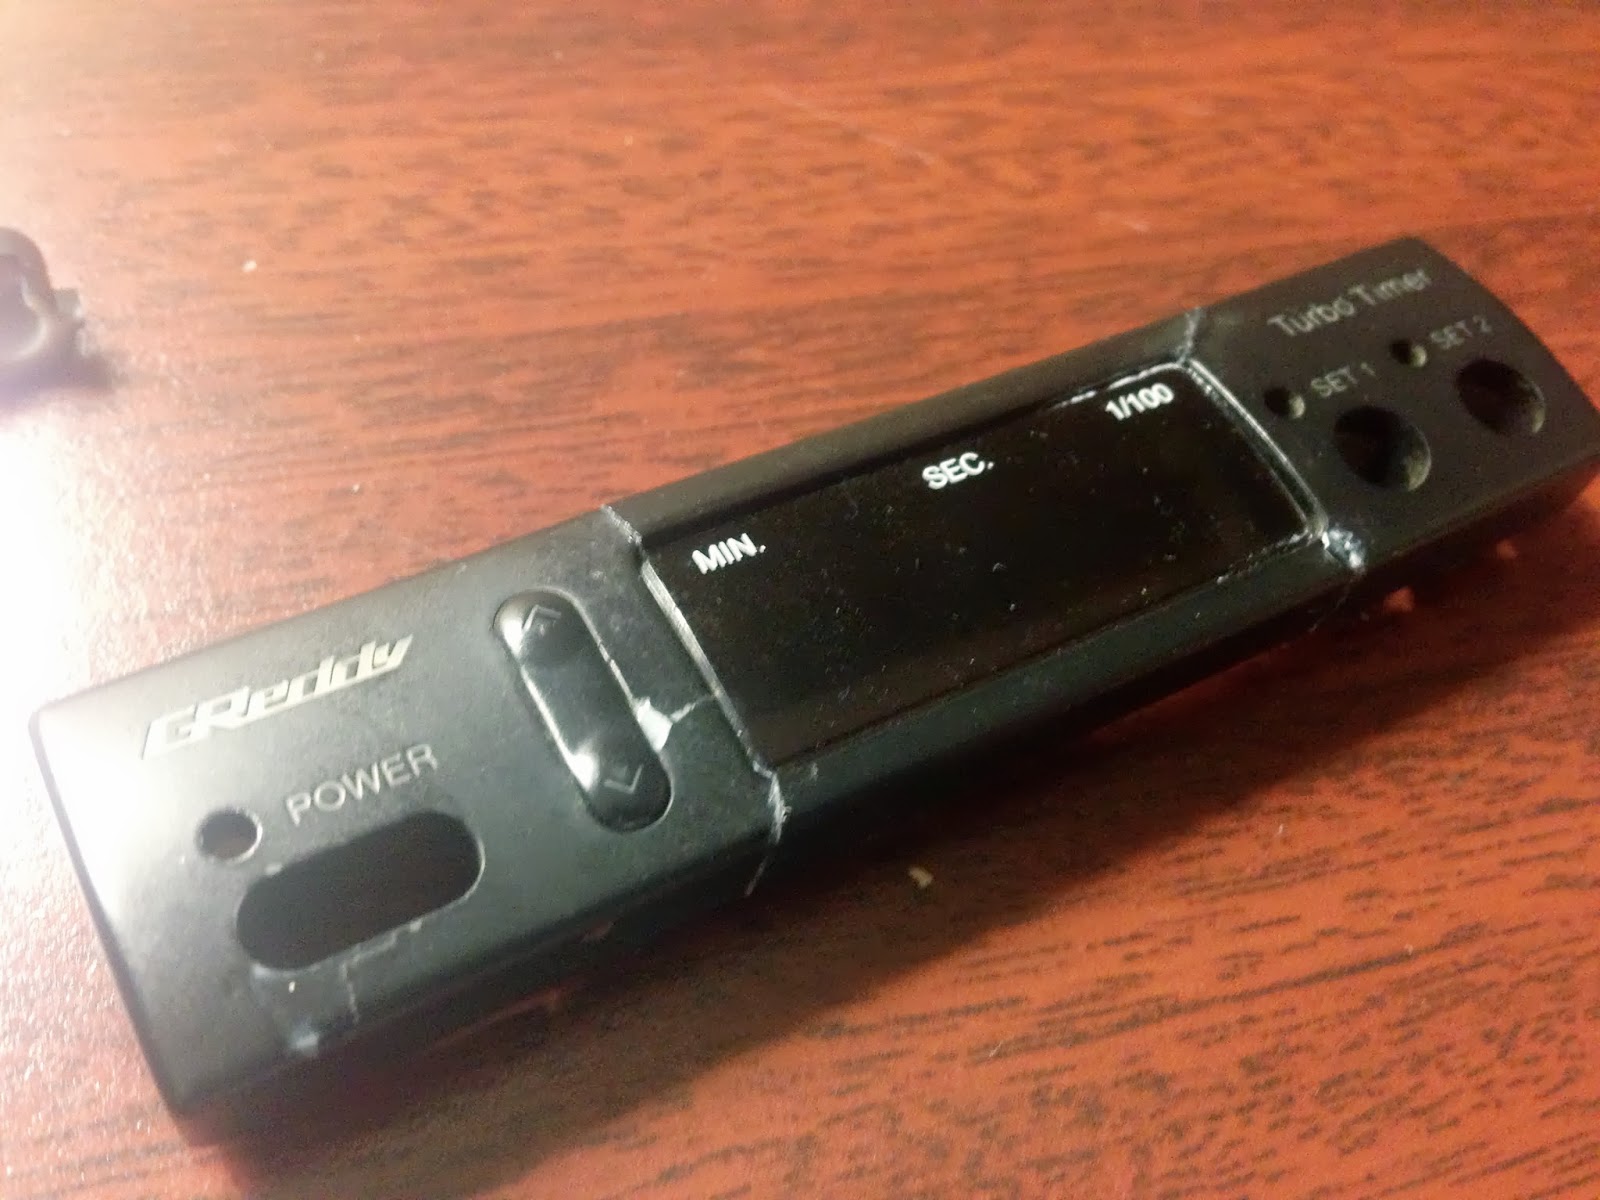
Next on the never-ending list was to fix the turbo timer. When I was building the switch panel the face panel broke in several pieces.


I picked up some super glue with the finest point tip available. It was similar to a felt tip pen. Some of the internal face clips broke and managed to work their way behind the face board, so I took apart the case and removed the rattle.


I then carefully glued the face plate back together...


...and installed it onto the case. I actually glued it onto the case to help hold everything together. This wasn't as easy as it seemed, and took several attempts, but finally everything was together, all buttons functioning.


Back in the garage was another story.


I cut the gauges and boost controller out of the wiring nest, installing them, including the newly refurbished turbo timer, into the ammo box.


Like a glove.


After a few trips to a few stores, I returned with an appropriately sized hole saw for the wires. I also drilled/mounted the boost controller solenoid to the rear of the box.


Measured and drilled mounting holes for the ammo box itself. These surprisingly align perfectly with the mounting bracket of the car on of the transmission tunnel in front of the shifter. It's difficult to mount though because of the plethora of wires inside the box itself, but once installed, everything is perfectly hidden.


Next I added the missile toggle covers to the more important switches including disconnect, start, ignition, fuel pump, and fan. As a reminder, the remaining uncovered switches on the upper power panel include o2 wide-band, boost controller/turbo timer, and gauges. The lower accessory panel include wiper, headlights, turn signals, and horn.


As a change of pace, I moved onto the battery panel, drilling and mounting the disconnect on the transmission side of the battery, to be closer to the transmission tunnel where the power line will be camouflaged. I test fit this with the seat to make sure it didn't interfere with the rail drop height from front to back.


Take a well deserved break.

Return to more parts. While I was out an FD apexi power fc hand controller mount arrived. I purchased the one with the longer base in order to have the option to cut it back if needed.


Installed, taking into consideration final switch box location and my normal seating position. I can see the face of the controller in this position through the steering wheel. The only issue I have with it is that you have to uninstall it in order to open the ammo box. But even worse than this, in order to flip the gauge top all the way over, you have to un-mount the box from it's installed position and tilt it, as the top will hit the windshield.
It's a tight fit.


Drilled a wire hole in the top of the ammo box, wanted to have all wires bundled together when they leave from the same location in the back of the ammo box. The gauges did not have to be wired into the box, as their wires go to the battery under the seat, engine bay sensors, boost valves, or finding their way to ground as the case may be. I thought it would clean things up this way.


I then drilled and mounted the button and led switch for the o2 wideband. One of the leads pulled out of the button and I had to take it apart, reset the lead, and reassemble the button. Works like new.

It's hard to tell in this photo, but you can see the wideband internal controller mounted on the rear of the box. I drilled two pairs of small holes and threaded zipties in to secure it in place. It's very solid, the wires on one side feeding out in the direction of the o2 sensor, the main wires on the other feeding directly into the wireloom coming out of the lower ammo box hole to appropriate connections with the rest of the bundle, similar to the gauges above.


I picked up some super glue with the finest point tip available. It was similar to a felt tip pen. Some of the internal face clips broke and managed to work their way behind the face board, so I took apart the case and removed the rattle.


I then carefully glued the face plate back together...

...and installed it onto the case. I actually glued it onto the case to help hold everything together. This wasn't as easy as it seemed, and took several attempts, but finally everything was together, all buttons functioning.


Back in the garage was another story.


I cut the gauges and boost controller out of the wiring nest, installing them, including the newly refurbished turbo timer, into the ammo box.


Like a glove.


After a few trips to a few stores, I returned with an appropriately sized hole saw for the wires. I also drilled/mounted the boost controller solenoid to the rear of the box.


Measured and drilled mounting holes for the ammo box itself. These surprisingly align perfectly with the mounting bracket of the car on of the transmission tunnel in front of the shifter. It's difficult to mount though because of the plethora of wires inside the box itself, but once installed, everything is perfectly hidden.


Next I added the missile toggle covers to the more important switches including disconnect, start, ignition, fuel pump, and fan. As a reminder, the remaining uncovered switches on the upper power panel include o2 wide-band, boost controller/turbo timer, and gauges. The lower accessory panel include wiper, headlights, turn signals, and horn.


As a change of pace, I moved onto the battery panel, drilling and mounting the disconnect on the transmission side of the battery, to be closer to the transmission tunnel where the power line will be camouflaged. I test fit this with the seat to make sure it didn't interfere with the rail drop height from front to back.


Take a well deserved break.

Return to more parts. While I was out an FD apexi power fc hand controller mount arrived. I purchased the one with the longer base in order to have the option to cut it back if needed.


Installed, taking into consideration final switch box location and my normal seating position. I can see the face of the controller in this position through the steering wheel. The only issue I have with it is that you have to uninstall it in order to open the ammo box. But even worse than this, in order to flip the gauge top all the way over, you have to un-mount the box from it's installed position and tilt it, as the top will hit the windshield.
It's a tight fit.


Drilled a wire hole in the top of the ammo box, wanted to have all wires bundled together when they leave from the same location in the back of the ammo box. The gauges did not have to be wired into the box, as their wires go to the battery under the seat, engine bay sensors, boost valves, or finding their way to ground as the case may be. I thought it would clean things up this way.


I then drilled and mounted the button and led switch for the o2 wideband. One of the leads pulled out of the button and I had to take it apart, reset the lead, and reassemble the button. Works like new.

It's hard to tell in this photo, but you can see the wideband internal controller mounted on the rear of the box. I drilled two pairs of small holes and threaded zipties in to secure it in place. It's very solid, the wires on one side feeding out in the direction of the o2 sensor, the main wires on the other feeding directly into the wireloom coming out of the lower ammo box hole to appropriate connections with the rest of the bundle, similar to the gauges above.


No comments:
Post a Comment