
This was intended to be a simply "switches part 2" post, but there were way too many pictures. By way too many I mean I'm going to be splitting it into an a, b, and probably c.
Diving right in, parts hoarding.


Refer to previous entries covering the fateful z caravan and the tc rod letting loose. If you recall, I swapped it for the oem one to get home after trying to make it work on the road. Upon returning I got new nuts/bolts/washers from the local ace that seemed to work well. The downside was the nuts were standard height/thickness which prevented it from threading on all the way. On top of this the standard nut was so much larger it was very close to, if not hitting, the chassis. Also, while one washer I reused had an inner shoulder, the one I picked up at the store did not. I was able to torque them down and ride around, but I could hear a clonking nose coming from that corner.
At first I thought the cross bolt that goes through the adjustable spherical bearing was hitting the chassis during operation since the nut was now larger than designed. I rotated the joint so it was pointed away from the car, but I imagined it rotating back while driving, or because of the suspension motion, simply coming into contact at it's min/max positions.
After thinking about it for a while, something more probable was the lack of a shouldered washer on the aft side of the tc rod -to- car mount. The bolt is smaller than the hole and the way the joint is designed, the techno toy tuning washers have inner shoulders that fit inside the hole, between the car and the bolt. This secures the bolt from moving under load. This probably works better than if the bolt were simply enlarged, since the shoulders give a surface to keep the both straight, and distribute the load over the face of the washer, held in place by the clamping force of the nut. Without this, a larger bolt that fit a hole without significant depth/thickness could move left/right more easily at the same clamping force. It's like putting a 1/2" bolt in a 1/2" hole in a single piece of paper vs. putting it into the same hole but in an entire stack of papers 1" thick. The bolt isn't going to move side to side as easily, and the washers which create this id hole height are locked into place by the nut.


I also received many boxes from summit, and there's a sneak peak of one.
After gathering all the parts, and the car, I took a stroll over to Giffin's. Thankfully he was able to offer up his garage for the week, or two, while I was in town in order to prepare for the upcoming import alliance show in Atlanta.
Beautiful drive.


Helped clean the garage and started unloading boxes and tools.

(1) remote battery disconnect via toggle
(1) 14-circuit remote mounting mini fuse box with full wiring harness
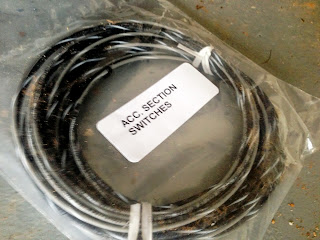
(2) 8-toggle switch panels

(1) trunk battery relocation kit, 0/1 ga

mix of fuel lines and fittings

mix of flex fuel pickup lines, spare z32 maf, and tools. Anyone need a maf? Rough around the edges, but should still work. I'll even test it before selling if required.

Hand grinder tools and bits, random intake coupler.

I brought everything over just in case I finished more quickly than planned, including the -an lines and fuel parts. This may prove to be very optimistic, but on the list was really only two things, to install the techno toy tuning hardware, and finish the wiring.
Picking up where I left off from building the switch box, I continued to unpack the car. Apologies about referring to previous posts so much, but I'm attempting to cater to everyone, who may or may not be reading in order. That and I know I jump around a bit, from catching up posts to current events when important enough. Get on it.

I don't even know how this box ended up in the car. It includes side fender mirrors, door poppers, flexanne to make hard poly mounts with, and glue to re-adhere magnapan speaker liners with. I think the new fuel rail I'll eventually use with the -an lines was also buried in here, which may explain how it got to the garage. Again, optimistic.


Here again, the aircraft switch covers from summit made it over as well, which doesn't necessarily always happen when opening a box early at one location and transporting everything to another to do the work. As a side note, I wanted black ones but I think all the companies in the world had a major run of red, and they now go for less than 1o$ each. Any other color is less than 2o$. I didn't feel black was worth double the price on switch covers, almost as much as I didn't like the idea of adding to the workload this week(s) with toggle switch cover disassembly, sanding, painting, and re-riveting as it would require. I don't even have a riveter, if you can imagine.


I know that's a lot of crazy pictures of the current situation, but I just wanted to make sure everyone understood the effort that was ahead of me and it's relative importance.
Unpacking parts.


Ooo, expensive electrical disconnect to toggle switch. I opted for this instead of what is usually used for several reasons. This was going to be an interior dash switch, and I didn't want a huge flip switch or over-sized button on the "dash", let alone the fact it probably wouldn't fit on said dash. I didn't want to have to run the super low gauge battery wires up from the battery under the seat, to the switch panel, then to the engine harness. I would then have to run the fuse box power lines up to the switch box, but again this didn't seem like the best overall routing. The switch box would need more holes just to accommodate the large power wires, not to mention they would be difficult to connect and route with small radius turns and all the other wires already going to the rest of the toggles. Finally, for electrical reasons it's simply best to mount the disconnect as close to the battery as possible, and this would avoid having to route two 0 gauge wires back and forth from under the seat attempting to try and hide them under the transmission vinyl. Yeah right.
All that, and it turns out painless makes a remote disconnect, activated by a matchy-matchy toggle. Simples.
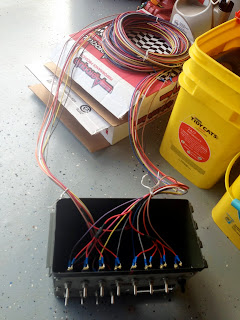
I continued unpacking, making sure I had everything in the "painless" wiring fuse kit.


That's a lot of wires. As it turns out, I had to modify the instructions a bit as they didn't really include switch panels or anything remotely comparable to an import with an ecu, but after this was overcome, things went very quickly.

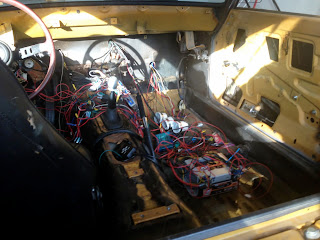
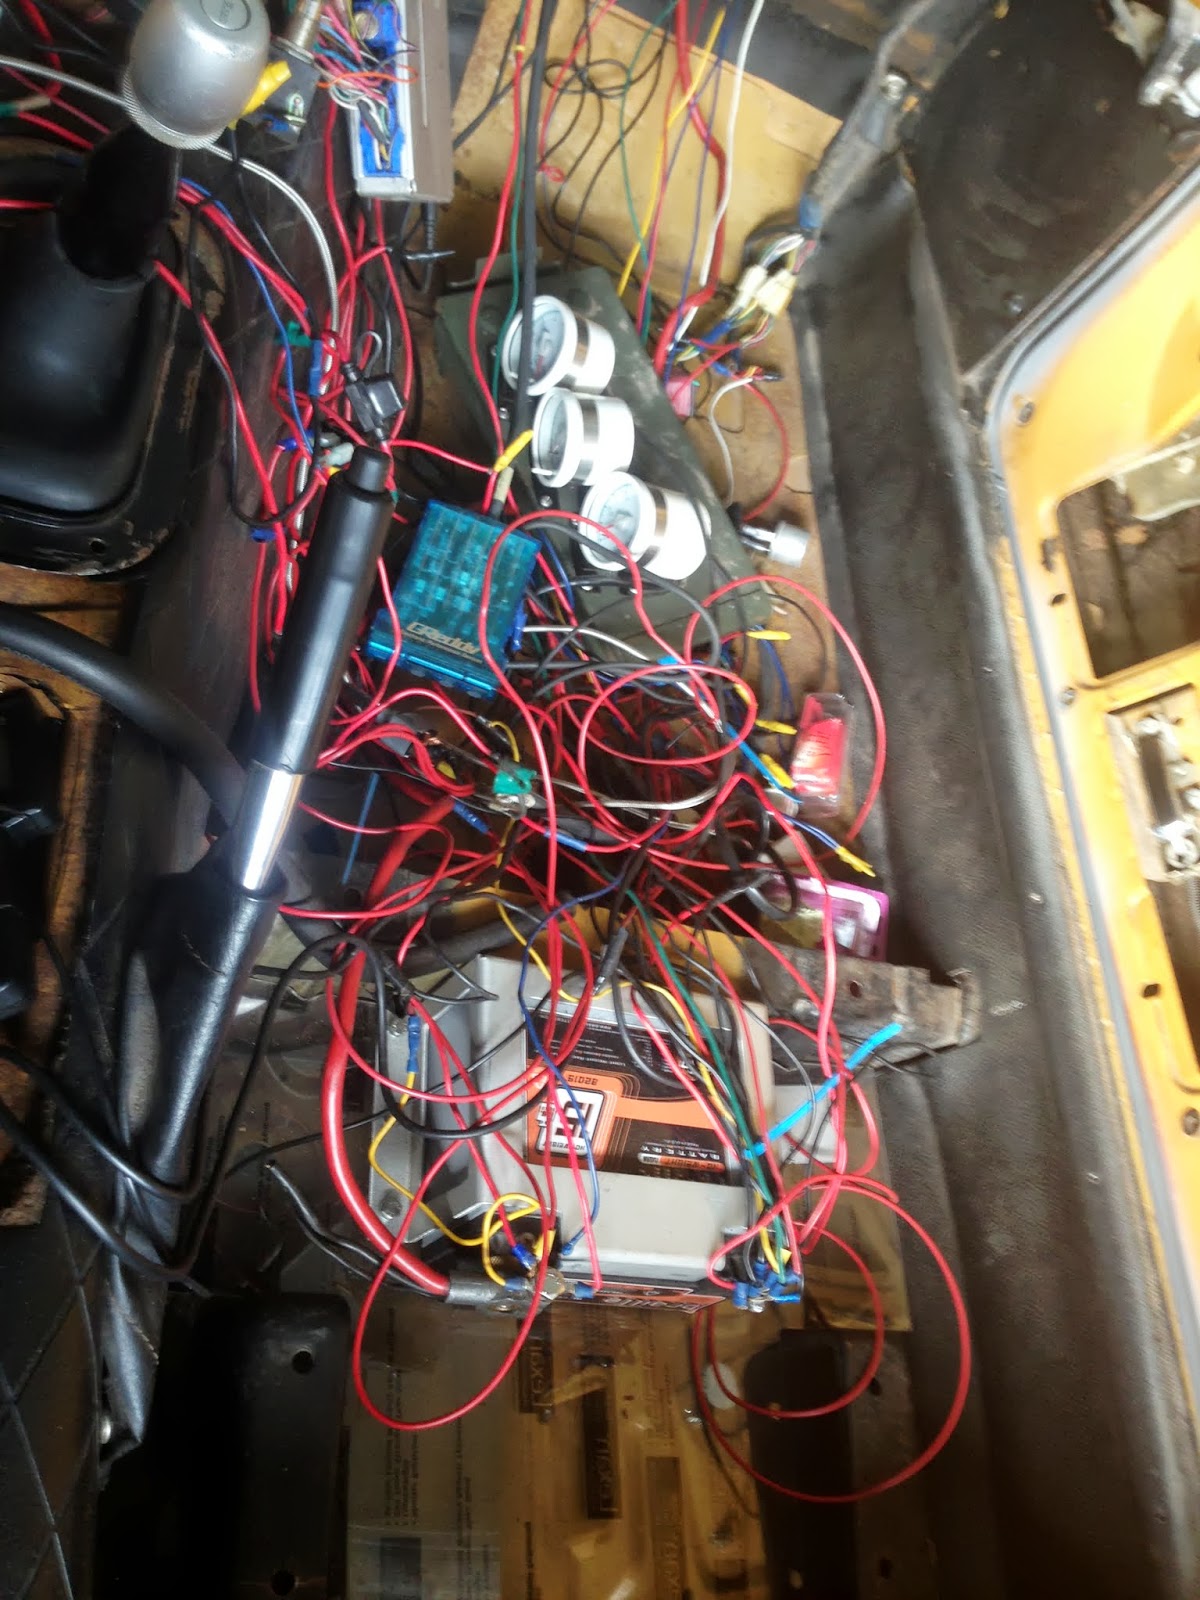
Just to prove I did more the first night than just unbox things, which is in of itself not that bad, here's the battery pulled from the nest of wires that was my passenger seat. I ziptied the power and negative leads into bundles to try to keep my sanity when re-routing.
I also located the gold colored negative out-terminal in one of the many boxes inside boxes and connected it. Previously I had simply bolted the wires thru the eyelits directly to the battery terminal since I didn't have a true ground clamp or junction box.
All of this would be fixed.


Diving right in, parts hoarding.


Refer to previous entries covering the fateful z caravan and the tc rod letting loose. If you recall, I swapped it for the oem one to get home after trying to make it work on the road. Upon returning I got new nuts/bolts/washers from the local ace that seemed to work well. The downside was the nuts were standard height/thickness which prevented it from threading on all the way. On top of this the standard nut was so much larger it was very close to, if not hitting, the chassis. Also, while one washer I reused had an inner shoulder, the one I picked up at the store did not. I was able to torque them down and ride around, but I could hear a clonking nose coming from that corner.
At first I thought the cross bolt that goes through the adjustable spherical bearing was hitting the chassis during operation since the nut was now larger than designed. I rotated the joint so it was pointed away from the car, but I imagined it rotating back while driving, or because of the suspension motion, simply coming into contact at it's min/max positions.
After thinking about it for a while, something more probable was the lack of a shouldered washer on the aft side of the tc rod -to- car mount. The bolt is smaller than the hole and the way the joint is designed, the techno toy tuning washers have inner shoulders that fit inside the hole, between the car and the bolt. This secures the bolt from moving under load. This probably works better than if the bolt were simply enlarged, since the shoulders give a surface to keep the both straight, and distribute the load over the face of the washer, held in place by the clamping force of the nut. Without this, a larger bolt that fit a hole without significant depth/thickness could move left/right more easily at the same clamping force. It's like putting a 1/2" bolt in a 1/2" hole in a single piece of paper vs. putting it into the same hole but in an entire stack of papers 1" thick. The bolt isn't going to move side to side as easily, and the washers which create this id hole height are locked into place by the nut.


I also received many boxes from summit, and there's a sneak peak of one.
After gathering all the parts, and the car, I took a stroll over to Giffin's. Thankfully he was able to offer up his garage for the week, or two, while I was in town in order to prepare for the upcoming import alliance show in Atlanta.
Beautiful drive.


Helped clean the garage and started unloading boxes and tools.

(1) remote battery disconnect via toggle
(1) 14-circuit remote mounting mini fuse box with full wiring harness
(2) 8-toggle switch panels

(1) trunk battery relocation kit, 0/1 ga
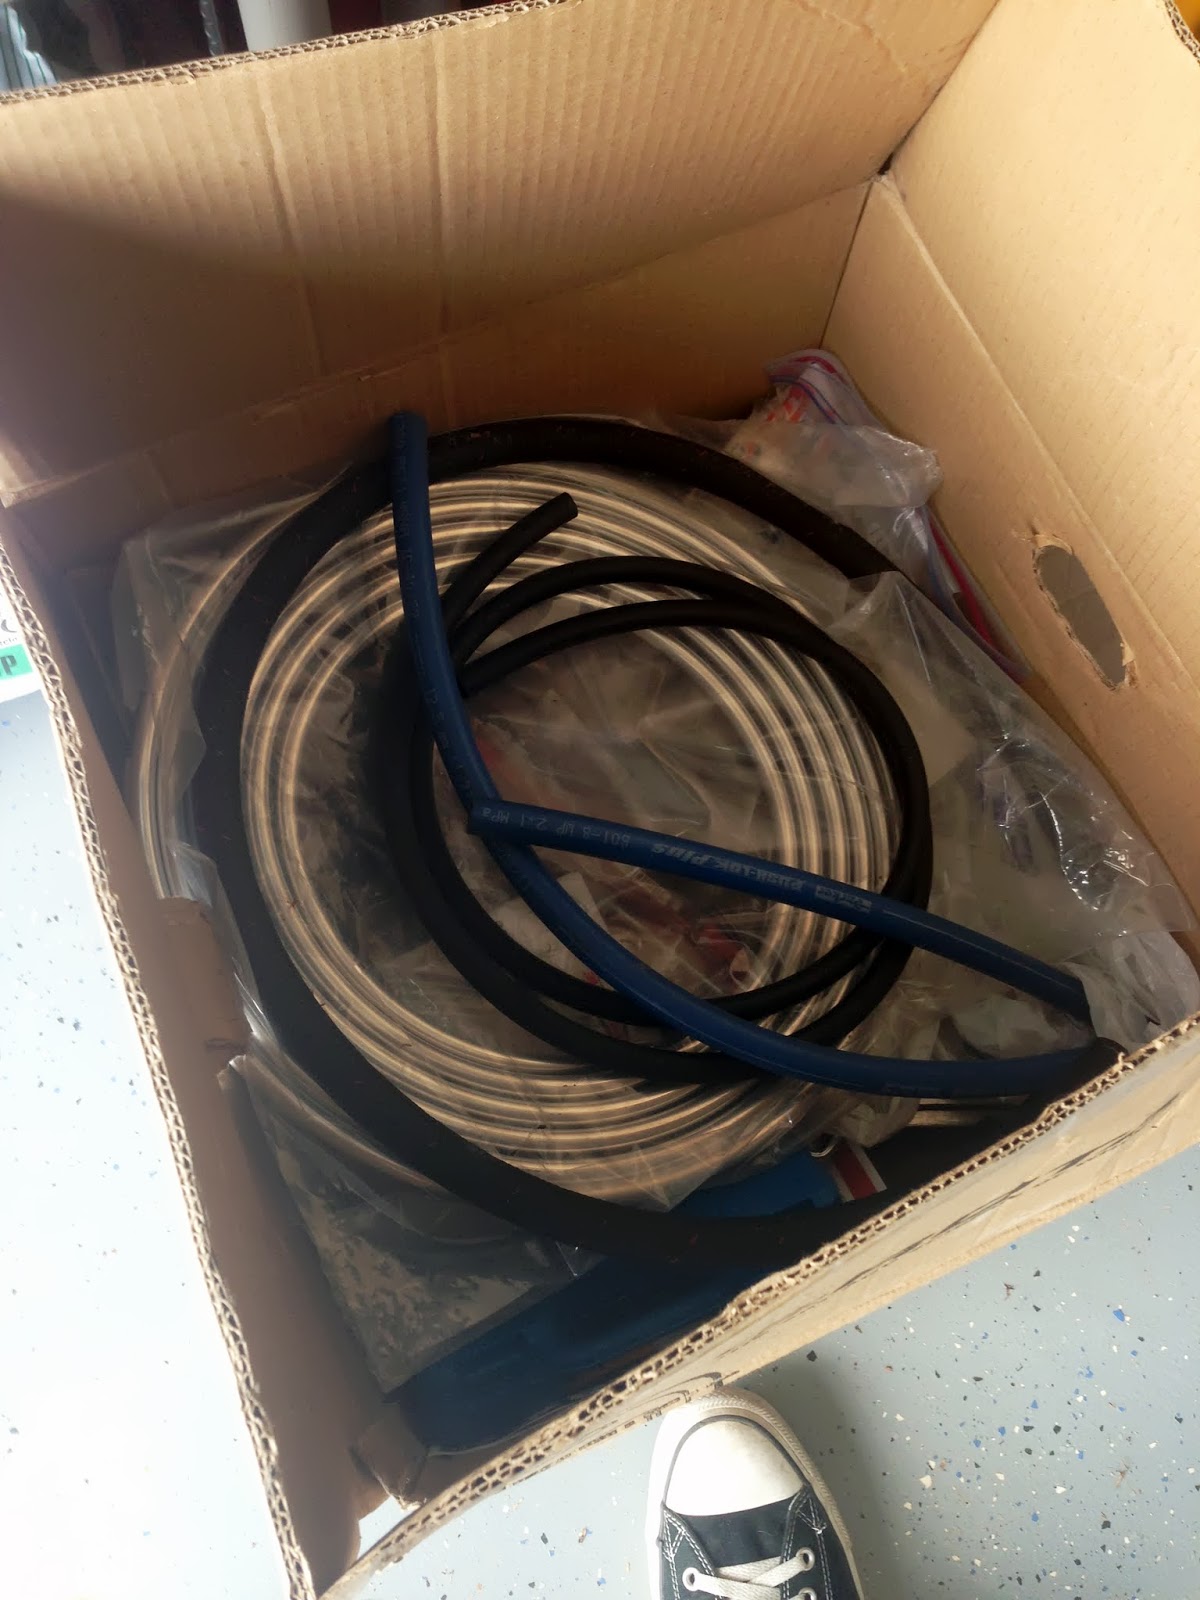
mix of fuel lines and fittings

mix of flex fuel pickup lines, spare z32 maf, and tools. Anyone need a maf? Rough around the edges, but should still work. I'll even test it before selling if required.

Hand grinder tools and bits, random intake coupler.

I brought everything over just in case I finished more quickly than planned, including the -an lines and fuel parts. This may prove to be very optimistic, but on the list was really only two things, to install the techno toy tuning hardware, and finish the wiring.
Picking up where I left off from building the switch box, I continued to unpack the car. Apologies about referring to previous posts so much, but I'm attempting to cater to everyone, who may or may not be reading in order. That and I know I jump around a bit, from catching up posts to current events when important enough. Get on it.


I don't even know how this box ended up in the car. It includes side fender mirrors, door poppers, flexanne to make hard poly mounts with, and glue to re-adhere magnapan speaker liners with. I think the new fuel rail I'll eventually use with the -an lines was also buried in here, which may explain how it got to the garage. Again, optimistic.


Here again, the aircraft switch covers from summit made it over as well, which doesn't necessarily always happen when opening a box early at one location and transporting everything to another to do the work. As a side note, I wanted black ones but I think all the companies in the world had a major run of red, and they now go for less than 1o$ each. Any other color is less than 2o$. I didn't feel black was worth double the price on switch covers, almost as much as I didn't like the idea of adding to the workload this week(s) with toggle switch cover disassembly, sanding, painting, and re-riveting as it would require. I don't even have a riveter, if you can imagine.


I know that's a lot of crazy pictures of the current situation, but I just wanted to make sure everyone understood the effort that was ahead of me and it's relative importance.
Unpacking parts.


Ooo, expensive electrical disconnect to toggle switch. I opted for this instead of what is usually used for several reasons. This was going to be an interior dash switch, and I didn't want a huge flip switch or over-sized button on the "dash", let alone the fact it probably wouldn't fit on said dash. I didn't want to have to run the super low gauge battery wires up from the battery under the seat, to the switch panel, then to the engine harness. I would then have to run the fuse box power lines up to the switch box, but again this didn't seem like the best overall routing. The switch box would need more holes just to accommodate the large power wires, not to mention they would be difficult to connect and route with small radius turns and all the other wires already going to the rest of the toggles. Finally, for electrical reasons it's simply best to mount the disconnect as close to the battery as possible, and this would avoid having to route two 0 gauge wires back and forth from under the seat attempting to try and hide them under the transmission vinyl. Yeah right.
All that, and it turns out painless makes a remote disconnect, activated by a matchy-matchy toggle. Simples.
I continued unpacking, making sure I had everything in the "painless" wiring fuse kit.


That's a lot of wires. As it turns out, I had to modify the instructions a bit as they didn't really include switch panels or anything remotely comparable to an import with an ecu, but after this was overcome, things went very quickly.

Just to prove I did more the first night than just unbox things, which is in of itself not that bad, here's the battery pulled from the nest of wires that was my passenger seat. I ziptied the power and negative leads into bundles to try to keep my sanity when re-routing.
I also located the gold colored negative out-terminal in one of the many boxes inside boxes and connected it. Previously I had simply bolted the wires thru the eyelits directly to the battery terminal since I didn't have a true ground clamp or junction box.
All of this would be fixed.


No comments:
Post a Comment