
Evening 3 of prep for the sr20 removal.


I used the interior of the car for parts removed and to store tools instead of having to keep bringing things inside and out.

Current level of progress. Most everything below the black line, and even one above, has to do with removing the engine from below, and as discussed before this was not to be and would eventually be crossed out from the itemized progress list entirely.

I tested my tow strap and load leveler to make sure things hooked together properly before the big day.


I have no idea where this o-ring came from, and I have no idea where it is now. Any ideas?!


Next items to tackle were removing the power steering and a/c pumps and their associated belts and brackets and tensioners. As a map, the left most pulley (out of the photo actually) is the alternator. This is powered by a belt running from the oil pump (the upper left black pulley) to the crank, in the center bottom. To the upper right of the crank is the idler pulley for the a/c pump pulley, which is lower right. Finally, above the a/c is the power steering pulley which has it's own tensioner.

This is the power steering pulley hiding under the upper radiator hose, the a/c idler pulley lower left.

These are the two lines coming from the power steering pump, one goes to the canister and the other runs to the rack eventually, but not before it runs forward to a mount, which I disconnected earlier.


You can see the tensioner below the power steering pump pulley.There is the lock bolt to the right and the tensioner mount bolt to the left. The lock bolt locks the tensioner in place once you set the tension, with a bolt on the back side accessible from the passenger side of the car. More importantly than this, there is actually a second mount bolt below the left one in the photo which needs to be removed to remove the mount.


Here are the two power steering tensioner mount bolts, the lower one of which is behind the a/c tensioner pulley.

Loosen the tension on the a/c tensioner pulley, and then remove the a/c tensioner pulley entirely, making sure to grab the nuts and washers that come with it, and maybe more crucial, remember the order of removal. This one actually isn't difficult as I think there was only a nut, possibly a small washer, the pulley, and a large washer that it rides on. It's just a very good idea in general to keep track of order and orientation when disassembling.


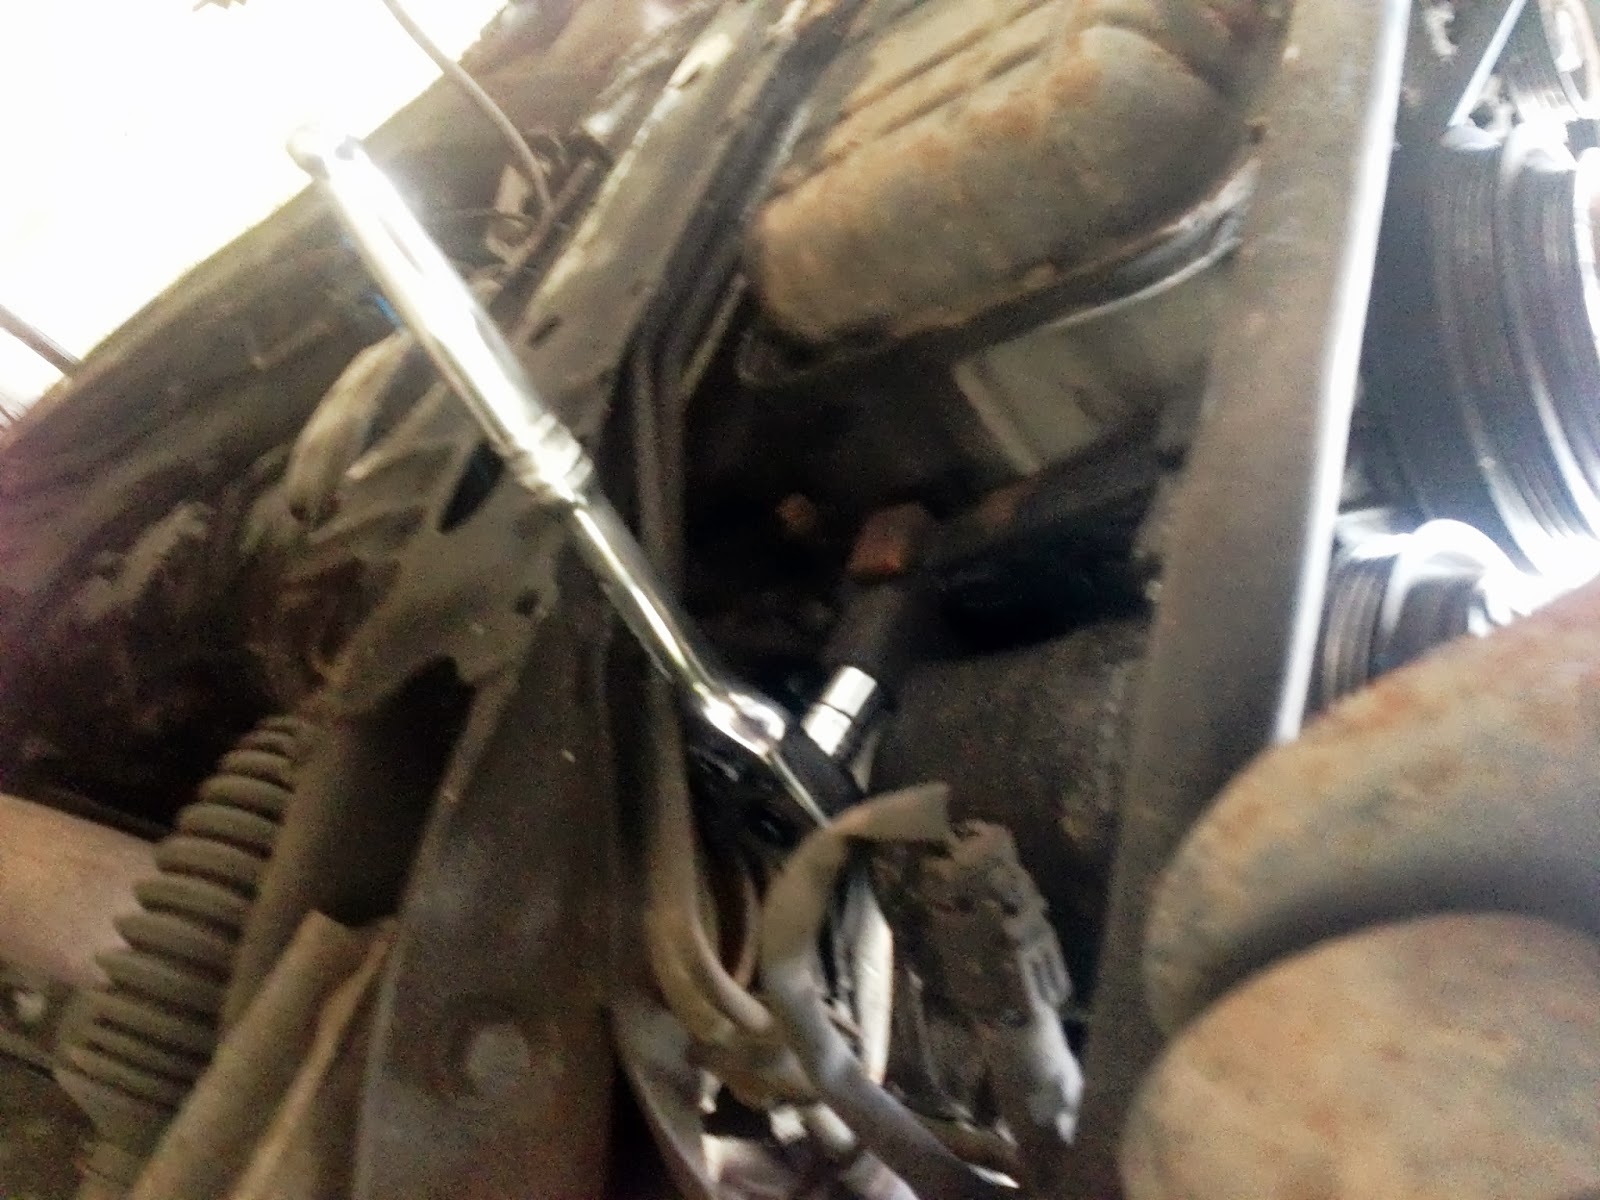
Now that the lower power steering tensioner bracket mount could be accessed, remove it.


Push down on the power steering pump which will release the belt tension if it hasn't already.

Remove the power steering and a/c belts.


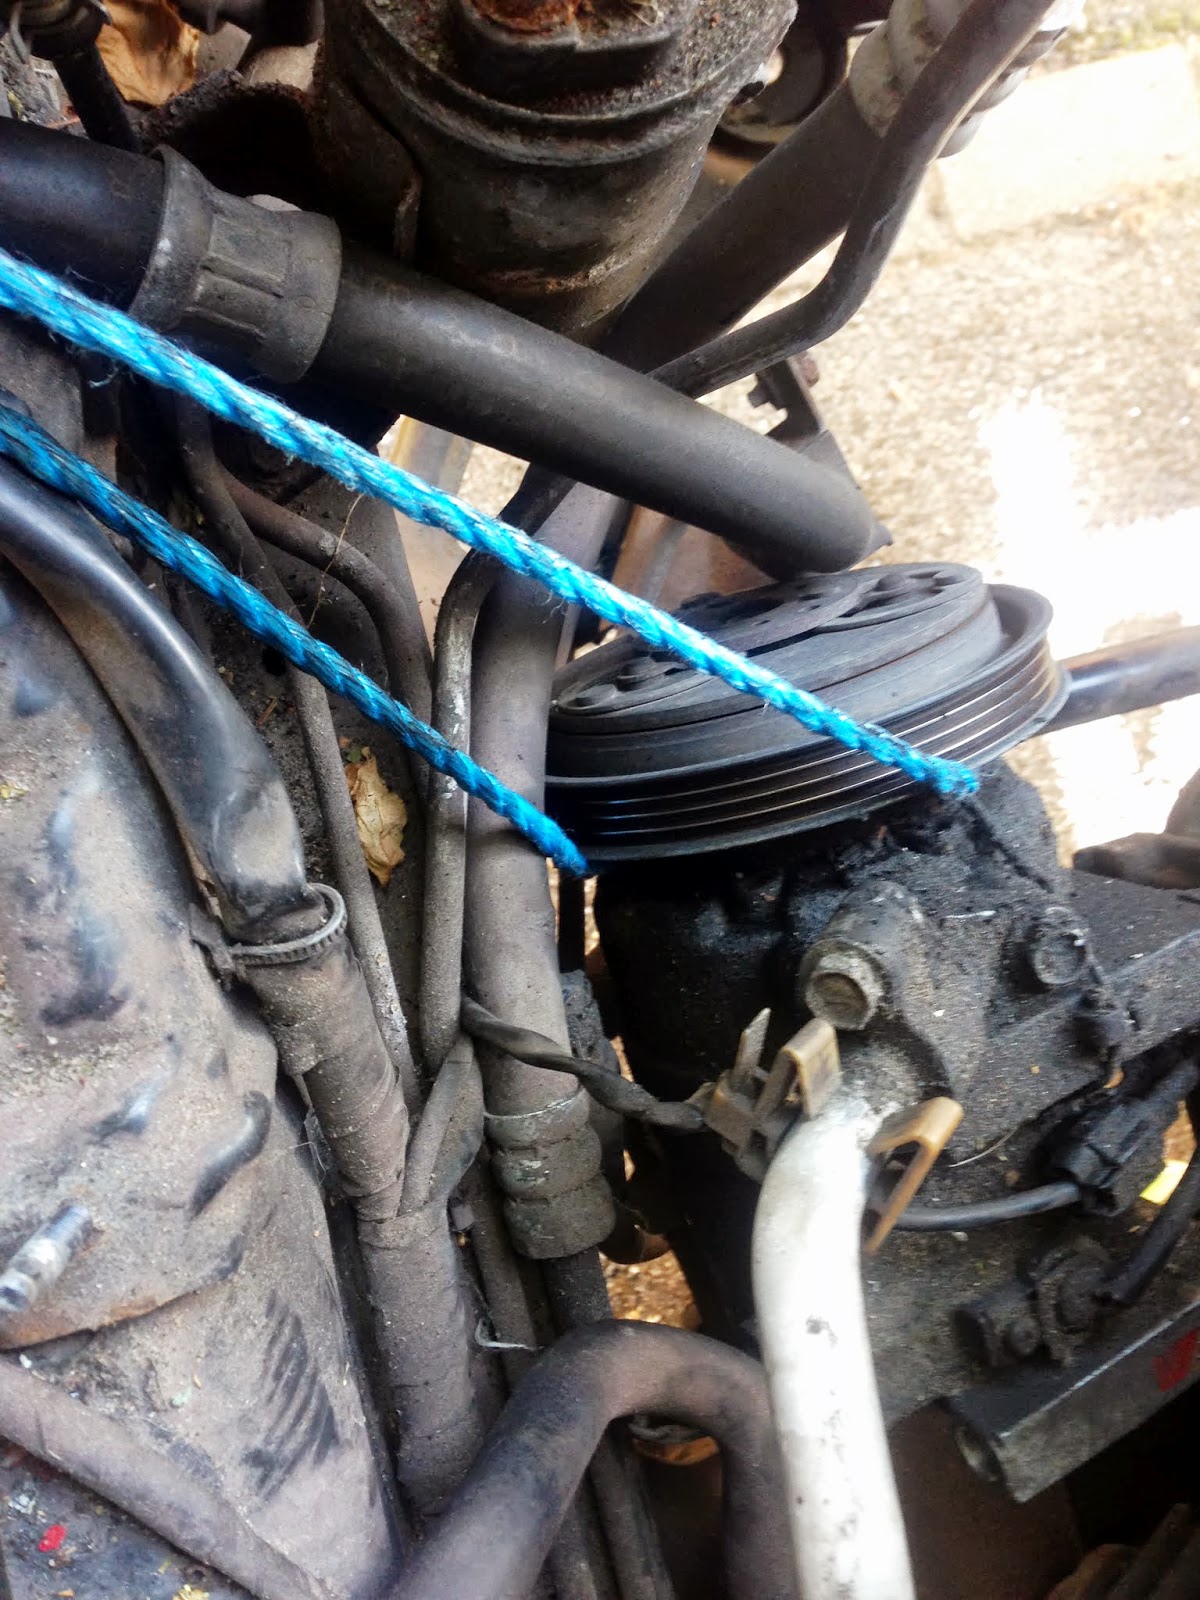
Remove the power steering mount bolts, wiggle power steering off the engine, and pull as far away as possible from the engine so that when the engine is removed, it hopefully won't interfere. I used the blue shop rope to tie it to the sidewall of the engine bay out of the way of the action for now.


Here's a shot of the mount /line holder that I removed in order to let the power steering pump be pulled away easier and further without kinking anything.


Now remove the a/c pump, some of the mount bolts are more easily accessed from below.


Once released from the engine, follow suit and tie it as far up and out of the way as possible trying to make sure the lines don't kink, tear, get lacerated, or generally damaged. This would also be a good time to put the a/c tensioner pulley back in place on the engine so it doesn't get lost. I would say I did it now but it can be seen wandering around the engine bay in the subsequent pictures until it magically re-appears in it's home on the serpentine tract.


In a similar fashion to the power steering pump pulley, I may have already said I removed the throttle cable in a previous prep post. I didn't lie, the truth changed.

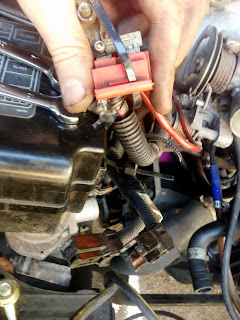
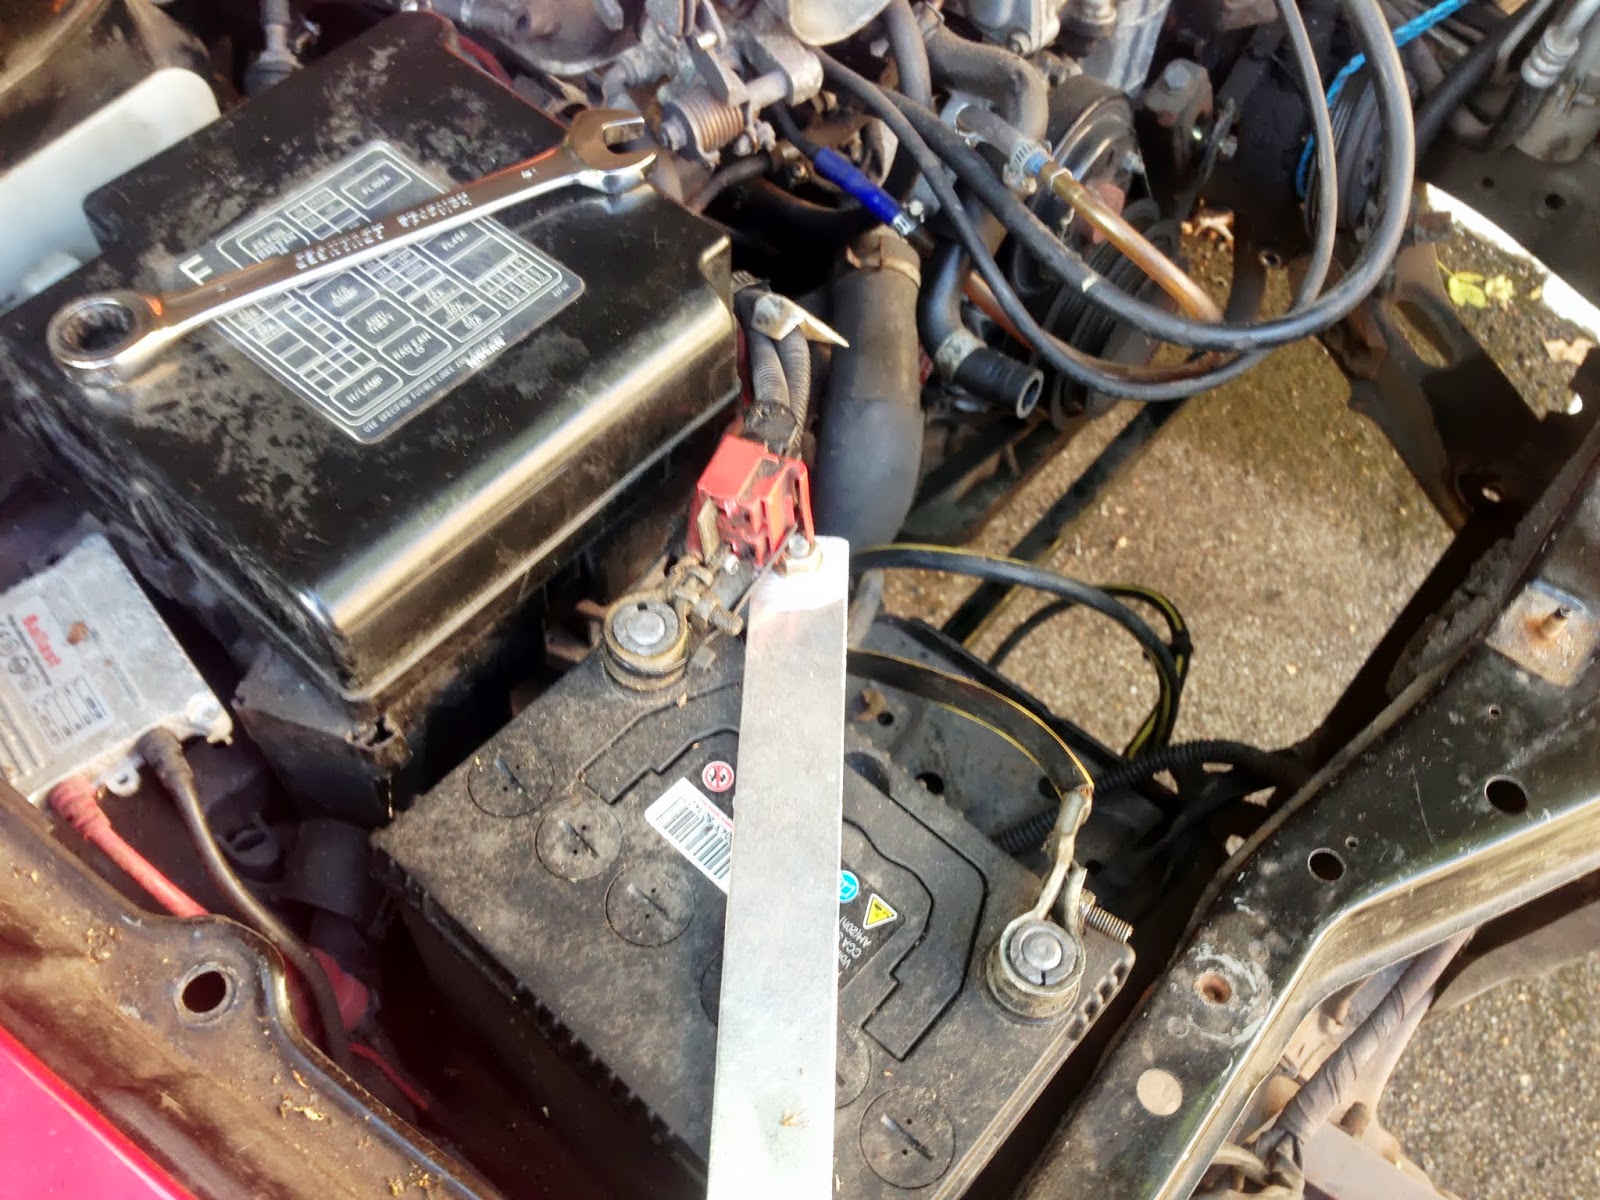
Once this is done, I disconnected everything electrical around the battery going to the engine looms. This involved breaking into the fuse box to remove some of the clips and bolts holding main bundles.


Where's Waldo's pulley?

I realized for the first time during this operation where the OEM BOV is located. Under the fuse box! The previous owner didn't even attempt to remove it when they un-plumbed it for a new atmospheric model attached directly to the FMIC tubes.

Again, unplug all wires from the engine loom to the body. The goal of this entire preparation is to remove everything connecting the body to the engine. Some things are more easily left on the body side, others the engine side, the lower engine loom being the latter.


This includes body grounds and random wires the previous owner installed for an as yet to be identified reason (fyi, that's the red one).


The upper fuel injection harness runs through the main harness bundle under the dash, and in this instance is easier to remove and leave with the body, I thought, than to try to disconnect inside the car and have to shimmy through the firewall as the engine is removed. There are various idle air controls, fuel injectors, TPS, a few grounds, thermostat, even CAS wired into this portion of the loom. Just go plug by plug ... unplugging ... and if needed label them, but usually there is only one plug of any particular style in the area of that plug for that exact reason. Error proofing.


Several of these plugs have clips, it's easier to try to remove them than to break them. Don't be frustrated if some break or crack or clips get lost, they can be replaced, but at least try to mitigate the damage.


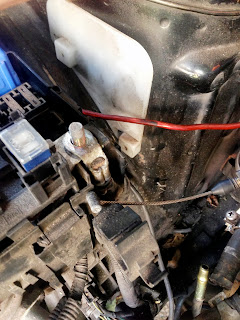
Disconnect the large vacuum line running to the power booster for the brake system.


Although I show myself beginning to disconnect vacuum lines coming off the engine, like possibly the PVC vacuum line on the driver side or the valve cover to intake line on the passenger side, don't. I quickly realized that either they were already disconnected on the other ends, or that they went to other parts of the engine, namely the manifold or valve cover, and did not need to be removed to remove the engine.
In general, you need to disconnect the vacuum lines running from the engine to the chassis like the boost controller or bonnet washer squirters (or cut them as laziness permits).


Another frustrating set of steps in this disassembly was removing the spark plug wires.


Normally this would be what is required, as the upper engine loom is staying with the chassis.


But apparently it is a sub-harness with a plug in the back to the main upper harness. All that should be done is unplug the sub-harness from the main upper harness so that it stays neatly connected to all the coils and you avoid 4 plugs, a ground, and a cover instead of simply removing one plug. It's also much easier to keep track of when it's attached to the car, rather than ... somewhere else ... but I don't want to get off into that hole.
Moving on, I cut some vacuum lines to avoid breaking fittings, or because it was simply much easier after a quick pull did not yield the desired result. Watch out for cutting lines that don't have a lot of slack in them already, as they may need to be replaced later.


Fin.


I used the interior of the car for parts removed and to store tools instead of having to keep bringing things inside and out.

Current level of progress. Most everything below the black line, and even one above, has to do with removing the engine from below, and as discussed before this was not to be and would eventually be crossed out from the itemized progress list entirely.

I tested my tow strap and load leveler to make sure things hooked together properly before the big day.


I have no idea where this o-ring came from, and I have no idea where it is now. Any ideas?!


Next items to tackle were removing the power steering and a/c pumps and their associated belts and brackets and tensioners. As a map, the left most pulley (out of the photo actually) is the alternator. This is powered by a belt running from the oil pump (the upper left black pulley) to the crank, in the center bottom. To the upper right of the crank is the idler pulley for the a/c pump pulley, which is lower right. Finally, above the a/c is the power steering pulley which has it's own tensioner.

This is the power steering pulley hiding under the upper radiator hose, the a/c idler pulley lower left.

These are the two lines coming from the power steering pump, one goes to the canister and the other runs to the rack eventually, but not before it runs forward to a mount, which I disconnected earlier.


You can see the tensioner below the power steering pump pulley.There is the lock bolt to the right and the tensioner mount bolt to the left. The lock bolt locks the tensioner in place once you set the tension, with a bolt on the back side accessible from the passenger side of the car. More importantly than this, there is actually a second mount bolt below the left one in the photo which needs to be removed to remove the mount.


Here are the two power steering tensioner mount bolts, the lower one of which is behind the a/c tensioner pulley.

Loosen the tension on the a/c tensioner pulley, and then remove the a/c tensioner pulley entirely, making sure to grab the nuts and washers that come with it, and maybe more crucial, remember the order of removal. This one actually isn't difficult as I think there was only a nut, possibly a small washer, the pulley, and a large washer that it rides on. It's just a very good idea in general to keep track of order and orientation when disassembling.


Now that the lower power steering tensioner bracket mount could be accessed, remove it.


Push down on the power steering pump which will release the belt tension if it hasn't already.

Remove the power steering and a/c belts.


Remove the power steering mount bolts, wiggle power steering off the engine, and pull as far away as possible from the engine so that when the engine is removed, it hopefully won't interfere. I used the blue shop rope to tie it to the sidewall of the engine bay out of the way of the action for now.


Here's a shot of the mount /line holder that I removed in order to let the power steering pump be pulled away easier and further without kinking anything.


Now remove the a/c pump, some of the mount bolts are more easily accessed from below.


Once released from the engine, follow suit and tie it as far up and out of the way as possible trying to make sure the lines don't kink, tear, get lacerated, or generally damaged. This would also be a good time to put the a/c tensioner pulley back in place on the engine so it doesn't get lost. I would say I did it now but it can be seen wandering around the engine bay in the subsequent pictures until it magically re-appears in it's home on the serpentine tract.


In a similar fashion to the power steering pump pulley, I may have already said I removed the throttle cable in a previous prep post. I didn't lie, the truth changed.

Once this is done, I disconnected everything electrical around the battery going to the engine looms. This involved breaking into the fuse box to remove some of the clips and bolts holding main bundles.


Where's Waldo's pulley?


I realized for the first time during this operation where the OEM BOV is located. Under the fuse box! The previous owner didn't even attempt to remove it when they un-plumbed it for a new atmospheric model attached directly to the FMIC tubes.

Again, unplug all wires from the engine loom to the body. The goal of this entire preparation is to remove everything connecting the body to the engine. Some things are more easily left on the body side, others the engine side, the lower engine loom being the latter.


This includes body grounds and random wires the previous owner installed for an as yet to be identified reason (fyi, that's the red one).


The upper fuel injection harness runs through the main harness bundle under the dash, and in this instance is easier to remove and leave with the body, I thought, than to try to disconnect inside the car and have to shimmy through the firewall as the engine is removed. There are various idle air controls, fuel injectors, TPS, a few grounds, thermostat, even CAS wired into this portion of the loom. Just go plug by plug ... unplugging ... and if needed label them, but usually there is only one plug of any particular style in the area of that plug for that exact reason. Error proofing.


Several of these plugs have clips, it's easier to try to remove them than to break them. Don't be frustrated if some break or crack or clips get lost, they can be replaced, but at least try to mitigate the damage.


Disconnect the large vacuum line running to the power booster for the brake system.


Although I show myself beginning to disconnect vacuum lines coming off the engine, like possibly the PVC vacuum line on the driver side or the valve cover to intake line on the passenger side, don't. I quickly realized that either they were already disconnected on the other ends, or that they went to other parts of the engine, namely the manifold or valve cover, and did not need to be removed to remove the engine.
In general, you need to disconnect the vacuum lines running from the engine to the chassis like the boost controller or bonnet washer squirters (or cut them as laziness permits).


Another frustrating set of steps in this disassembly was removing the spark plug wires.


Normally this would be what is required, as the upper engine loom is staying with the chassis.


But apparently it is a sub-harness with a plug in the back to the main upper harness. All that should be done is unplug the sub-harness from the main upper harness so that it stays neatly connected to all the coils and you avoid 4 plugs, a ground, and a cover instead of simply removing one plug. It's also much easier to keep track of when it's attached to the car, rather than ... somewhere else ... but I don't want to get off into that hole.
Moving on, I cut some vacuum lines to avoid breaking fittings, or because it was simply much easier after a quick pull did not yield the desired result. Watch out for cutting lines that don't have a lot of slack in them already, as they may need to be replaced later.


Fin.


Finally, an updated to do list with the realization of removing the engine from below smashed. The only things left are to remove the transmission bolts, engine bolts, and hoist the beating heart from the chassis. And build the hoist.
Progress.


No comments:
Post a Comment