
The only issue with this is that they only come in 1.5o pitch, whereas the OEM pitch was, just like every other bolt on the car, 1.25. There was also a back order on these studs, and they only come in packs of 5. I now have spares if anyone needs any. I ordered 2 packs and changed the front out late last year. I was able to use the spacers at this point, moving the front tire off the spring so I could at the very least push the car around the garage. After the global shortage, I recently ordered another 2 packs so that the rear stud pitch would match the front and I could use my new pretty lug nuts on all 4 wheels.


This may be able to be done on the car, but since I already had both suspension columns off the car for other reasons, it's a good time to do it now. And I'm sure it's 1ooo times easier this way.
Flip the column over, studs up, and hammer them out of the flange, outward.


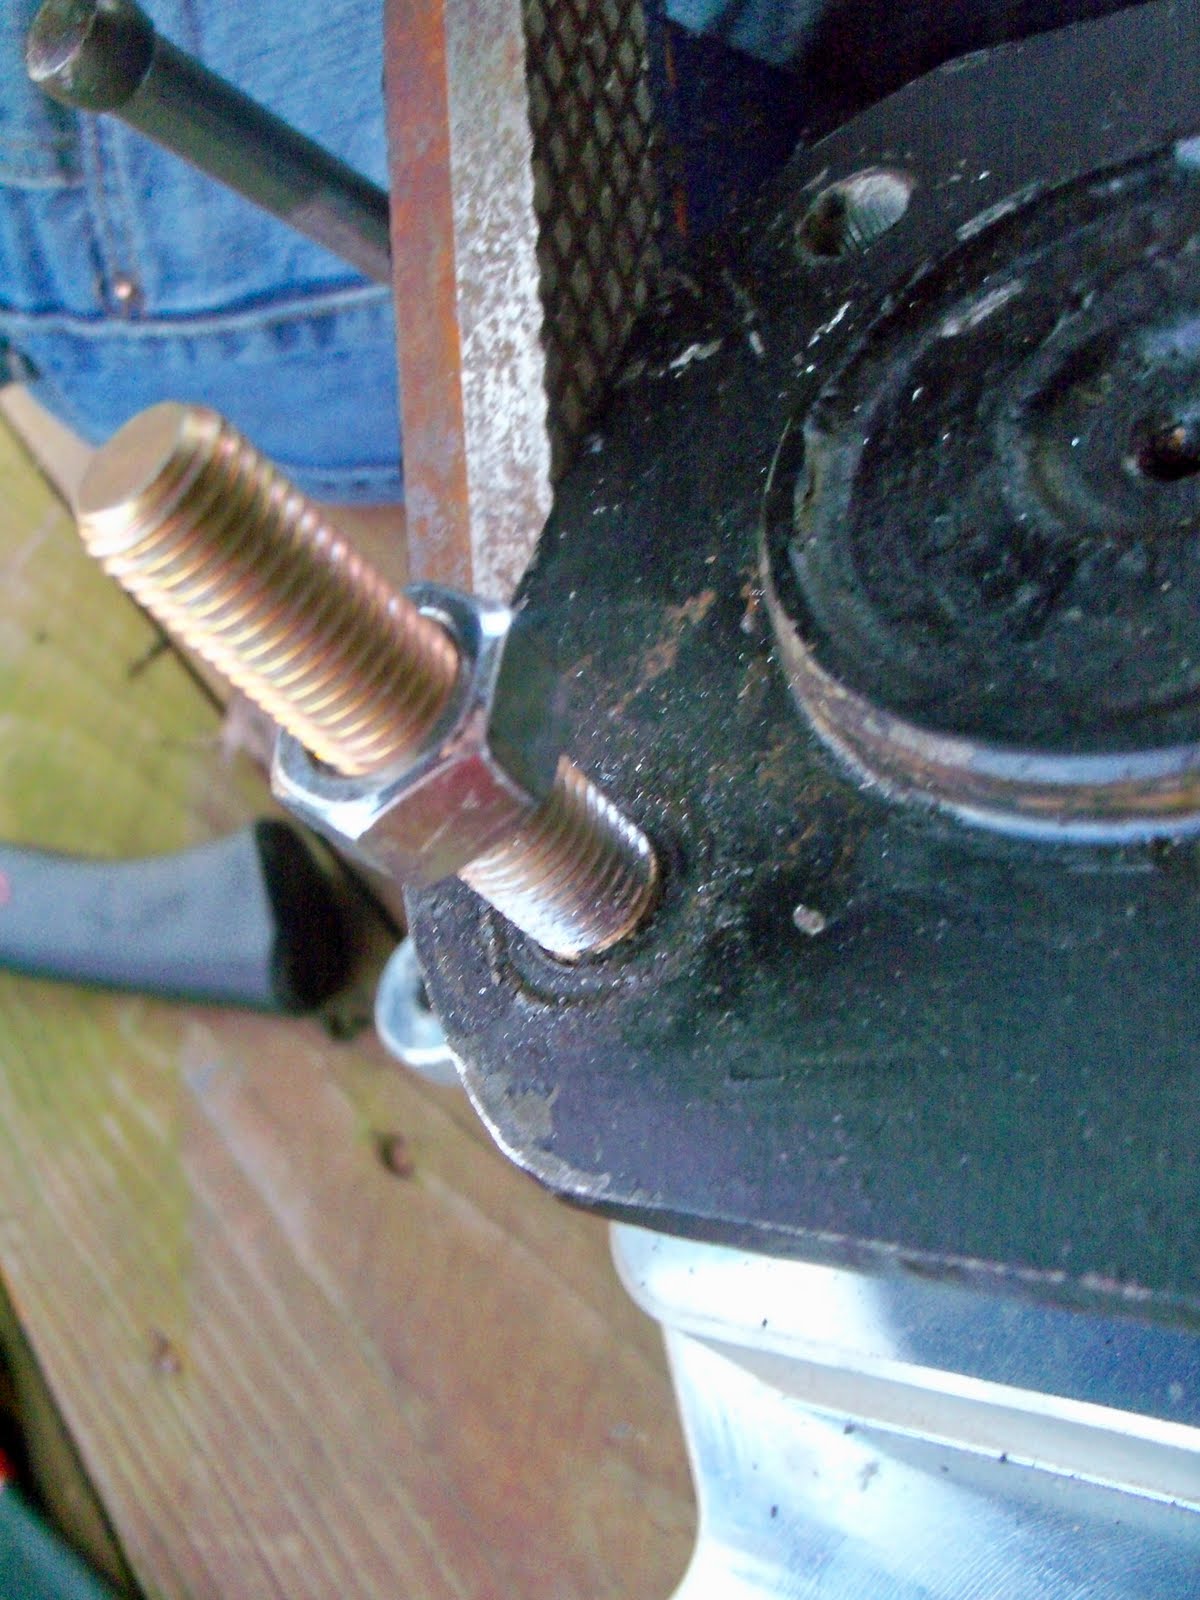
There are a few ways of installing the new ones, but without disassembling the suspension column or using a press in a weird way, see my recent spindle pin removal post, this way works. You will have to man-up a bit as the knurl doesn't want to pull into the interference fit between it and the hub flange, but get an M12 1.5o nut and simply begin tightening from the inside. The stud will pull into the flange and seat. You can check the distance of the stud head on the inside to the back side of the flange while installing to know how much further you have to go, but don't worry about over tightening, you'll know when it bottoms out!


I put 2 studs in at first in order to align the thin flange underneath. It would be a horrible day to pull one of the studs through, seat it, and have to hammer it out because the flange bolt holes weren't lined up with the other holes.
Some of the pretty coating was lost where the nut pulls on the lower threads during installation. No harm done.


The new studs are even longer than the OEM stud with it sitting on the outside flange face. Imagine if the knurl section near the stud head were inside the flange as it is on the new stud, and you can see the actual additional length.
Obviously you have to install the pretty new lug nuts immediately after the stud install.


And only halfway there.
Remove the other suspension column, which may already be removed, and do it all again. I tried installing the new studs with the RCLA still attached, but it wasn't to be. Not to say it was easy with a vice that wasn't bolted to anything, but it was easier than with the control arm flailing around.


Removal of the brake caliper and rotor are also required. The caliper bracket can stay on, although you have to rotate the hub flange in order to install the new studs, and even for the old ones to drop out for that matter. Due to my spindle pin adventure on the other side, the other column had already been disassembled to this point before starting the stud install.


Finally, bring the suspension columns inside and place them on the kitchen counter in preparation for cleaning and new RCLA anti-seize and installation.


Even though they will never be bottomed out this far with a wheel mounted, it was fun to thread them all the way down. Just testing the limits.


No comments:
Post a Comment