ARP 100-7708 were the studs of choice when I realized that I would have to use spacers on the front wheels in order to alleviate the pressure of the front tire from the spring. The fitment was so close that the tire only rubbed when the spring was rotated a certain way and the coil fell across the tire's widest point. Obviously too close for comfort, I tested out spacer thicknesses using washers.
A 1o mm spacer worked best but would require either longer studs or the double studded spacers. There were issues with both scenarios, a double joint with one and a longer moment with the other. An additional problem with the double studded spacers however was that since my spacer was so thin, the stock hub mounted studs would need to be cut shorter to clear the wheel side mounting surface of the outer face of the spacer. In theory there are cutouts in some wheels for this, but I didn't want to deal with things not fitting, or even worse, being close enough and almost fitting but not sitting flush resulting in imbalance.
Changing studs is a pretty straight forward process.
1. remove wheels.
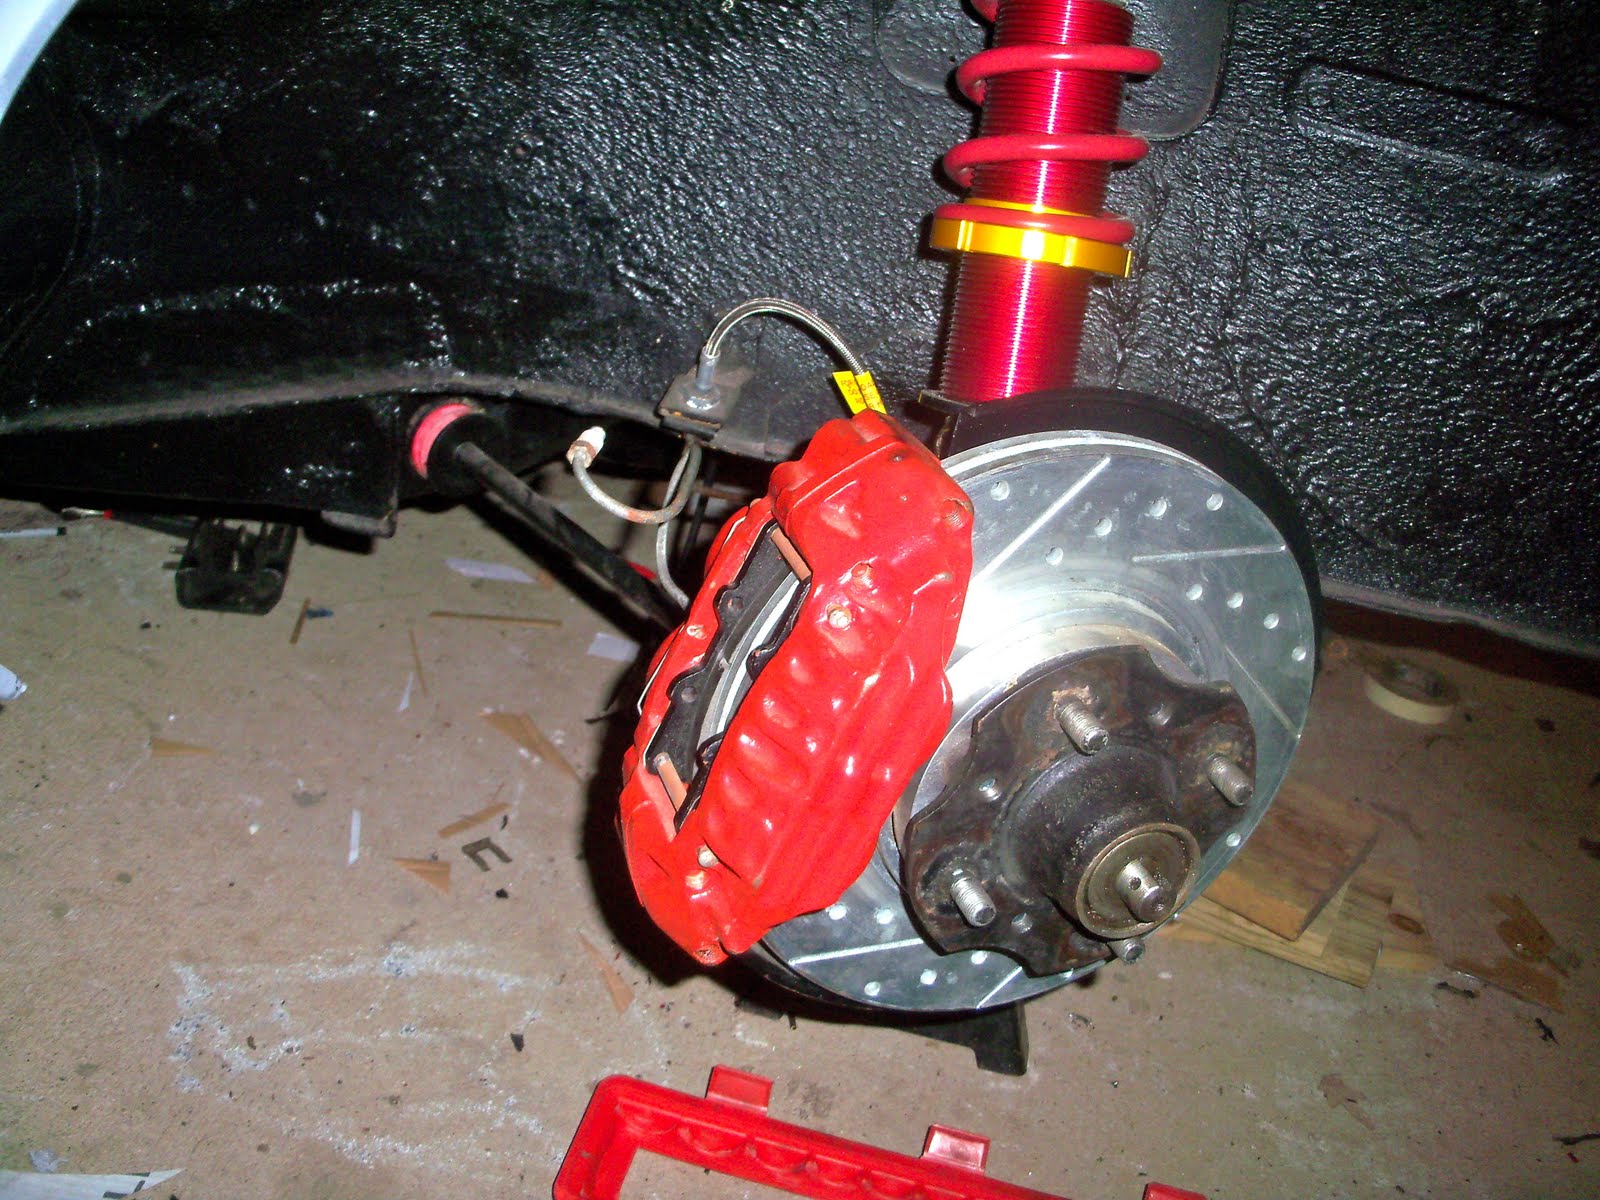
2. disconnect brake lines and remove brake calipers.
3. remove castle nut and slip off brake rotor and hub assembles.
4. set caliper aside keeping track of bolts.
5. stare at brake and hub assembly and pull out outer bearing so you don't lose it.
6. create breaker bar to hold hub assembly in place and prevent rotation during disassembly.
7. position (prop) so that you can use bar to prevent assembly from rotating while removing the brake bolts.
8. remove bolts holding brake rotor to hub assembly.
9. admire brake spacer that came with upgraded brake kit on the shell you bought.
1o. note the studs don't go thru the spacer and can't be removed unless the spacer, and thus brakes, are removed.
11. slip off brake kit spacer.
12. JSK rocks, whoever she is.
13. repeat for other side.
14. keep parts arranged together by side and order/orientation they were removed in.
15. or at least try to.
16. ignore the angle grinder.
17. support hub in such a way to allow removal of stock studs by force (hammer)
18. knock out first stud.
19. repeat x4
2o. get new studs and at least (1) m12x1.5 nut to use for installation.
21. thread nut onto stud until the splines engage, then slowly torque down the nut until fully engaged.
22. repeat x4
23. the vice was positioned to enable torquing of nut without rotation of the wheel hub.
24. finish product
25. extended stud close up.
26. more ARP advertisements.
27. note the extra length to account for the added spacer thickness.
28. get some amazing thread locker
GEL.
29. assemble in reverse order.
3o. slip spacer onto hub.
31. test fit assembly bolts to make sure the slip fit spacer is aligned now before any additional assembly.
32. install brake rotor in correct orientation and use aforementioned GEL on bolts.
33. hand tighten brake rotor bolts and
carefully use that breaker bar on new studs to tighten.
34. final assembled product.
35. x2
36. close up of hard work.
37. un-greased inside of the hub assembly.
38. outer roller bearing
39. x2
4o. previously greased spindle
41. more grease on inner bearing od of spindle.
42. it's even Japanese.
43. more grease added to id of hub wheel bearings
44. install hub and brake assembly with outer bearing over the spindle.
45. when in doubt, add more grease.
46. and castle nut and cotter pin to hold it all together.
47. begin to do it all again on the other side.
48. add more grease again.
49. significantly.
5o. slip on assembly and push in outer roller bearings
51. attempt to clean up extra grease.
52. add castle nut and correctly sized cotter pin.
53. install brake caliper
54. beefy.
55. x2
56. reconnect brake lines both sides.
57. remember to bend cotter pins.
58. test fit wheel with spacer.
59. x2


No comments:
Post a Comment