


Most tank removal how-to's consist of cutting all the vent lines with shears just inside of the trunk line so you don't have to worry about unscrewing all of the band clamps, peeling back all of the insulation boots, and snaking the entire length of hose through the trunk grommets.


As it seems someone meticulously had been where I was before on this 24oz, I was going to show it the same respect. I unscrewed the 3 lines coming out of the main vent overflow, for lack of a better term, and saved the banjo bolts from falling into the great abyss. I then routed the 2 rear hoses out though their holes, careful to keep the rubbing to a minimum, grabbing and saving the grommets as the last bit pushed out.


One of the boots ripped, but I found replacements online to be ordered after xmas prior to assembly.

Now under the car looking into the unibody rearward from the passenger wheel well is the hard to get to banjo bolt screw for the filler hose. None of my screwdrivers were short enough to fit entirely behind the wheel well wall nor were any of them long enough to attack it from the vantage point of the camera, not that the angle between it and the screw head would have been optimal for that case either. I went out in the rain, leaving my humble abode for this sole purpose, and got mini, stubi screwdrivers. I didn't know they made mini stubi's.


I wouldn't normally condone cutting any lines on this car at all, but the fuel lines are an exception as this is the sole reason I'm removing the tank in the first place. I did first attempt to remove them the old fashioned way by unscrewing the banjo bolt. One was more compliant than the other.

Remove oem pump electrical wires. They actually clip onto screws coming out of the pump housing.


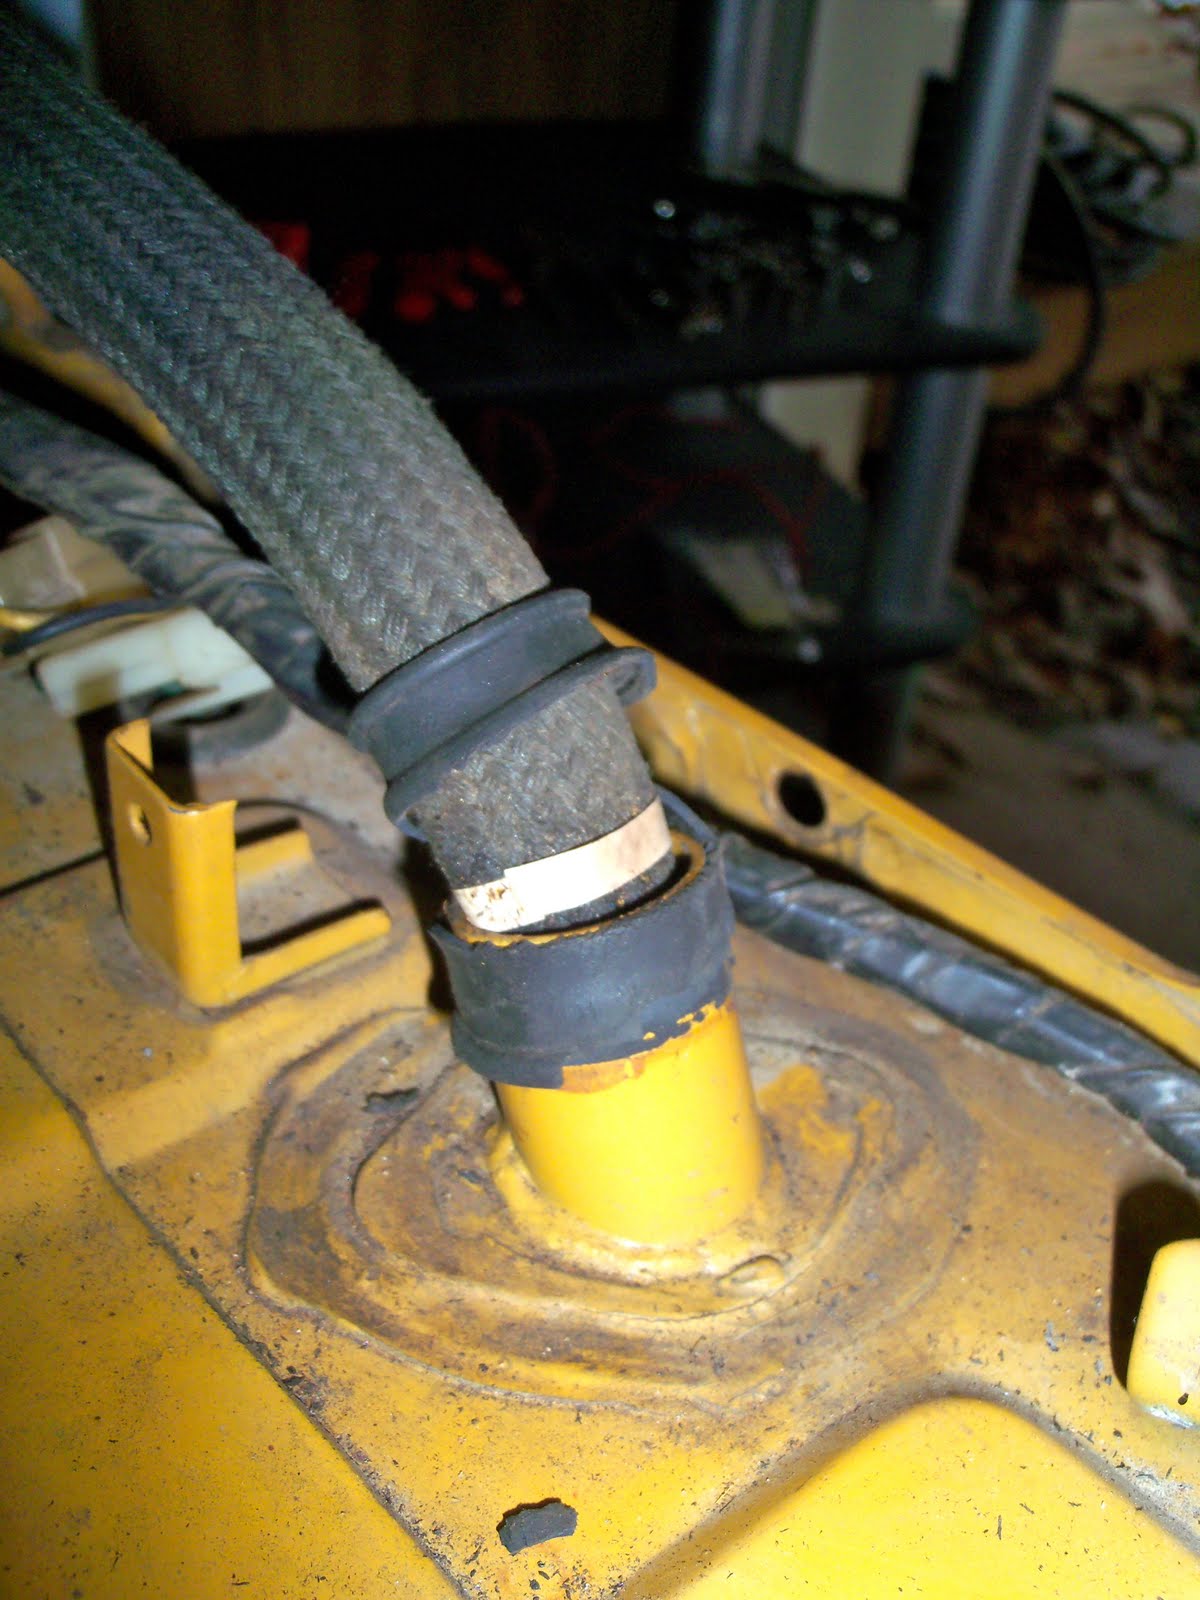
As with the fuel pump lines, I tried removing this exposed vent line from under the car as well but to no avail. I didn't want to cut this one, however, due to the aforementioned price tag, even though the loss of an inch probably would not render the hose inoperable in the future. I pulled it through the trunk hole a bit to give it some slack for when the tank was lowered.


The straps and J hook bolt are more pliable than I thought, and the driver side strap twisted a bit as the nut broke free.


Lesson learned, put a socket on the nut behind the strap while removing the nut below the strap to counteract induced disassembly stresses and twisting seen above.

Release the passenger side strap and the snugly fitting vent lines, filler hose, and 2nd strap will support the somewhat empty tank.


Remove the driver side J hook bolt carefully as you support it from below. The tank will tip over, overflowing fuel you didn't know was in there out of the filler hose hole on the passenger side. In order to compensate, rotate it upwards around your chest that it is sitting on and it will leak out of the vent hose on the driver side. Be forewarned.


Fuel tank void under the car.


I carefully pulled the rest of the vent lines through the trunk bottom so that I could move the tank out from under the car.


More shots of the fuel tank void under the trunk next to the spare tire well showing off the filler neck, fuel tank straps, rear mounts, and the amazing condition of all the metal. The oem color was safari gold, but a few spots have been painted over with brown. I'm not sure if this was oem or a midlife crisis.


The straps have delaminated a bit, or maybe that is just its insulation, to be re-evaluated before assembly.


This is the whole reason for this mornings tank removal. The original plan was to cut off the fuel line nipple attachments with an angle grinder, drill sized holes around them with a hole saw, and weld in weldable male AN fittings for the fuel. I was imagining my 28oz tank when I thought of this modification, which has nipples much lower in the tank. I didn't imagine anything internal to the ports and just assumed that anything lower would not get sucked into the fuel line. This obviously wasn't the case for the 24oz fuel tank as the nipples couldn't be any higher on the side of the tank. I wouldn't be able to just weld the AN fittings in place of the oem nipples without something inside the tank to feed the fuel.
The proverbial light flickered a bit, I realized my mistake and jumped on the interwebs researching what I described as a fuel pick-up. Low and behold, "they" make kits with bulkhead AN fittings and an internal pick-up. They're normally used for building your own fuel cell, but I think they will adapt well and be a great modification to the oem tank, allowing it to function with an entirely braided/hard line AN fuel system, with proper fittings, as yet to be installed or even blogged about.

Last time I ran the Z it sprung a pretty heavy fuel leak that needs attention. This provides some good info and motivation for the task.. Thanks! I'm still in denial about removal of the tank being necessary, though. We'll See.
ReplyDeleteAnytime! and what year Z do you have? Where's the leak spouting from? I have a spare 280z tank that does not leak but would need to be cleaned out if you're interested.
ReplyDelete