
These are semi-solid isolators. In tension they act solid because the dampening is that of the single solid stud that passes through the isolator. This is good because in this state a strong motor will tend to tear the isolators in half as it pulls itself away from the car. In compression the Flexane portion should provide some dampening. It is a pretty stiff material to say the least, jury is still out on the ride quality.
Some tips -
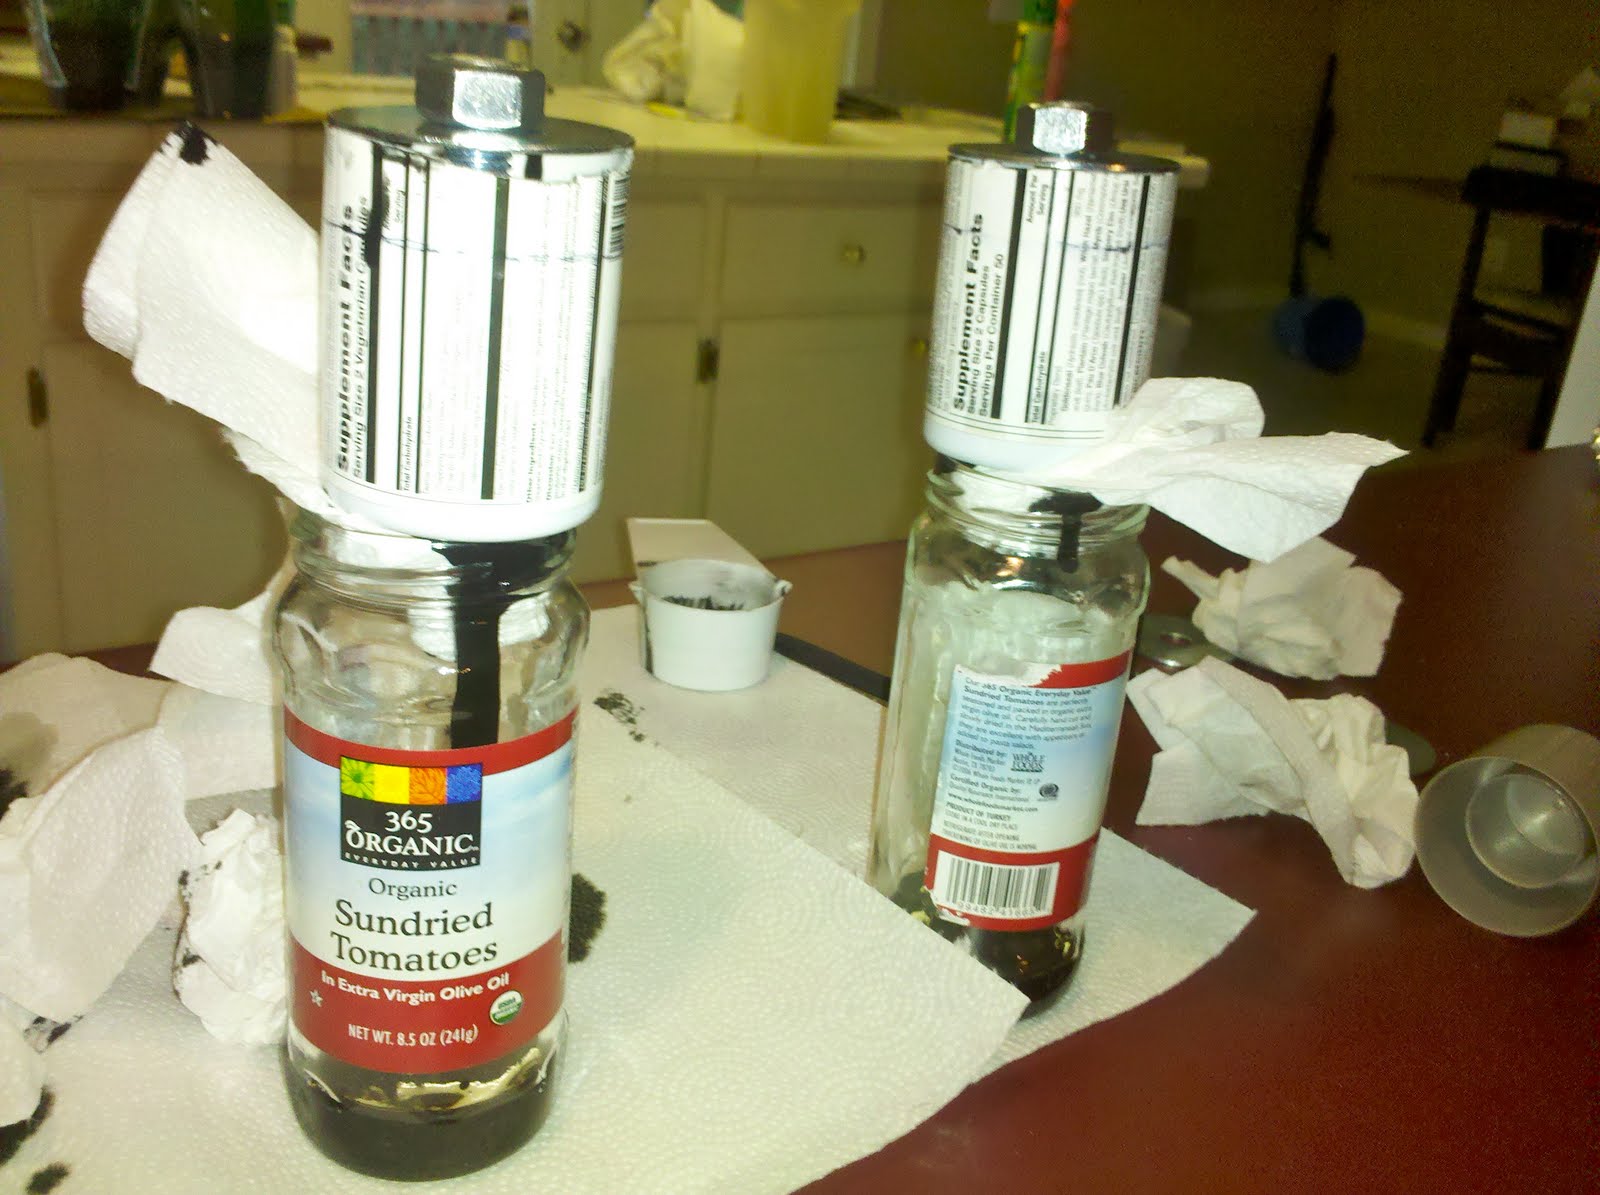
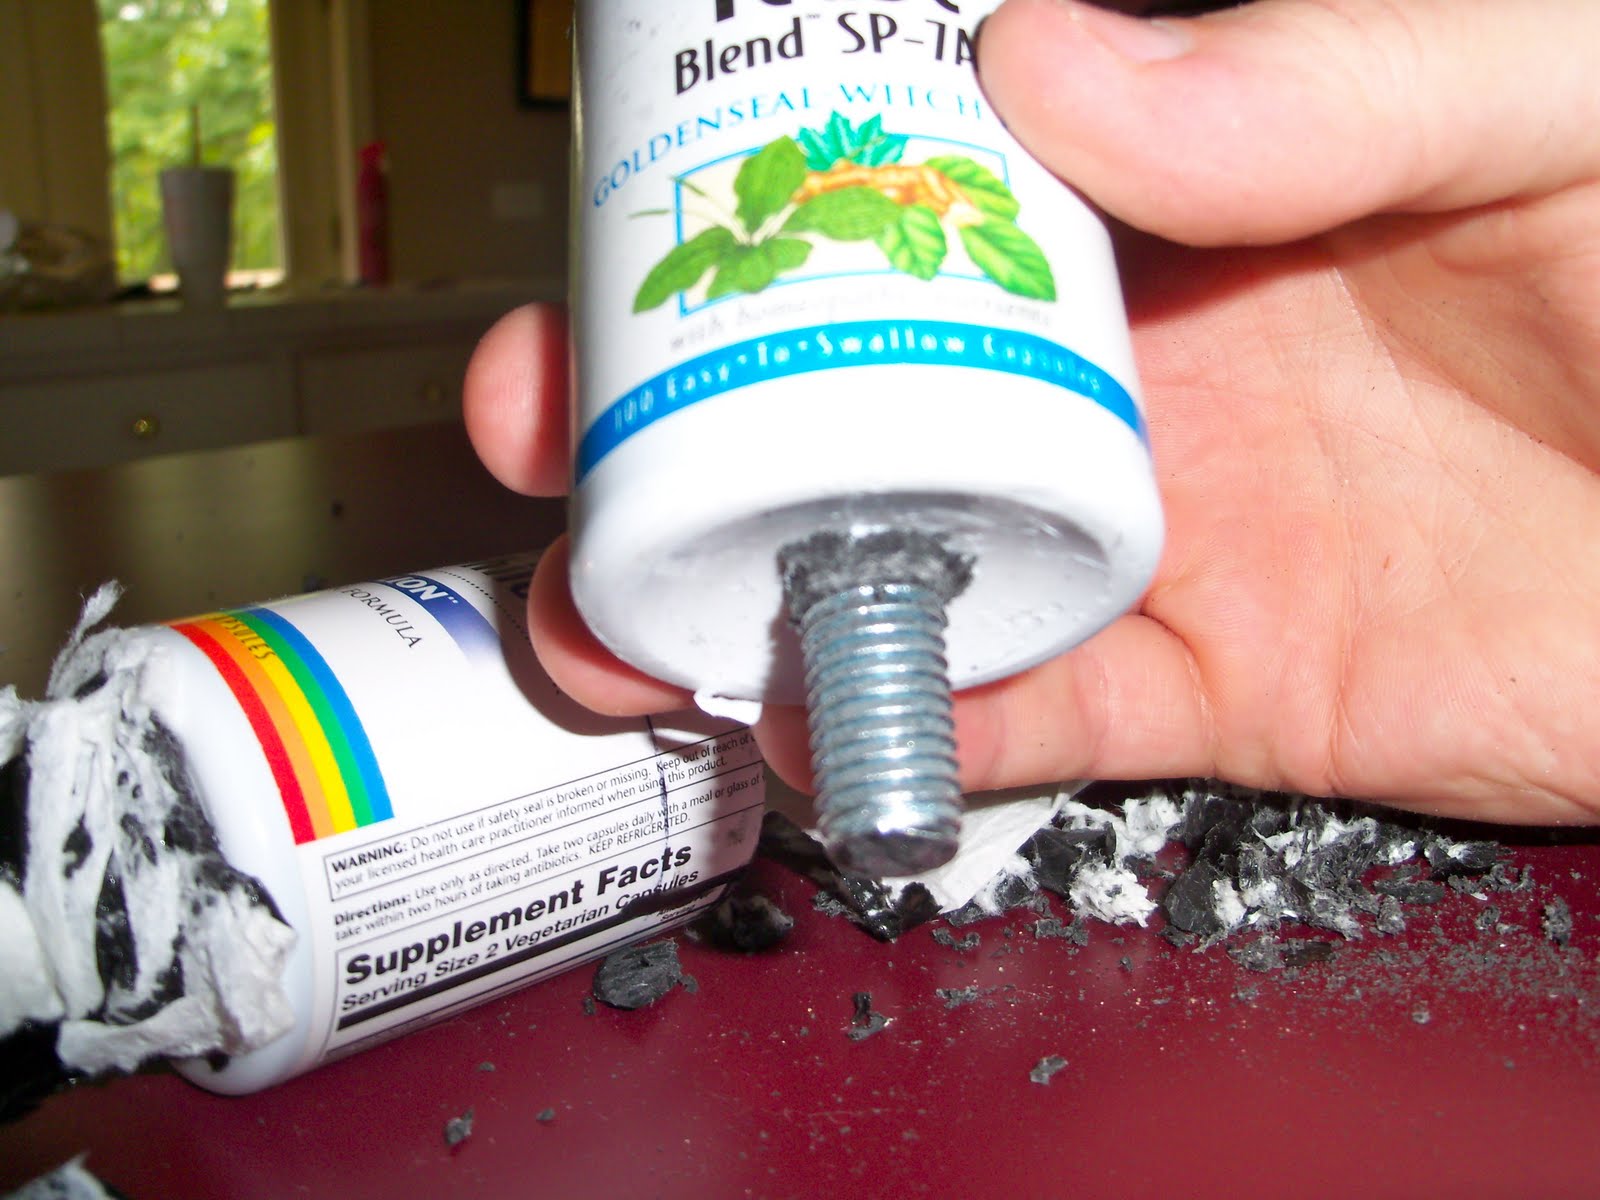
For engine AND trans isolators, buy 2#'s and you'll use less than 7o% of it. Tape off the low ends of the threaded rod to avoid dripping directly on the threads. Make sure the center nuts/washers are as centered as possible so that if you have to trim off excess you don't completely tear into the center section when cutting. If this was done on both sides you would have a solid mount and the "isolator" portion would simply be decoration. Don't waste time cutting notches into the center washers to prevent rotation within the isolator, it's not going to turn after it solidifies, even when you do tighten the living daylights out of either side of the mount to ensure it doesn't ever come lose. I didn't like the tapered "design" of the solo-cup mold, nor the ridges - use solo-ray medicine bottles from Whole Foods, they are exactly 2" in diameter and can make a >2" thick isolator. Initially when cutting the tops off the bottles, leave a bit extra in order to 1, have some extra volume in case you need a taller mount than you thought when you attempted to measure, and 2, have some extra material to start peeling from when removing the bottle from the formed isolator. In order to peel the isolators out of the bottles, use a razor blade to cut axially into the extra bottle height you presumably left at several circumferential locations watching out not to plunge into the beautiful hockey puck you just cured. A pair of vice grips will finish it off. Finally, try to make them to the correct thickness the first time, trimming them to size is tedious and time consuming, not to mention messy, but more importantly you'll avoid having to blog about how you had to modify them after test fitting.


Dude. That is ultra badass.
ReplyDeleteLove home made stuff.
when in doubt, make it! and thank you sir, just wail until my engine and transmission posts, you'll love them.
ReplyDelete