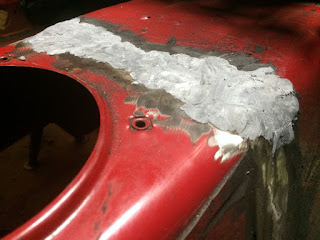
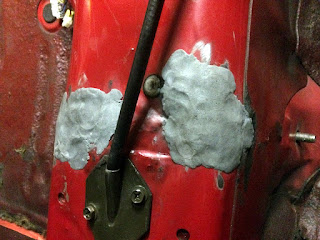
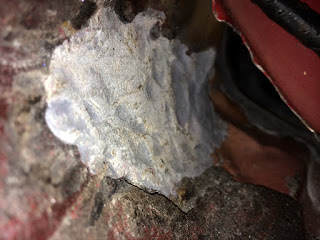
I bought more than several tubes of epoxy, mixed the active components, and spread it out over the freshly ground interior repairs. The weld /grind /weld process had completely sealed the cabin, and because it did not need to be aesthetically pleasing, everything else was bonus. Obviously, I wasn't going to leave it the way it was, even though I alone would know what lay beneath the carpets. And possibly anyone else reading this blog, but either way, I continued down my planned route.
It took a decent amount of time to spread out the epoxy and fill all the voids. When working with epoxy, I suggest starting with small amounts and increasing from there, and you will find the balance when too much is too much and it starts to harden before you have time to effectively spread it all, and can dial it back.
Aft and forward, fabricated fit, welded solid, ground flush, epoxy sealed.
Once all the weld area was covered to my standard, I began sanding it all smooth.
Starting to look amazing.
It was difficult to get to the portions under the seat bar, but I did what I could with the electric sander, and then moved to block and hand sanding.
Finally, I painted the repaired areas red. Usually I would have gone with a clear coat at this juncture, and I did debate this, but this car is going to be an OEM driver, not a showcase for repairs or raw modifications. For once I wanted to match the surrounding paint and body, and finish the work.


No comments:
Post a Comment