Showing posts with label an lines. Show all posts

Sunday, July 19, 2015

psrl1

Power steering rack lines attempt uno.
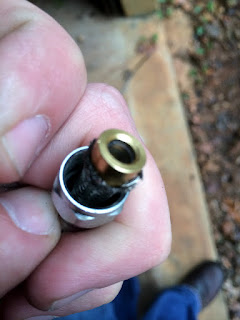


High pressure stainless fittings for PTFE lines include an inner ferrule so assembly is a little different than normal AN fittings. It isn't hard, just takes an extra step to seal. There is a inner hose end, the ferrule, and the outer end. After cutting the line with an approved utensil, the inner hose end goes on first over the stainless braid. The ferrule has an inner shoulder which sits against the nylon liner once it's assembled. the ferrule goes between the nylon liner and the outer stainless braid. This can take some maneuvering and usually involves tapping the ferrule on some wood so that the nylon liner seats.

Once the ferrule is properly situated, simply push the small portion of the outer end inside the nylon liner. It should almost pop in, and it seats completely against the ferrule. Make sure the stainless braided line has not pushed back off the ferrule. This would mean that the nylon pushed back. This has never happened to me but I have read of it occurring. Just start the AN outer end slowely so to make sure it is inside the end of the nylon before pushing. If the nylon is seated against the ferrule shoulder this should be a non issue.

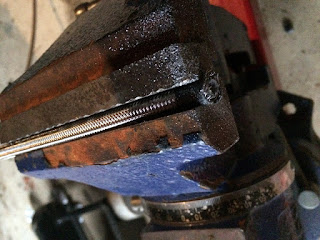


I've also read that sometimes the line will back out when you are screwing the inner hose end to the outer. I think this is assuming that the outer end has not been inserted all the way into the ferrule yet. People will say to mark the braid where the outer end is positioned against the fitting before screwing tight to see if the line moves. If the outer end is seated against the ferrule, the inner hose will be pulled towards it, locking the braided stainless inside the fitting. A marked line will show movement, but the line is not being pushed out in this case. I believe this is an instruction for assembling standard, non-ferrule type AN fittings and hose ends, where the braided line seats against the inner hose end and the outer pushes into it as your are screwing it together. 


As previously stated, possibly in another entry, I simply made the lines an equal 3 feet in length.


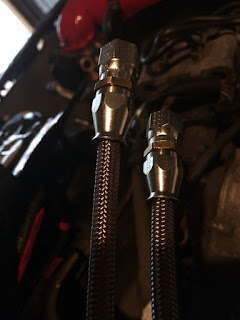


Although the lines do look very clean, people following this as a how-to need to skip to the end result as to avoid headaches, make sure to run the lines so that they do not rub against metal, including themselves. I'll get more into this later, but this may best be manifested by a sheath to protect them. Trust me on this one, you'll thank me.


Although I did not use it this time, remember to use a thread sealant such as from Russell's AN assembly kit on the threads of the metric side of the fitting. The AN side seals by design, which is why it's so brilliant.


Again, outer to outer, inner to inner.


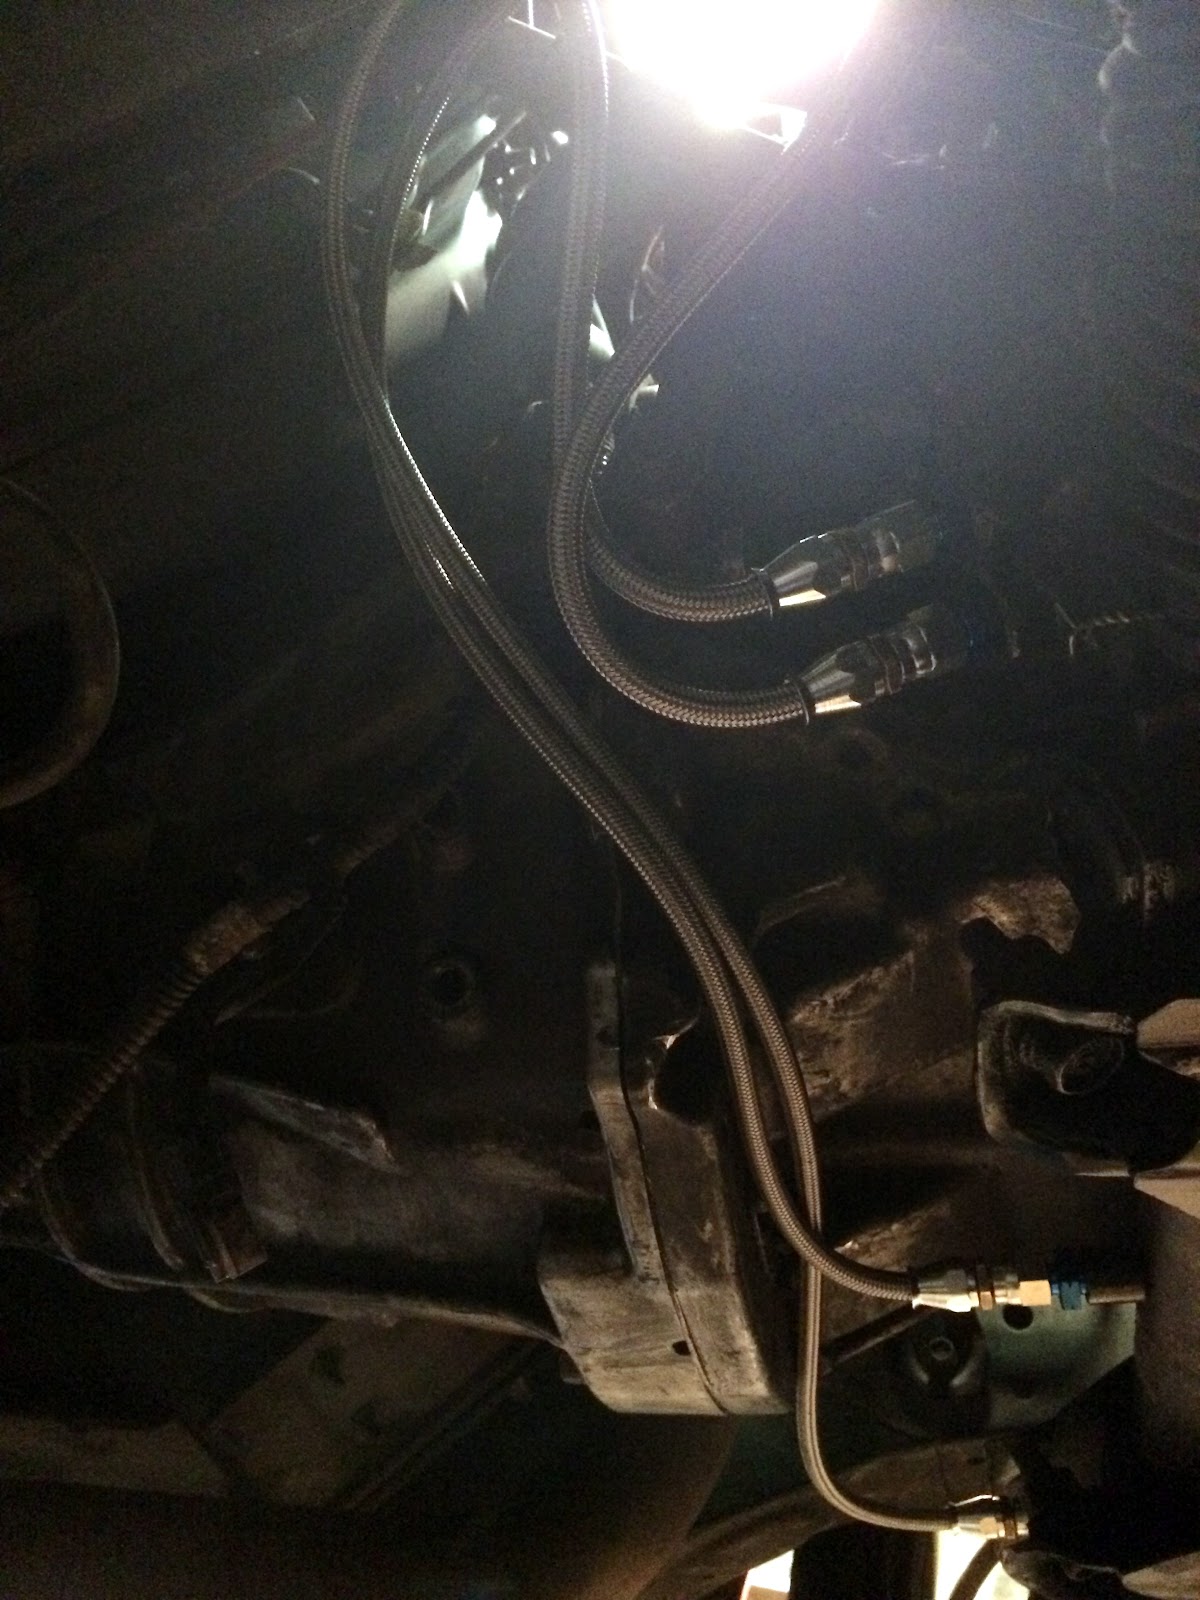
The engine still need finishing, but this was a start...


...It was also a nice day out for the blowing of leaves.


one step forward

As a timeline since the blog is obviously off from reality, my motor crates shipped the week before I was to go to the States for a house hunting trip. I was in country for four weeks in August/September 2013. I don't remember if my crates arrived while I was in town or if it was the week after, but either way they were safe and sound door to door. I went back to the UK for four more weeks in September/October to finalize the move, work, and British life, while even making time for full blown hip surgery. After I was approved to fly, I moved back home late October 2013. I signed on the house very early November 2013. This was fortunate because the way a mortgage works you get one month free, plus the portion of the month you sign in. I signed on Friday, November 1 and did not have to pay the bank anymore monies until January 1. That being said, I had just written them the largest checks of my life covering full down payments, fee's, and the back lot which I now own outright.

At the point these photos were taken I was not actually living in the house yet. After my near death experience, I needed some time back in a garage though so I decided to start setting up for the motor install and putting small bits aside. This was actually over Thanksgiving weekend while the air con was being installed.


The current state of affairs looked pretty well, I noticed however that the hard lines in the rear of the power steering rack were crushed. As it would turn out, they were also crushed on the s13. Apparently I wasn't careful enough during the engine removals, but if this was all that I had to contend with I was happy. As seen later this would not be the case, but one can daydream.


Inner ports pair together, as do the outer ports.


Instead of dealing with hard lines, bends, and flares I decided to go a different route. This coming from someone with the tools to flare and bend the line, I simply did not want to deal with it.

I ended up doing a bit of research and found the fitting size for the rack, M12 x 1.0 male. This is the same for the s13 and s14a. Earls makes a fitting adapter to -4 AN male that works very nicely. The PTFE stainless steel braided line and PTFE fittings are high pressure. Standard SS braid and fittings are rated in the 1000 psi range, while these are 3000. The fitting does have an inner ferrule, but assembles almost as simply as normal AN line.  For less than 80$, I thought this was a very clean solution.

One issue to note though, I've heard people with LHD cars can not use the straight fitting and would need to pony up for a PTFE bend fitting, which are only about 10$ each. This project will take a few entries to complete with various parts ordered, but if you are ordering now, the only additional item that I would suggest other than the tools to make the lines is a thread sealer. Russell makes an AN assembly kit that comes oil I believe, and more importantly a sealant that is great. It replaces any teflon products on the metric side.


Of course the first thing you do when you get new kit is to assemble dry.


The line was longer than needed and there was enough to cut them down precisely, but I liked the idea of having two equal lengths and this fit the bill.


Another thing to note at this point, blogging does have it's positives and negatives. You have to take the good with the bad, and I don't opt to filter anything here. 

Some may see this as an issue if lets say I ever sell the cars, which I am not, but I would like to hope if I were to re-home them that the blog would serve as justification of the quality and demand a equivalent price. All is laid to bear, there are no secrets and I would argue any of my decisions. 

When it comes to errors or damage, current or previous owned, some may say this is too revealing, but again, the point is not to hide things so that they look better for the next guy. I'm building these the best I can, and I would take that all day over any one else's unknown. When I buy a car I would rather know the damage or issues and make the determination myself, even if it is not that big of an issue for me. Let me make that decision and I will be grateful for it.


When I was raising up the car, I was using the center of the front cross member as a jack point as I normally do. The issue was that I could not find the poly swivel pad that is usually on the jack point of the jack itself which grips the surface you are pushing against. I also did not pay enough attention to what was happening, and the car slipped off the slick surface of the jack.

When it did so, the jack shot aft, and the cross member rode down the long arm towards the base. I was using the extremely long jack from the UK, and the jack hit the center of the firewall where it transitions into the transmission tunnel. The car came to rest on the jack, as the jack is so long that the car did not land on the ground, but was supported by the transmission tunnel and the cross member on the arm of the jack.

After the initial shock wore off, this posed several issues of getting the car off the jack, as the jack would not release because it had jam between the two points of the car itself, leaving the car mid air. I literally had to drive over to my storage unit, dig out my old jack, come back, and jack the car up off the UK jack in order to release it, and lower the car back to the ground.


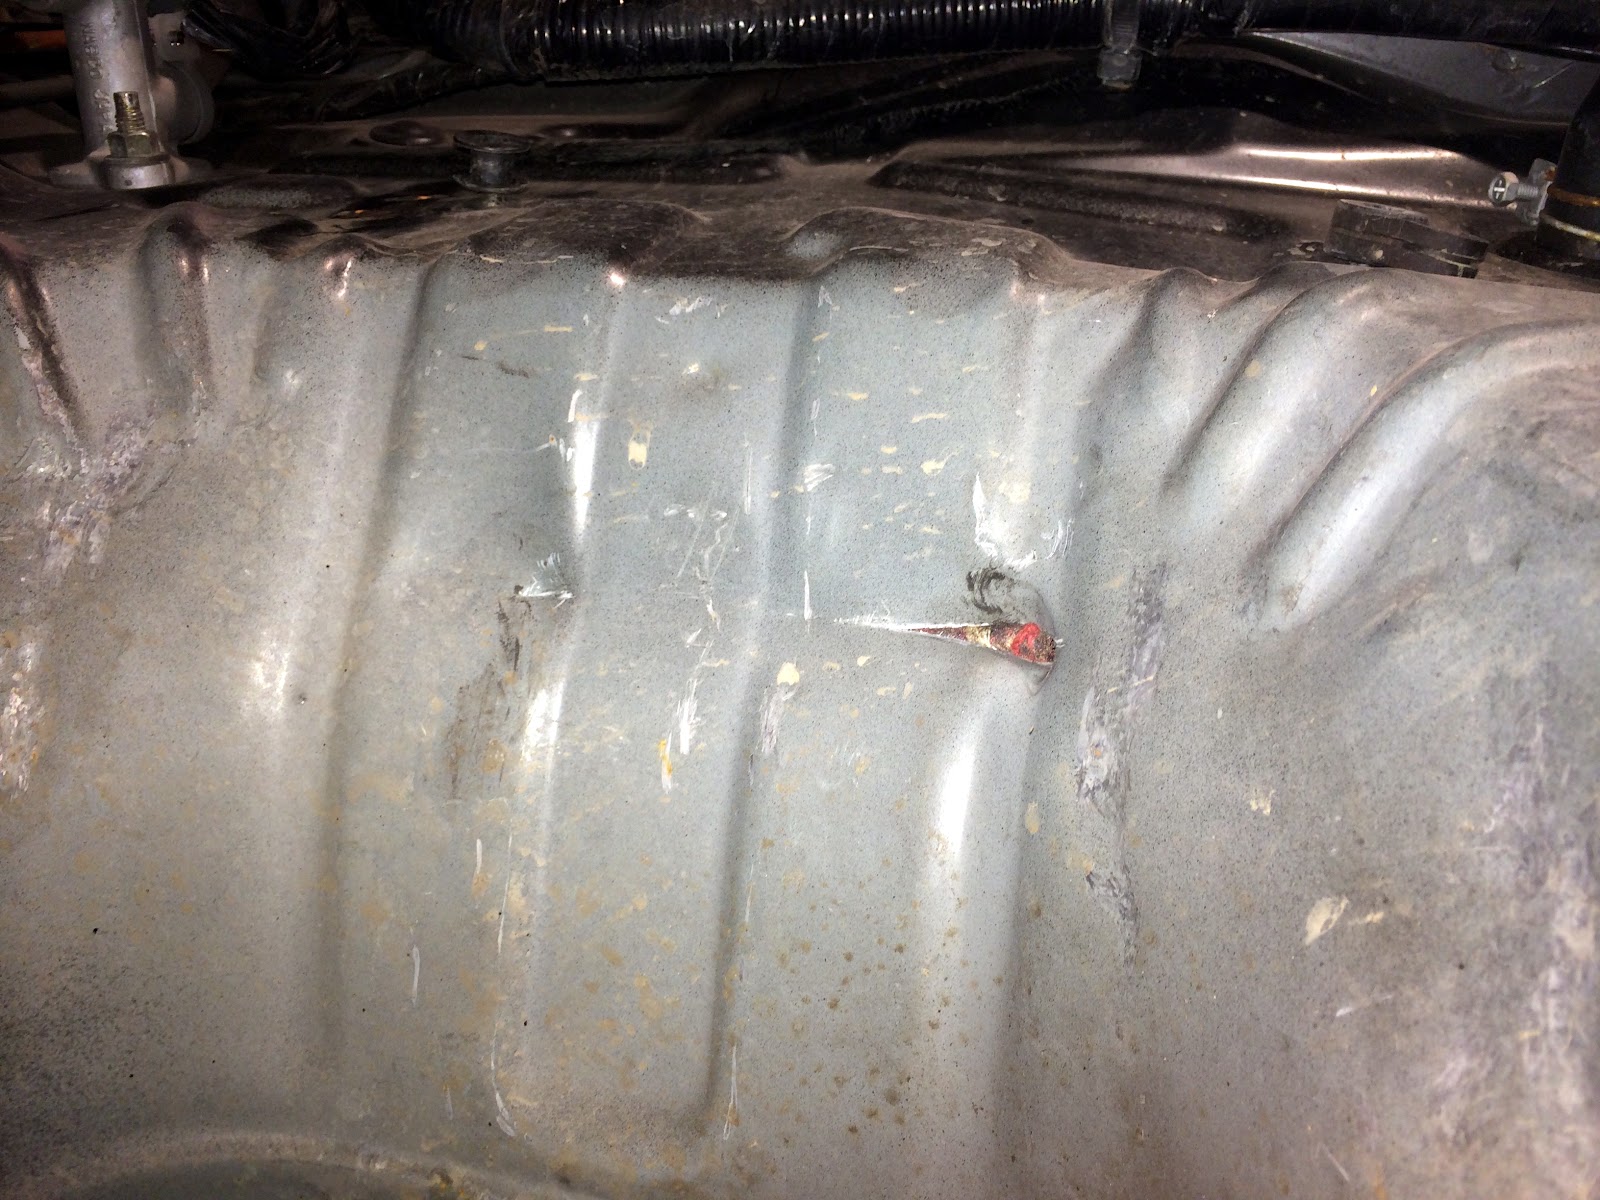
The damage was not that bad, but it did crease the transmission tunnel and tear into the cabin, albeit a small tear. You would never be able to know it was there, it would probably never create appreciable air condition or noise differentials, but I knew it was there and that I now had another project on my hands.


Derailed from my power steering line creation, I went back out to the parts store and got a body slide hammer which screws to a screw which you can use to pull panels. I drilled small holes on either side of the crease and pulled it back out, effective sealing the tear.

I believe this is already above and beyond what most would do, but I continued to work on the dent until it was no longer. I debated at this point to go borrow my old welder from my coworker or seek out other means of repair.

I decided welding this was overkill, even for me, as to do so I would have to remove the main dash, the carpet, insulation, and any sound deadening on the interior in order to weld safely. For anyone that knows what is involved in this, this is not an option for a non structural, non noise, non temperature, non issue. It's something cosmetic that you can't see without the engine in the car, let alone with.


I decided this was a perfect application for epoxy, and I purchased a few tubes. It's even high heat variant as it will be in close proximity to the engine bay.


Some final adjustments and cleaning before applying the epoxy. Very little can be seen while standing right in front of it. The small tear was away from the elements anyways, obviously not air tight, but insulation is directly opposed to this entire area and the dent removed. Pulling the panels shut what little gap there was, and namely the holes now needed to be filled, but this would also make the entire repair completely sealed.


I would later come back and sand this down and paint obviously, but this was enough for one day.

You can see the s13 on the parking pad in the rear of the house waiting her turn. This would be a bit longer based on issues that happened in transport, which I can't even get into now.


Take a deep breath.