Within 5 posts of being caught up to current progress.
Well, within a week ... plus five posts.
After a few test flights on the books, it was obvious there was a fueling/tuning issue to resolve. Under WOT at any boost level, the 24o was sputtering. Sputtering to the point that the car would pitch forward and lose all momentum. I obviously didn't spend much time in this condition, letting go of everything at the first sign of something scary.
A few years ago I had lots of trouble with spark plugs until I settled down with a set of Iridium ix 7e's. To remind everyone, this set was the same set that stayed in the engine while it was on the stand, sometimes rotated upside down. Although I drained the oil before removing the engine, that doesn't mean remnants didn't immediately leak into the head, soaking the plugs and valves.
I thought it was a good place to start so I pulled the cover, coil packs, and plugs to check them out. I saved them just in case I want to clean them for re-use, as they are a 5o$ set of spark plugs.
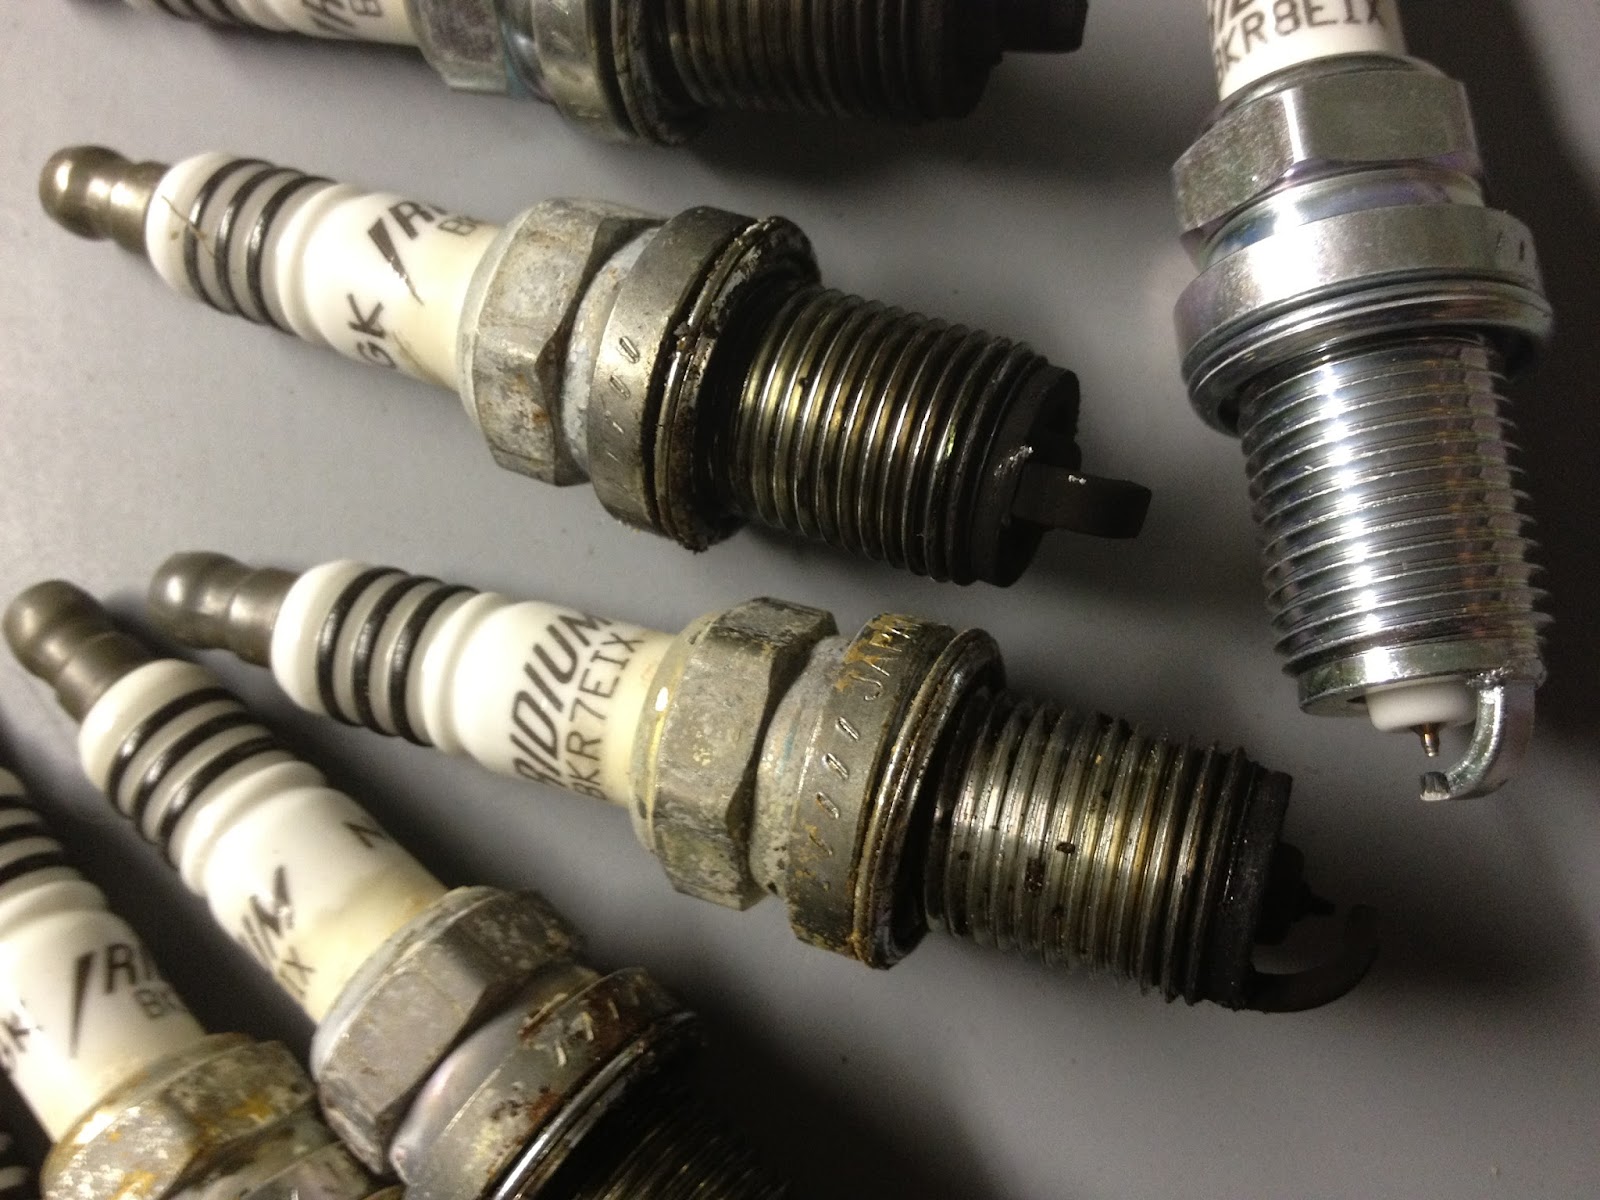
Old v New.
These are in order, 1-6. I even boxed them in the new plug's boxes, labeling the cylinder they were pulled from.
As shown above, I ended up going another range colder, to an 8e, of the same Iridium ix design. In theory, the 7e's were bad from the last year of inactivity and blowing out at WOT. This turned out not to be completely correct, but the new plugs are running well, and I think it was great to sharpen the tune.
Back on track, according to the source, NGK recommends one range colder for every 75-1oo hp added. My rb came with 6e's in it and ran 2oo hp at the wheels after initial install with bolt on's and stock boost and tune. Now there's some debate that the stock rb's may have a 5e from oem. Either way, at full boost I'm in the mid 4oo range now, another 25o from stock. However you count it, that's another 2-3 heat ranges colder, and since I haven't heard of 9e's being used, 8 it was.
I used a spare scrap vacuum hose to hold the end of the plug as I threaded it in as to not cross thread.
Installed all the new plugs, and tightened them down to spec.
Bolted down the coil packs, and again, watch out for over-torquing into an aluminum head. That will ruin your day quickly.
Routed the vacuum lines for the boost controller, wastegate, and blowoff valve, securing everything with the oem clips.
Installed the oem spark plug cover with four center allen head bolts. I left the front ones out so that the vacuum lines can exit above the valve cover near the timing belt cover from the spark plug area. It does a lot to organize and clean the engine bay. There are enough lines that can't be easily hidden. I left the rear bolts out as well, because simply put, they're hard to get to sitting under the hood latch with the engine so far aft. Normally I wouldn't condone such practice, but it is just a cover, and omitting some of the bolts has valid reasons, especially increasing ease of serviceability.
Late night...
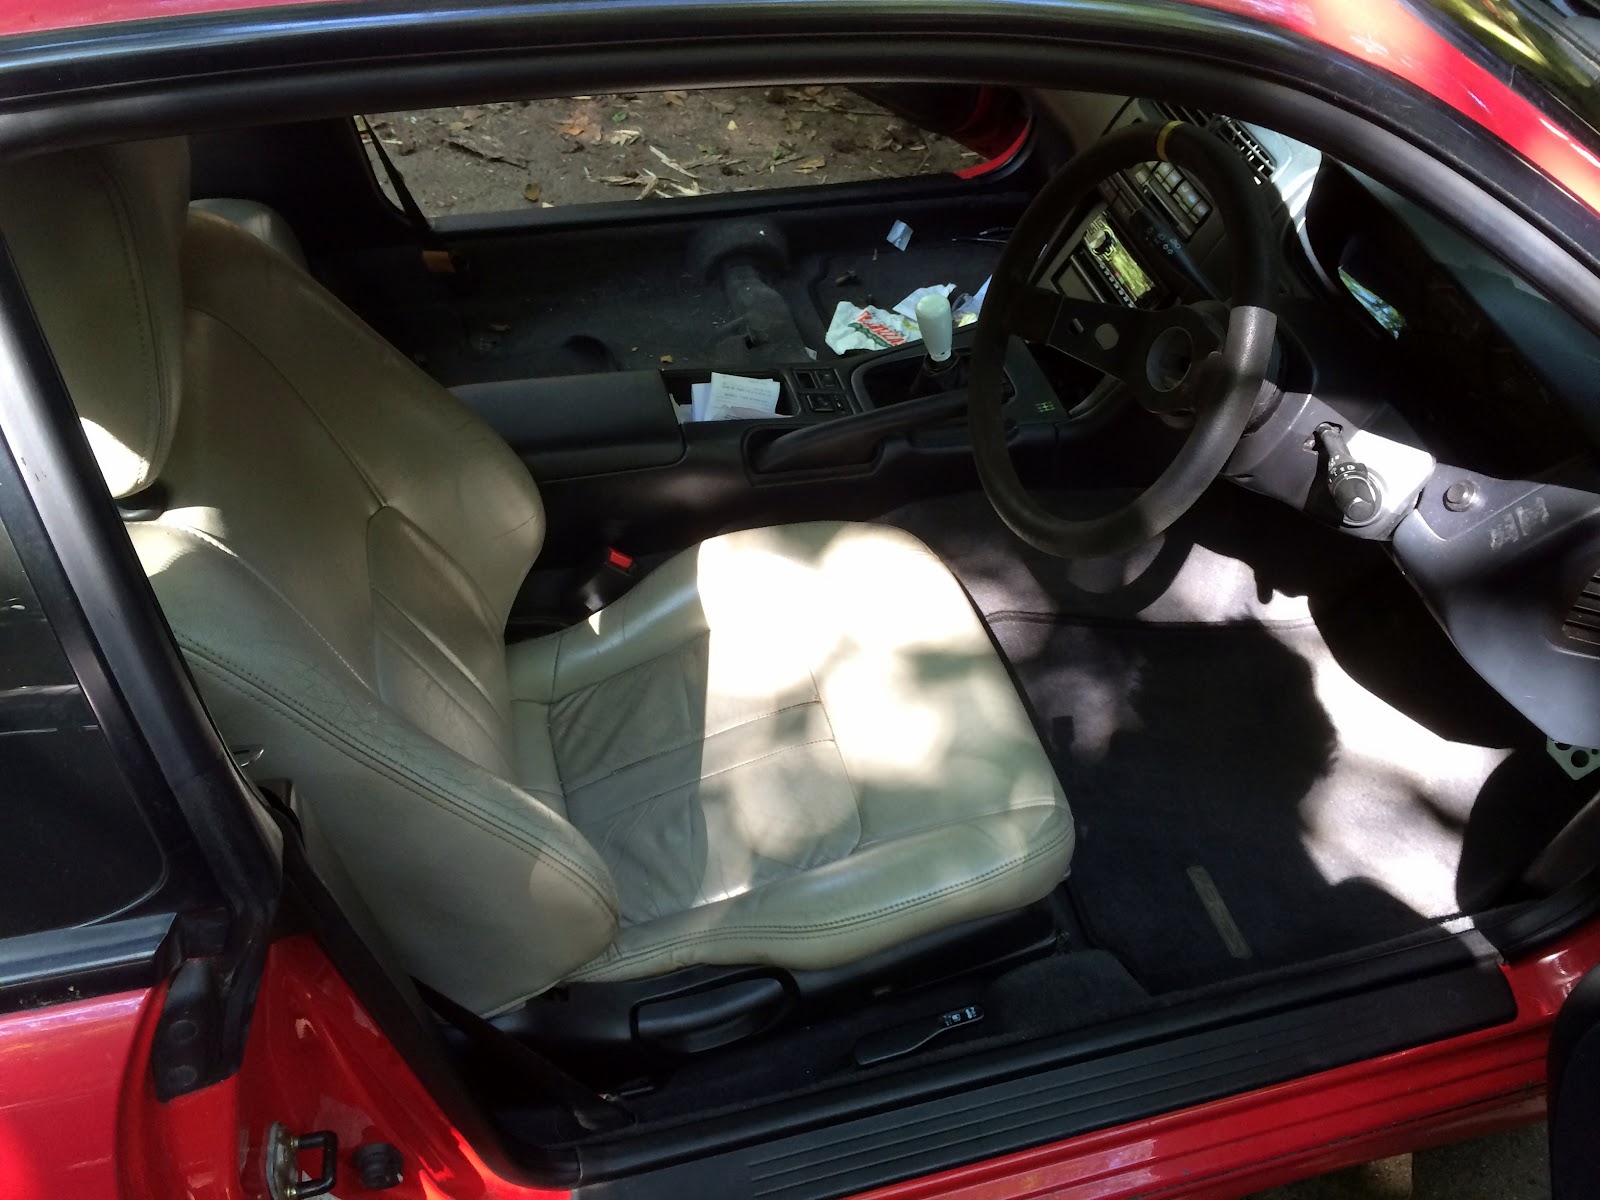
...but got a few more things knocked off the list and placed the shifter boot and frame in place. I could not complete its install yet as the holes don't seem to line up. The frame may be from the 28o, my patience was running thin, and it was too late in the day to go digging for hardware. At least the frame and boot were in place to prevent most of the hot air from entering the cabin.
Installed the passenger seat above the braille battery which I drained by forgetting to turn off the fan. It was only a few minutes, but that's all it took to zap all the juice from the tiny power pack. I hooked up the trickle charger and let it sit over night. She was fine in the morning.