Sunday, June 24, 2012

go

Luckily TDC Auto did not attempt to connect the throttle cable, as they probably would have drilled firewall or modified the OEM cable linkage mount. One idea was to remove it entirely and weld on a new one.

I found a throttle cable that worked after some modification thanks to Mckinney. I wasn't happy about the cost for something that was supposed to work right out of the box, but it was an easy fix and looked like it was going to work well, utilizing the oem throttle cable positions. I located the stock bell crank in all of the boxes that came with the 24o. this of course was after I had already ordered one from z source. They were kind enough to take back the new one minus a 2o % restock fee as my order was placed over a month prior.


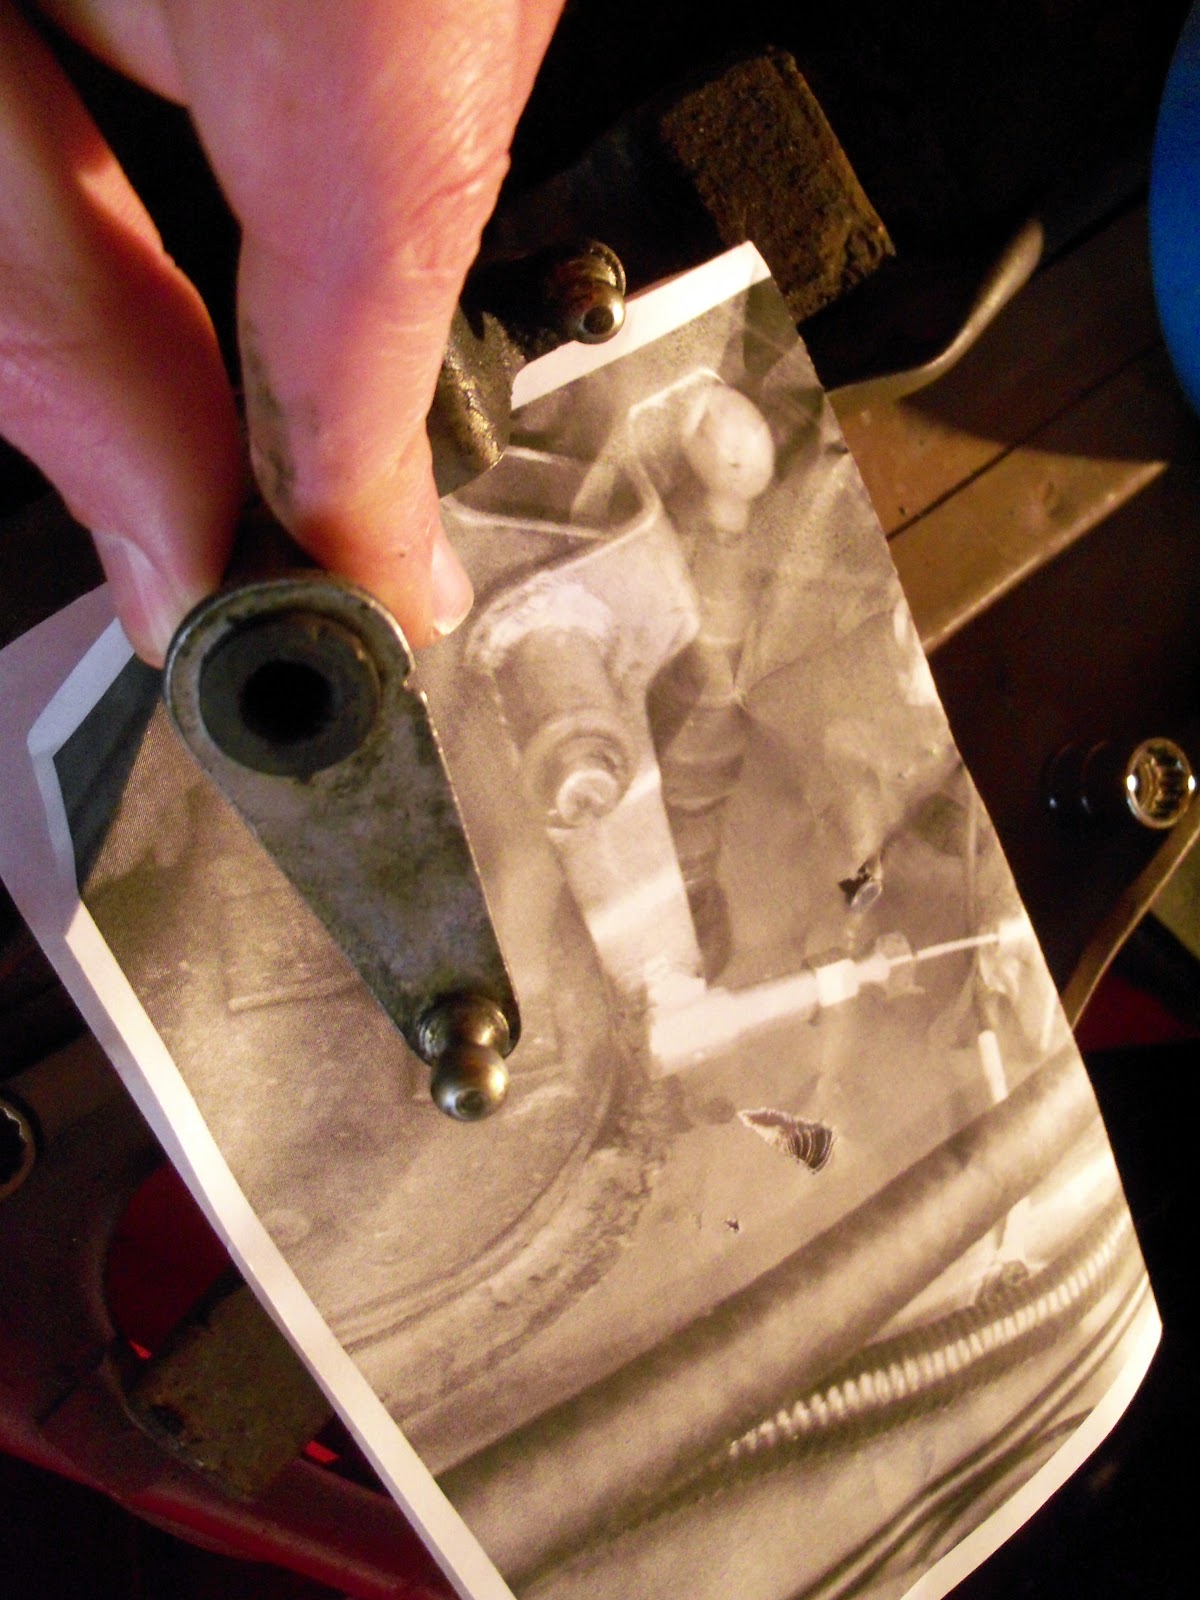
I dremeled off the rivet holding the upper ball in place on the bell crank and cleaned the entire piece. The upper bushing was still inside of the crank and the lower one was on the car, including the locking pin.


With the downpipe in place before the wraping session seen previously, I installed the Mckinney throttle cable, bolting the bracket to the oem firewall holes. I also ordered a lower linkage boot from z source, but haven't installed it yet. 


After cleaning the bell crank a bit more,  and greasing the car side mount, I installed and connected the lines.

It rotates just out of reach of the downpipe.


downpipes and wrapings

Previously I posted the pictures from a quick visit I took to Tony's place, WETSU welding. He did a great job as usual and here are the results.


Being the 3rd time this bung has been relocated, the inner flange was a bit jagged on the lower inside diameter and needed to be filed down. I had to be careful to not damage the threads as the whole point of filing the hole was  to allow the wideband o2 sensor to thread properly.


Downpipe looks nice, but definitely has the patched together look from first installing it on an rb25 in MY 28o z to which it wasn't originally designed for, then taking it to a piss poor shop who modified it incorrectly for the 24o z (TDC Auto, now Heads Up Motorsports of Spartanburg, SC for future reference), and finally correcting the errors based on mockup using the latest engine position and common sense.

We also put in a stainless egt bung for the greddy temp gauge I've never hooked up. I bought the gauge a long time ago in a set of three (with oil pressure and boost gauges as well) and never hooked it up due to lack of bung and motivation to disassemble everything. Since it was already all apart and considering the impending wrapping session later, it was an appropriate time.


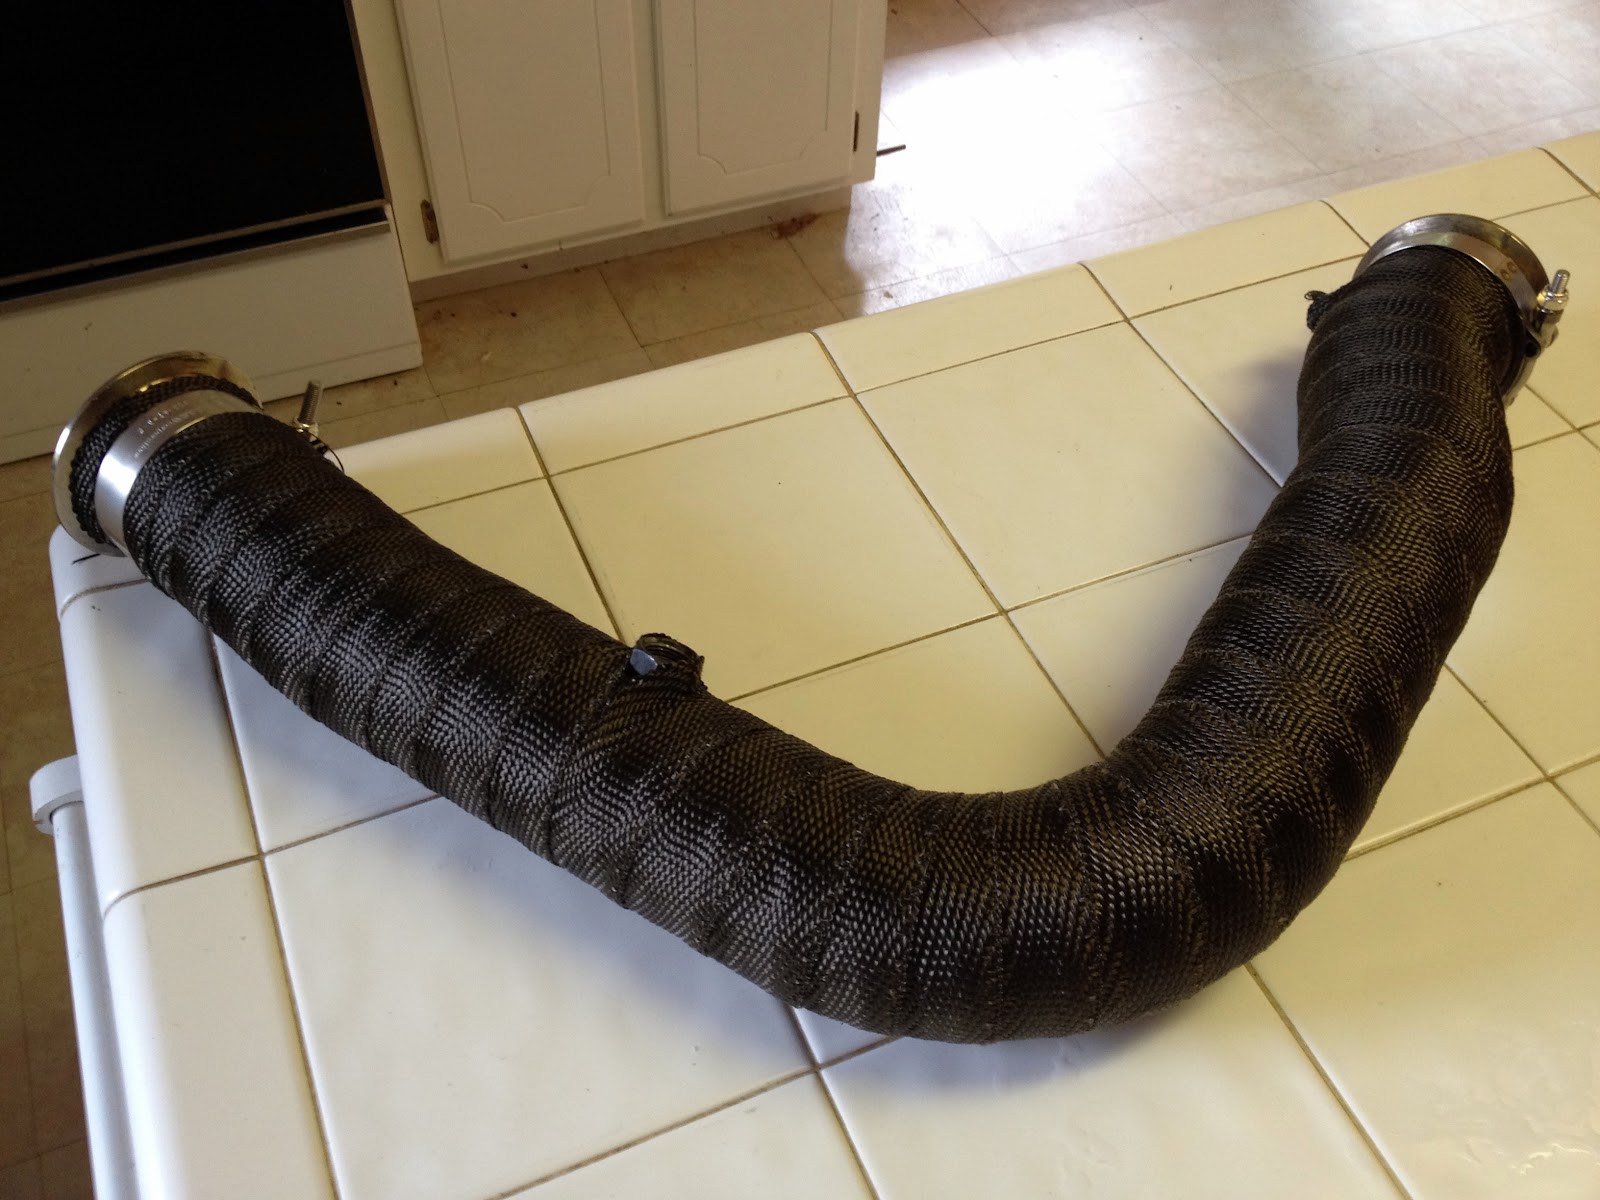
As usual, summit was amazing with their delivery of a 25', 2" wrap kit, with titanium weave. I also got the t3 titanium blanket kit which included zip ties that I would not use, cable that ended up tearing the blanket at the install hook, and 2o' of 2" titanium exhaust wrap. Look for the blanket in a future entry. In the previous install, the under hood (and hood itself for that matter) temps were a bit high, not to mention the recent downpipe patches, exhaust wrap seemed like a good approach.

Originally I was just going to get the blanket and the 25' wrap but found the kit online that was only 9$ more than the blanket alone. But after measuring my downpipe and calculating the bends and total length of needed wrap, I determined that the included 2o' was just short. I needed between 21 and 22 and didn't want to deal with the disappointment of missing the length by 4-5 wraps. I'm sure I'll find something to use the 2o'+ 3-4' extra on. Intake tubing? Forward exhaust wrap? We'll see. Either way, it was worth the 9$ to get the extra wrap and cable.

I also ordered (2) summit tband clamps to secure the exhaust wrap with. I know it's overkill, imagine that, but as I've gone over before, I really don't like screw-type band clamps, and I've heard mixed reviews about the stainless steel zipties and being able to pull them as tight as needed.


Use gloves and a mask as the weave has fibers in it that will probably itch later if handled or vigorously inhaled. Prepare a tub of water to soak the fabric before wrapping. Take lots of pictures before the wrap, because hopefully, it won't be coming off any time soon.


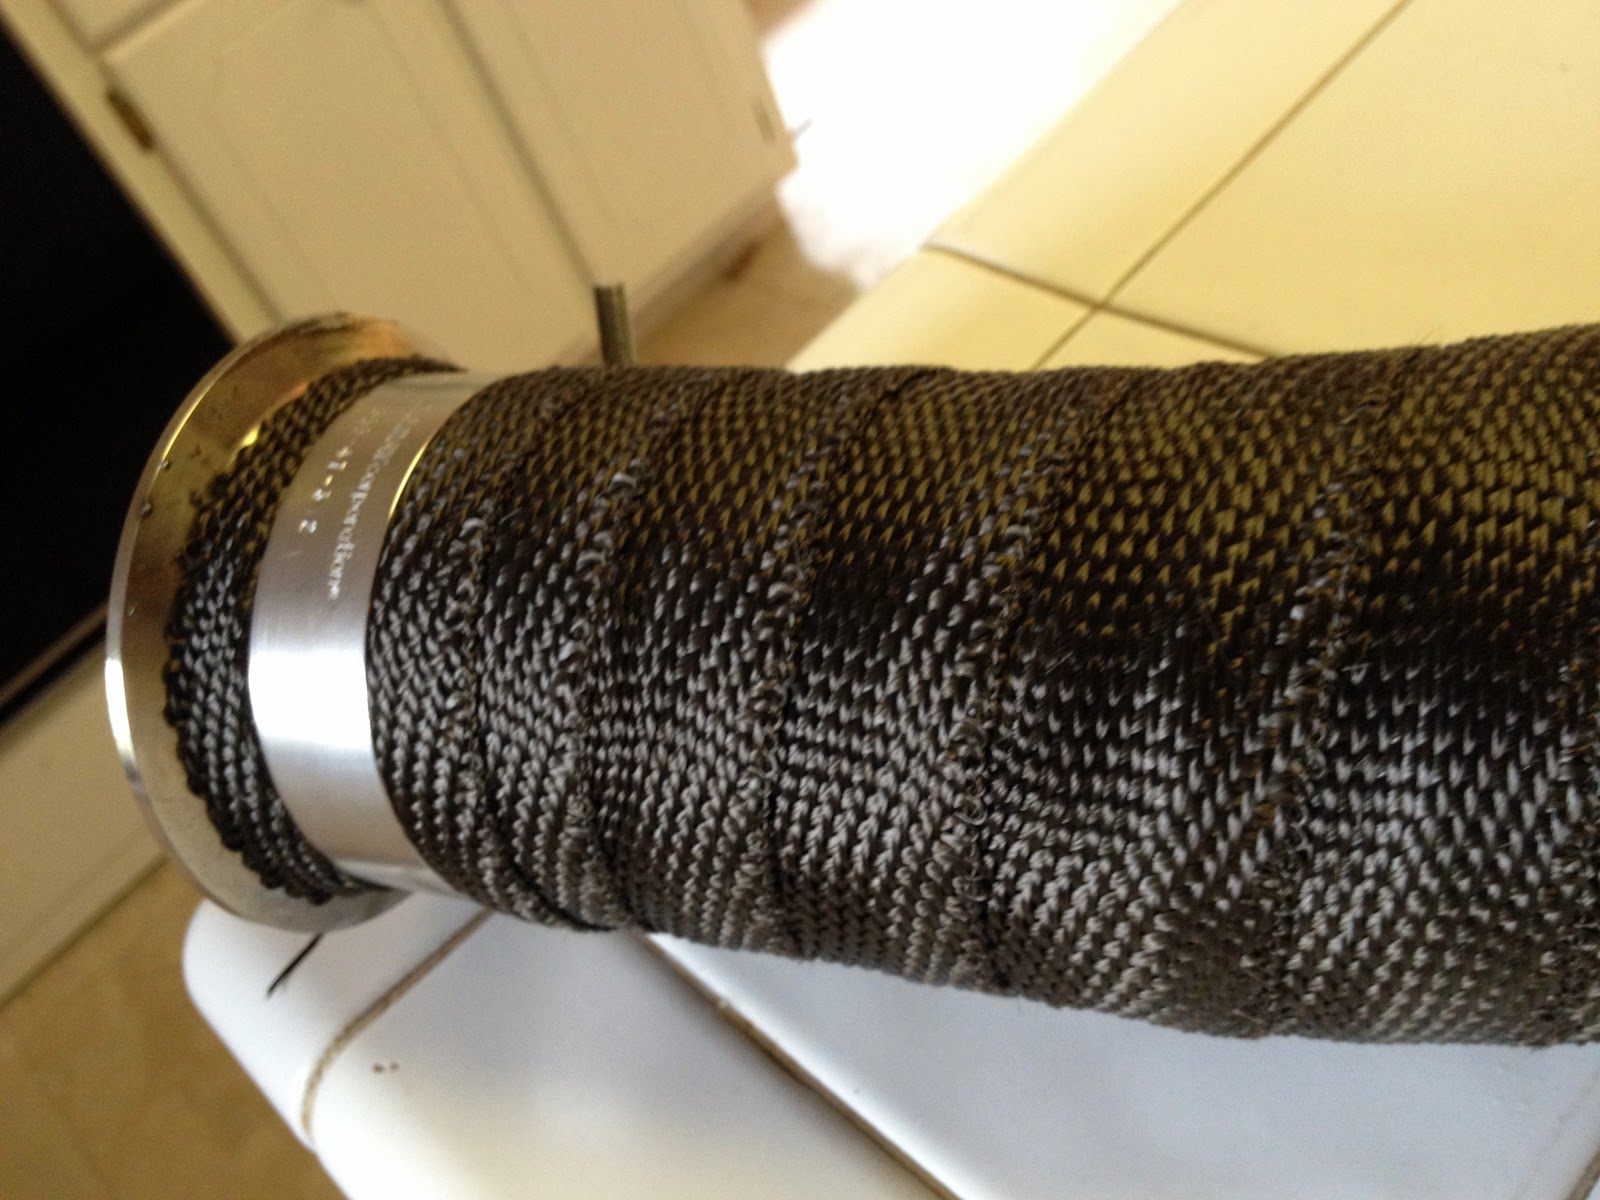
Sorry no pictures of the actual wrapping process, I was on my own for this one and found that once I suited up and started wrapping I could not set it down to stop for anything, let alone pictures. I used the instructions on the website, overlapping about 1/4". I rode the wrap up the side of the bungs so that it would cover as much of the pipe as possible on either side. I also set the 1/4" on the outside of the bends, so the inside conversely is wrapped with more.

I submerged the wrap down in the Tupperware of water in order to soak it while wrapping in one step. The ball of wrap stayed dry on one end of the counter as I pulled it thru the water and onto the downpipe. Once done I cut the wrap and secured it, also securing the excess roll with the pins it came with, saving it for another as yet unidentified project.


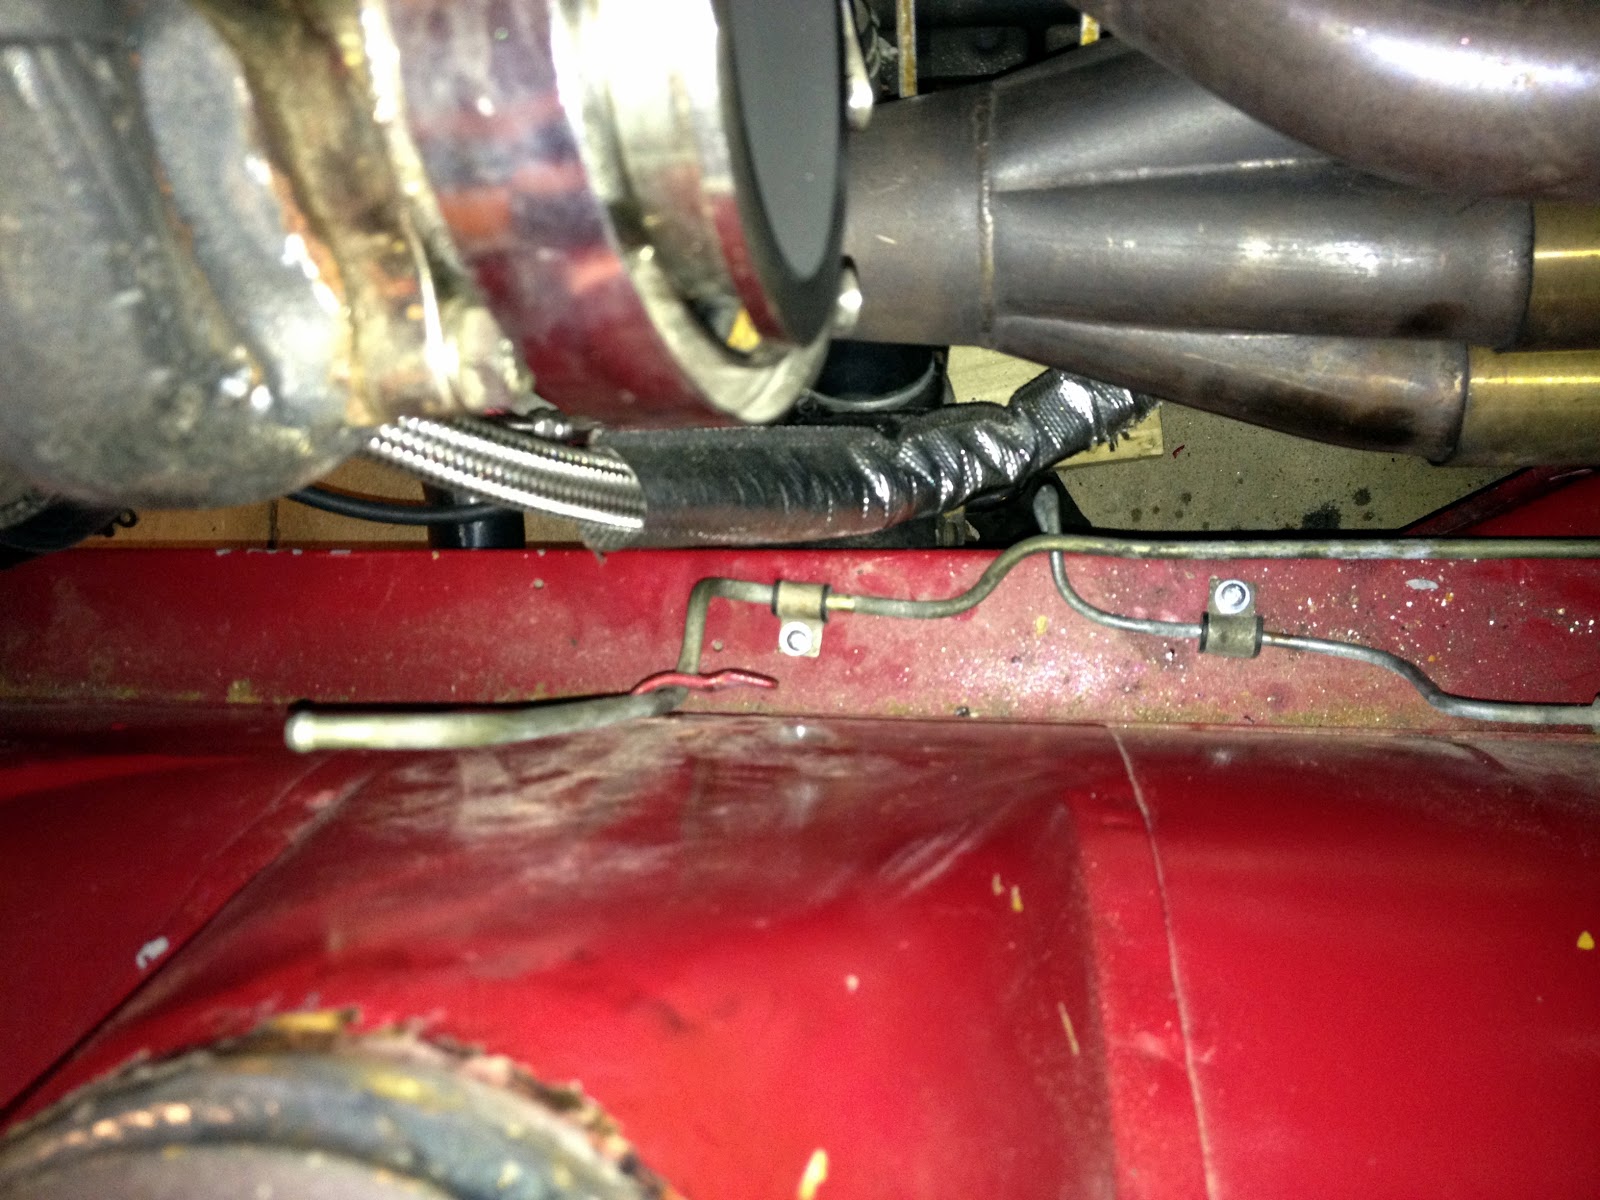
Before installing the downpipe in the car I decided to fix the last bit of the oem break hardlines. On the entire car, there were only 3 missing mounting screws. I went to ace and bought several different sizes with several different head designs. It was less than a few dollars spent, but worth not having to go back for a second, or as is sometimes the case, third trip.


With all the associated brake line brackets in general proximity to the downpipe now installed just as intended from oem, I quickly attached the downpipe to the turbo adapter with it's vband. I installed the o2 bung first as it was wired already and could not be turned around without twisting. I obviously could have unplugged it inside, but it was easy enough to just spin the downpipe over it until it seated. Both sensors were tightened down once the downpipe was secured.